Hello there!
Somehow, I have made YET ANOTHER Penny raglan:
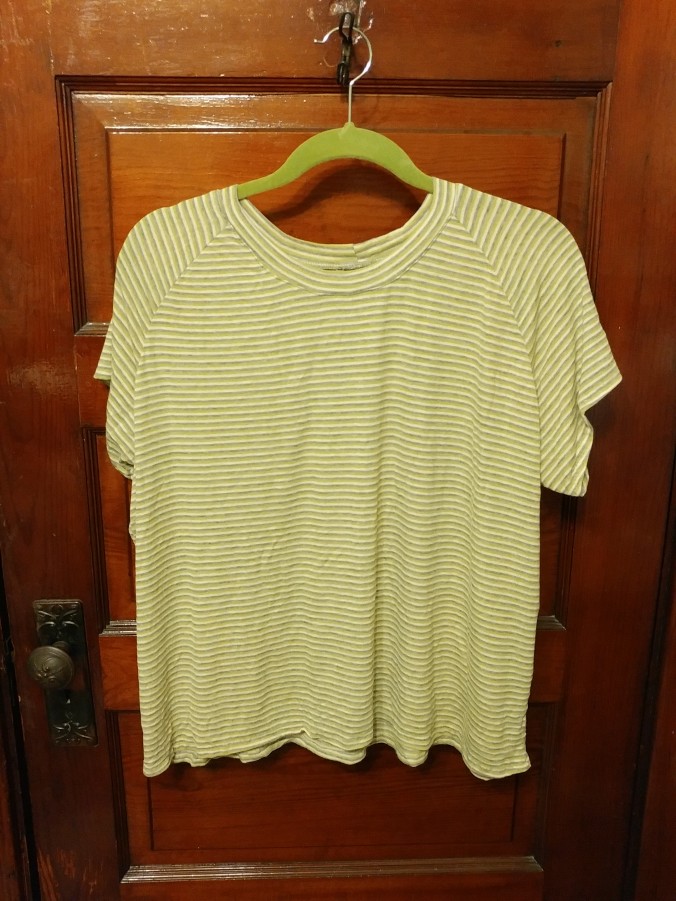
Striped Penny, after a full day of wear
I wear that one a lot, too, in case you were wondering.
More miraculously, I have managed to sew a third consecutive pattern from my mega planning post. WHAT?!?!?!?!?!?!? To be fair, had I not started on this dress before our bathroom remodel swung into high gear, it wouldn’t be finished yet–it’s been hectic around here!
One word of warning: this dress is not classic, understated, or tasteful. At all. But I love it!
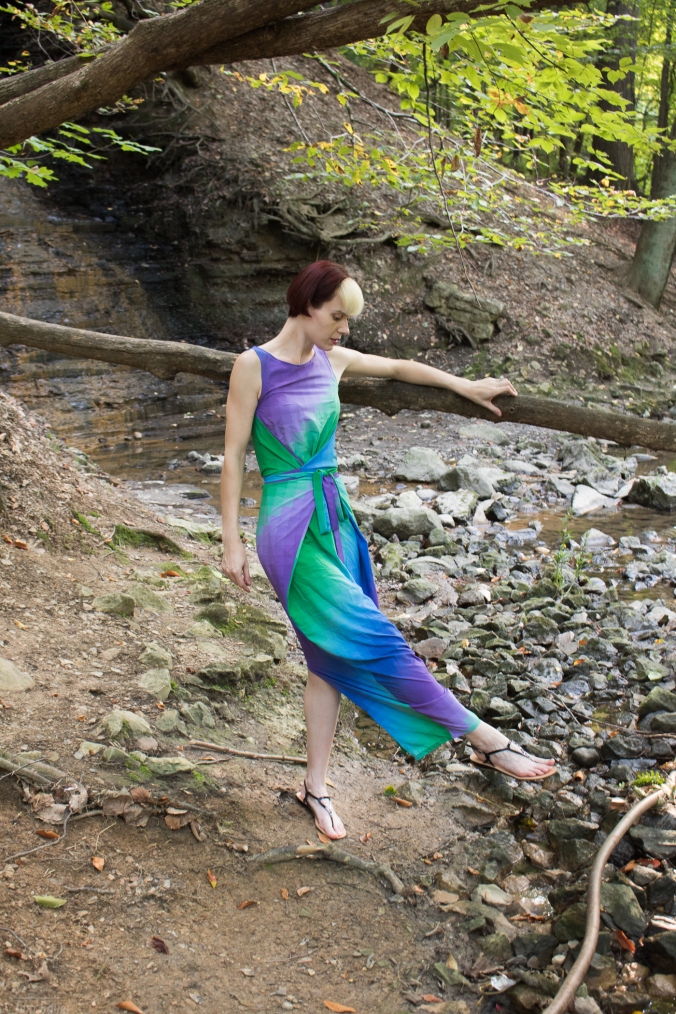
Behold, the pun-tastic Kielo Wrap Dress which I have dubbed “Kielodoscope”:
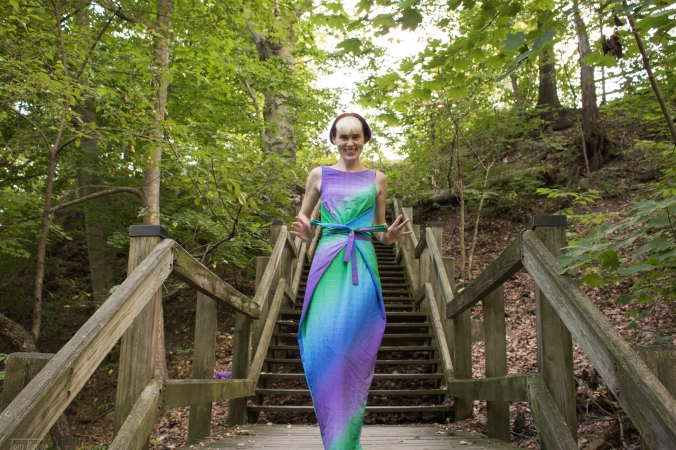
Ta-Dah!!!!
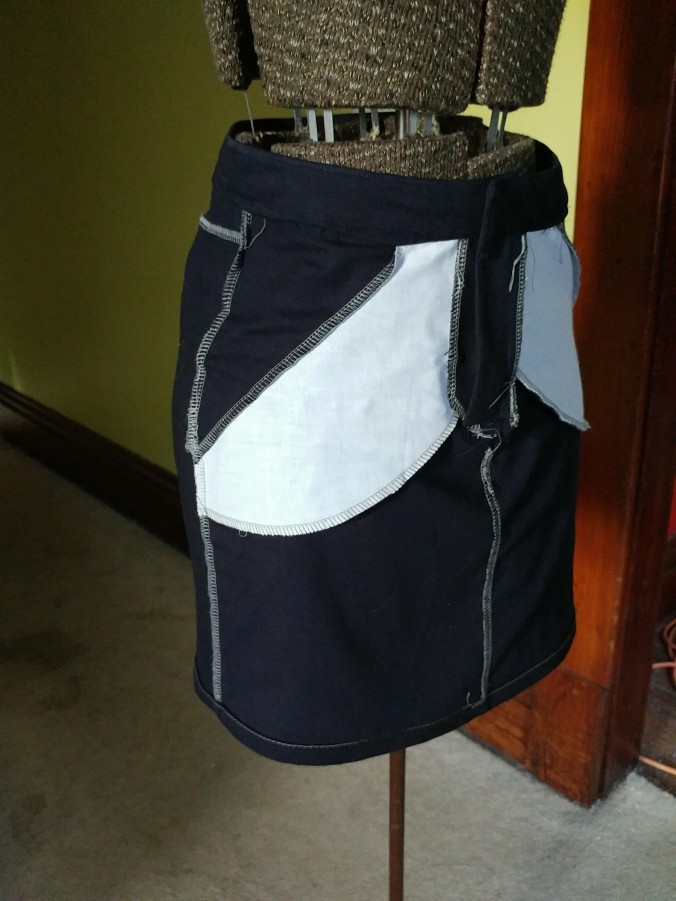
Wrapping it up!
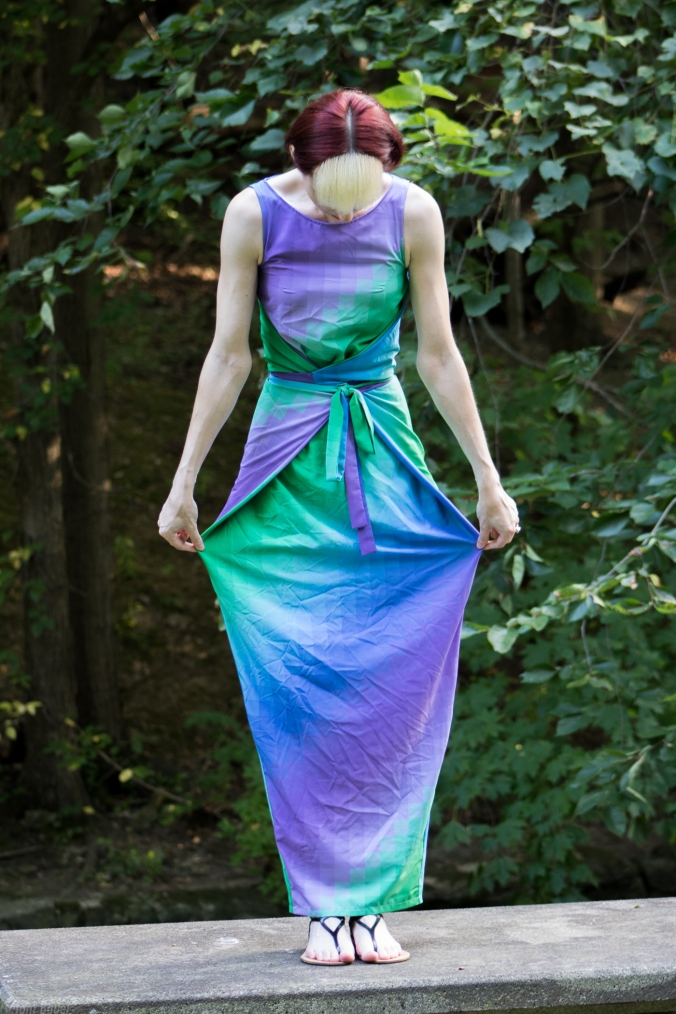
Skirt flaps for daysssss
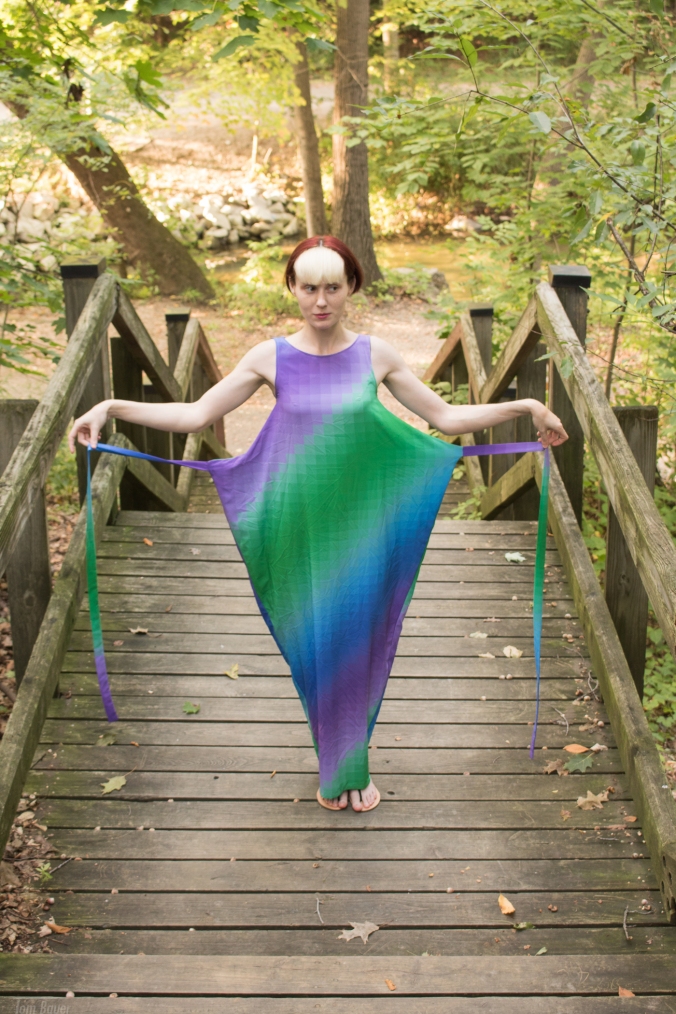
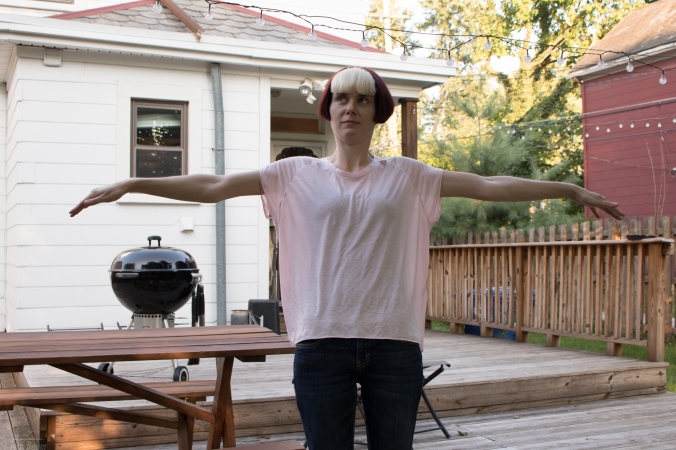
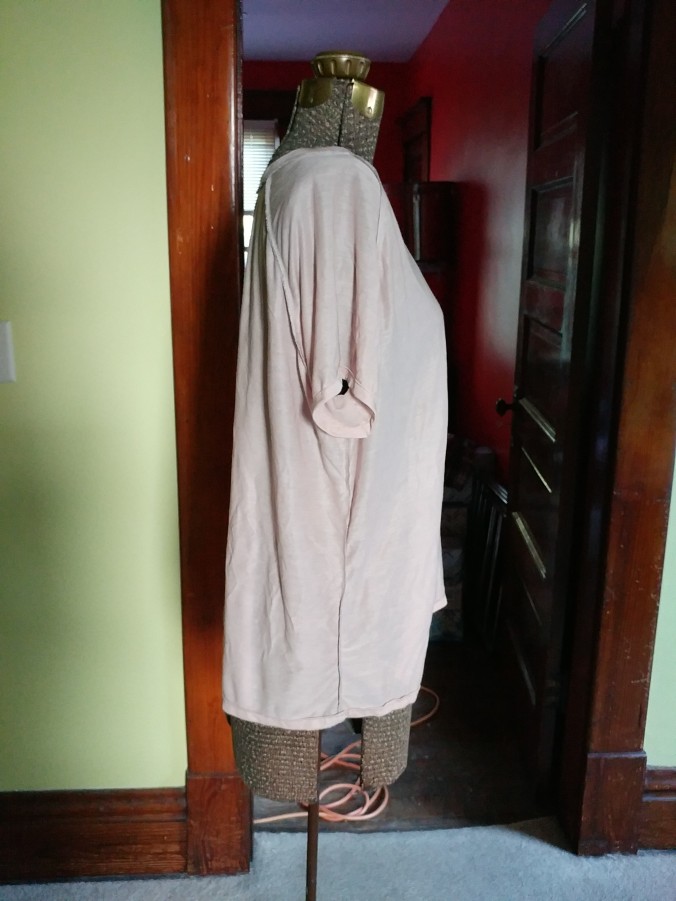
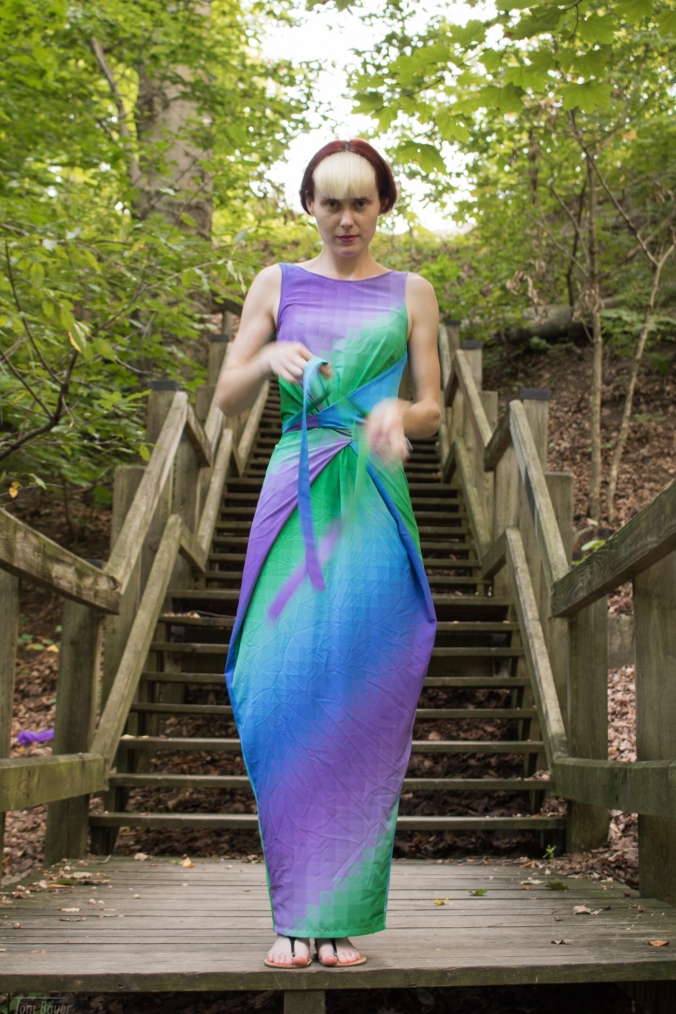
Wing-a-lings
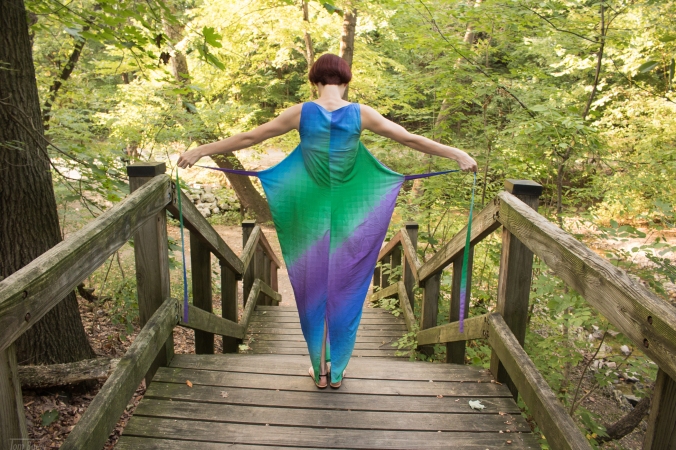
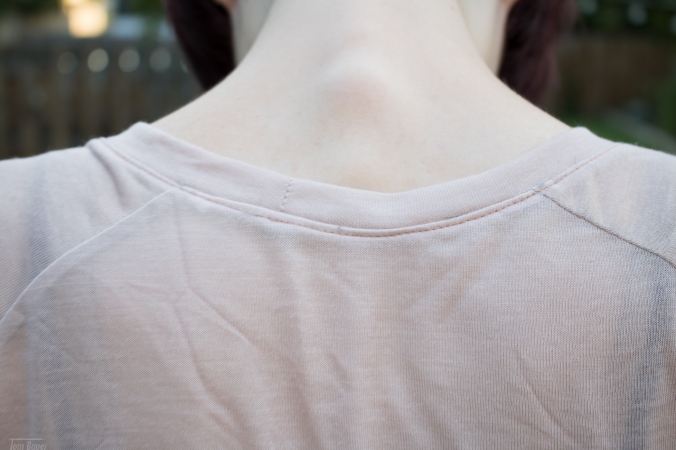
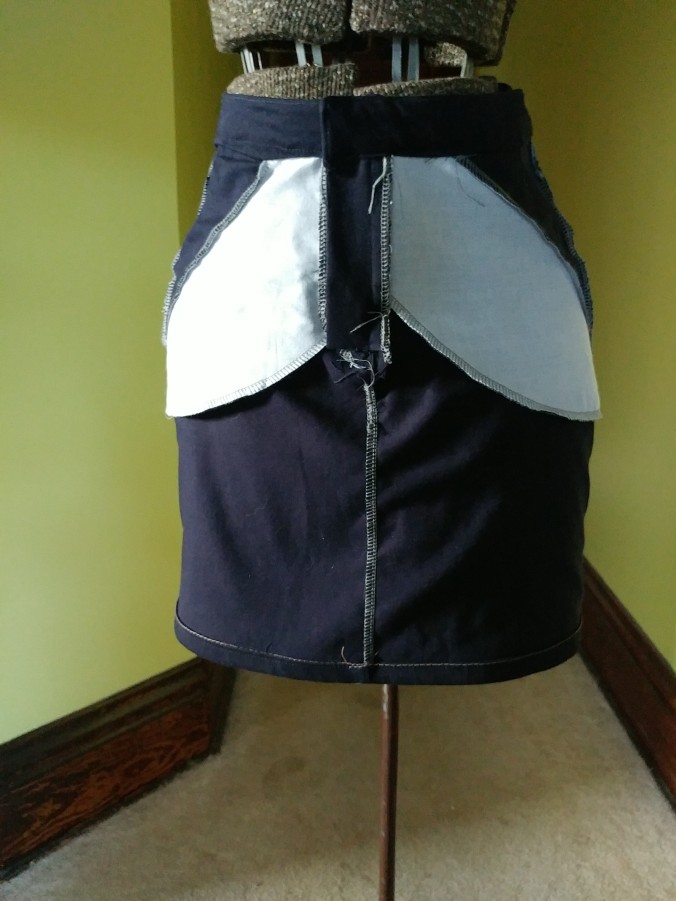
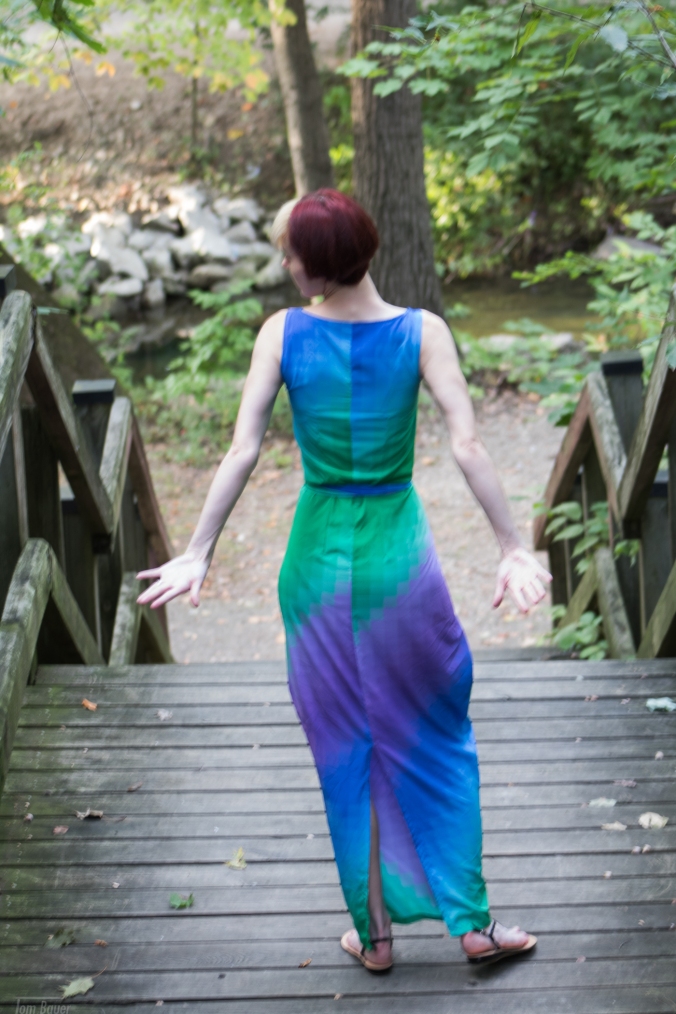
Back view of the wing-a-lings
Where do I even start with this one?? I had mentioned in the planning post that I wasn’t really sure if I had a suitable fabric for this pattern: it needs about 2 yards of a light and drapey fabric with at least 20% stretch, and most things I could think of only had about 2 of those qualities. A review of my stash spreadsheet reminded me that I owned this Nicole Miller fabric, and my inner mad scientist began to plot. (Fun Fact: I also totally bought the bright stretch twill version of this fabric, because of course I did. #ALLthepixelatedfabrics) The fabric is described as a chiffon, but it’s not as sheer as I expect a chiffon to be, polyester or not. This polyester/spandex blend has a very “springy” quality to it and the weave is tight, but the fabric drapes pretty well. It IS a woven, and barely has adequate stretch for the pattern’s guidelines. FWIW, I sewed the dress with both my serger and sewing machine. Sewing machine work was done with a straight stitch and a 70/10 Microtex needle.
This project was very much a whim. I got the idea, dug out the fabric and put the PDF together over Labor Day weekend (in between trips to our soon-to-be-remodeled bathroom to work on paint stripping: FML), and cut out the fabric on Labor Day. I worked on it in spurts after that point, but since it’s a pretty quick sew, it came together in no time–I finished it in about 10 days, which for me is pretty quick for a full dress in a woven! All that was left was to make time for pictures, which we did this past Friday!

Goofing off
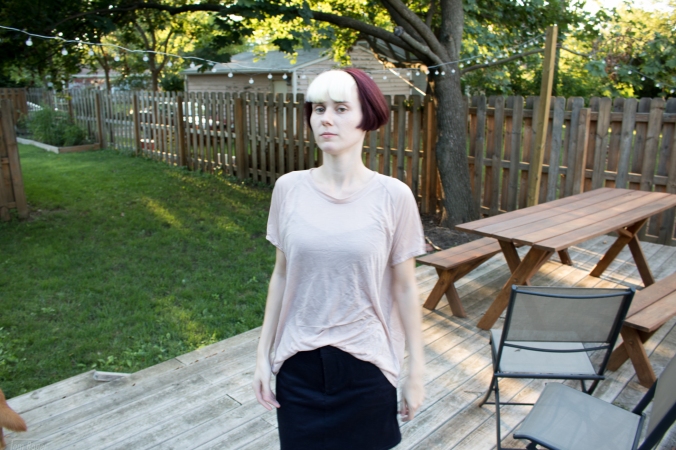
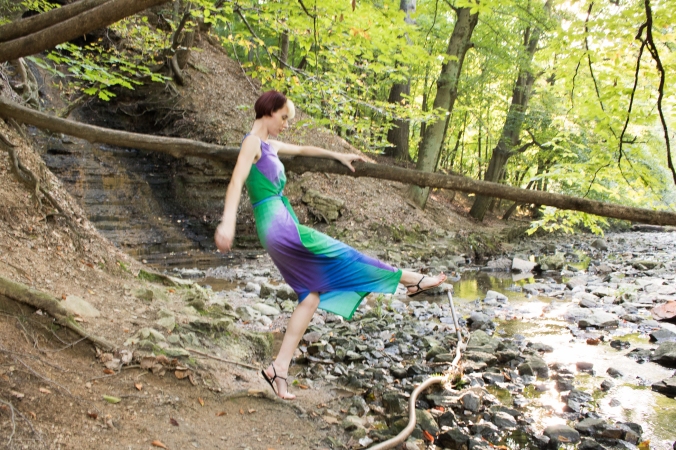
Candid
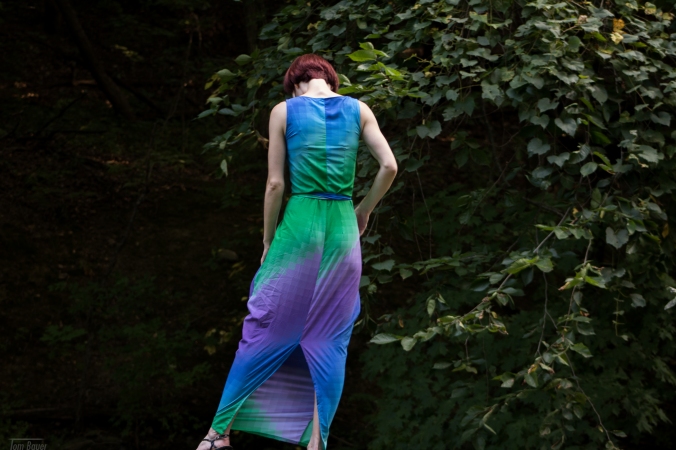
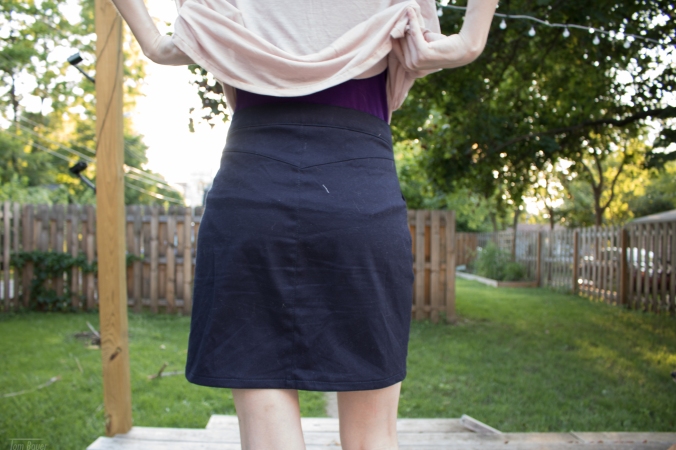
Back split

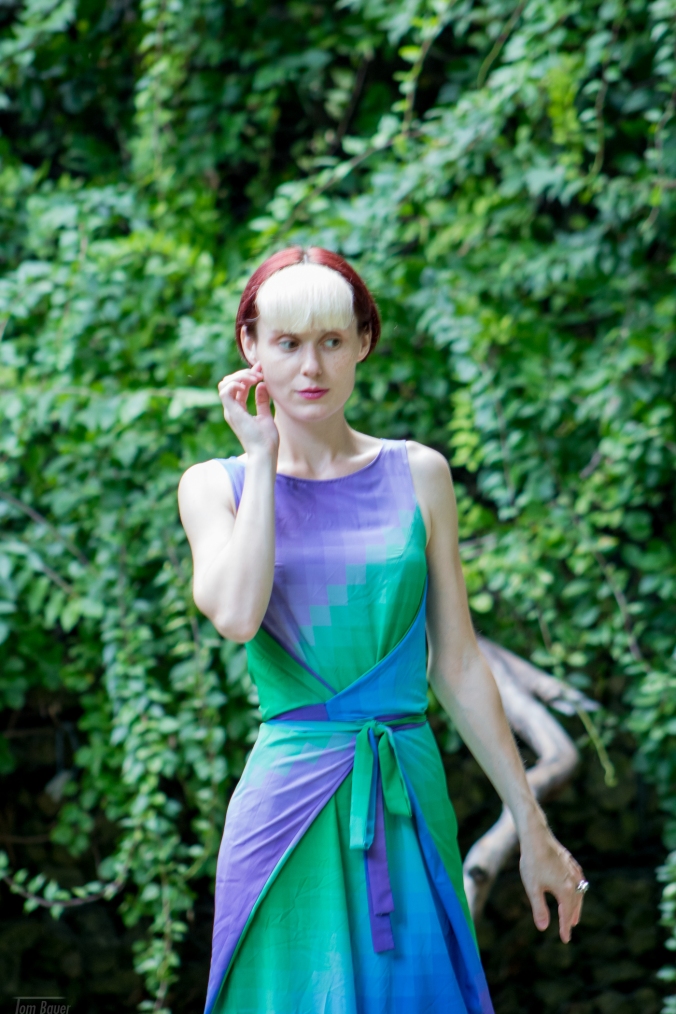
Portrait pose

Eeeeew nature!!!
Pattern Alterations
After I got the pattern taped together and cut out, I held the pieces up to my body (which is super scientific, I know) to see how things were looking. It was obvious that the bust point and waist were too high for me (front AND back), so I went ahead and added the necessary 1″ at the bust line on the pattern pieces. This put the bust and waist in the right spots but I needed to re-draw the dart point and legs AND true up the new side seams. Easy enough, but important to consider!
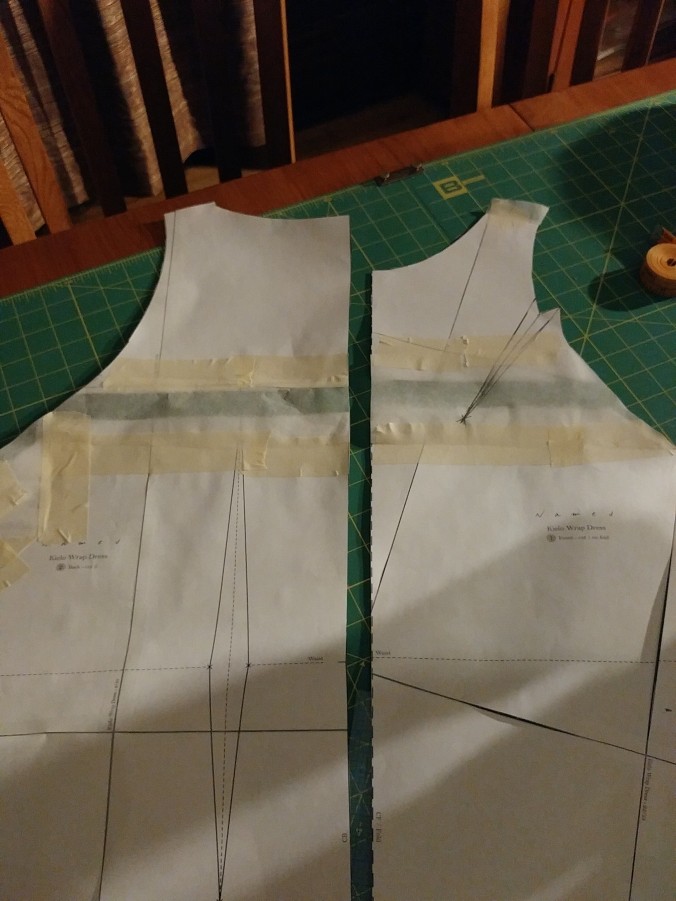
Revised pattern pieces
However, since Named drafts for a height of 5’8″ and I am at most 1″ taller than that, this added torso length makes the dress almost too long for me. After wearing it for these pictures (in flats), I am happy with the length but definitely wouldn’t want it any longer.
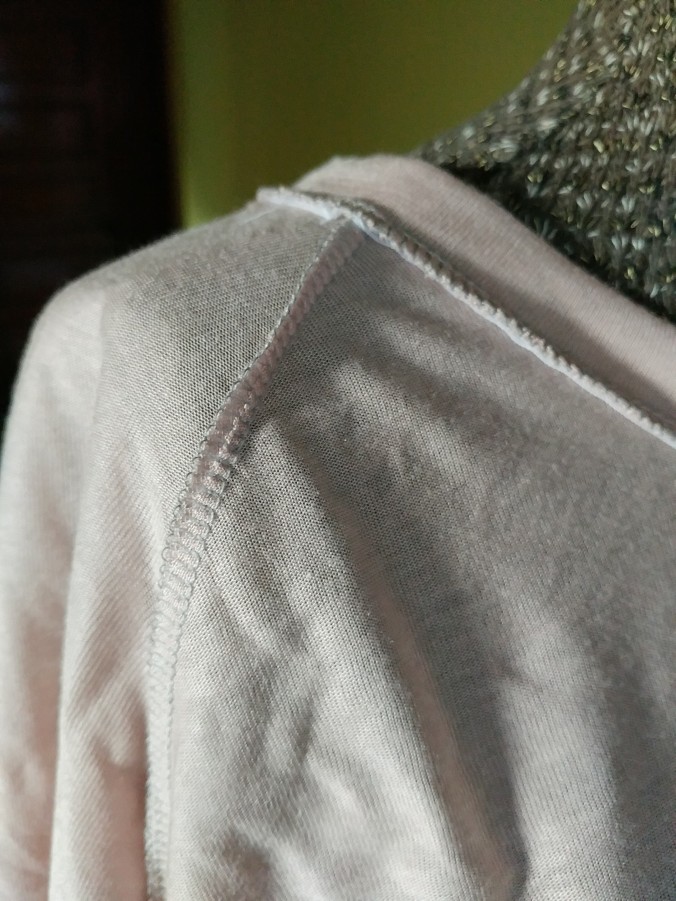
I also changed the slope of the shoulders. Named patterns tend to angle too steeply upward at the inner shoulder/neck for my body, which I notice in my Inaris. (In other words, my shoulders are less sloped than what they are drafting for.) So I made this change to compensate for that quirk.
Finally, I lengthened the tie pieces at the start. They just looked really short to me, even after taking into account that they are cut on the fold. I wrap them around me from the front, around the back, and then tie them once they come back around to the front. As drafted, they measure roughly 33 3/4 inches (not including seam allowances). The final length of my ties is a whopping 49 inches and I love them. 🙂 I actually had to go back and measure those, since I just cut them out on the fly, LOL.
Additional Project Notes
I didn’t really bother with pattern matching with this fabric; I only had the bare minimum 2 yards (Named calls for 2 yards at 60″ wide, and I had 2 yards at 58″ wide) and at first, I was worried I wouldn’t have enough. I did have enough, but only just enough. Plus the cutting person at Joann’s didn’t even out the already-cut end of the yardage before measuring, so one end was less usable for a “cut on the fold” application because of the inward angle on one layer’s raw edge. Needless to say, I laid the two main pieces out on the fabric together BEFORE cutting anything, LOL. That’s what happens when you buy fabric without a plan, folks! 😛 I considered myself lucky not to have to piece the ties together, especially after deciding to lengthen them!
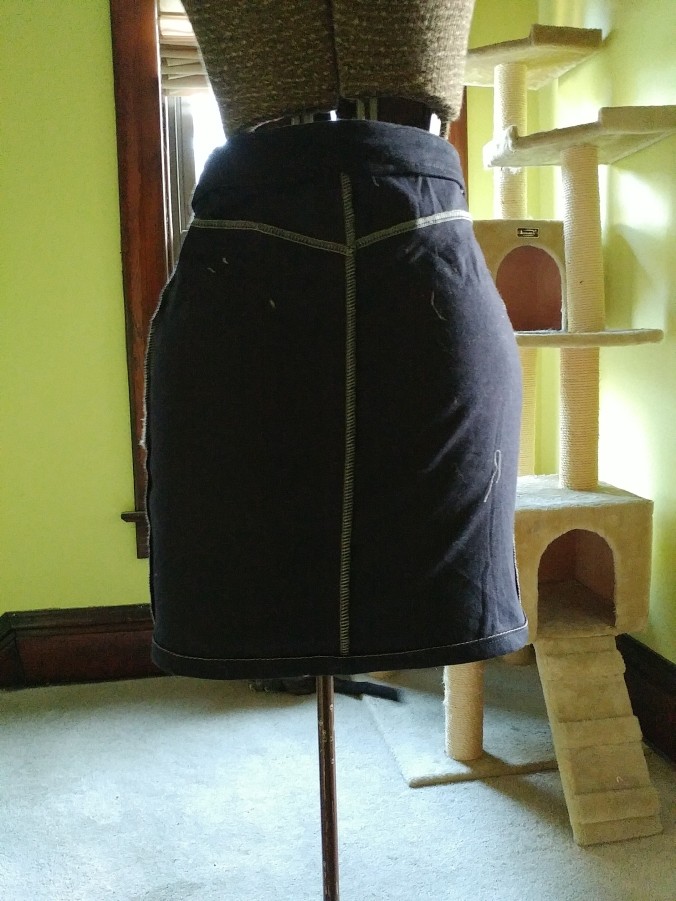
The colors move on the diagonal–I cut this dress on-grain with the stretch–which made it that much more of a challenge to line up the bands of color. Combined with the lack of extra yardage, that meant taking a more relaxed approach to “stripe” matching. So I did! This is most evident at CB, where the diagonal color bands are offset by a few inches. ![]()
Finally, I increased the height of the back split: I couldn’t walk in it as it was drafted!! (Well, I could walk, but only Geisha-style.) The original split measures 15 3/4 inches, and mine now measures 18 1/2 inches (both measured from the hem once sewn). I also made my own bias out of leftover fabric, and used that to finish the armholes and neckline. To cut down on bulk and because of concerns about pressing a sharp crease in poly/lycra binding strips, I serged one side of the bias binding before attaching it, and then topstitched from the outside to finish off those areas. Not super classy–what about this dress is?!?!?–but effective nonetheless. 🙂
For the record, all my pattern measurements are taken from the EUR32 size–they may be different on another size.
If I make this again, I want to re-angle the darts toward the side seams about 1/2″ at the apex (the root is in a good spot). Without getting too gorey here, I will say that the apex as-is is over the edge of the “bullseye” rather than the center of it. 😉 I also have issues with all my bras and this dress!! I have one bra that fits my breasts well (I call it my “Honest Bra” because there is no padding, LOLOL) but it makes me look droopy and sad in this dress. My other bras really don’t fit–they’re too big and the cups buckle due to lack of, er, “filling”–and in this dress, you can really tell unless I tighten the straps up really tight, as we did for these photos. (Yes, “we”: I needed a bit of help with that!) So that’s a bummer, and I may need to give myself a little more ease (width-wise) from shoulder to bust point in any future versions to skim over that problematic area.
Gripes
I think that, as sewers, many of us find comfort in the presence of directions: they help us get from point A to point B as the designer envisioned. But often, it is best to trust your experience (assuming you have it) and think critically about what the directions are telling you to do before you do it. Case in point: the Kielo instructions tell you to finish the raw edges of the side seams, hem, shoulder, and center back seam allowances before you do any sewing on those seams. And, instead of doing what I would normally do–think about it, and decide whether or not I agreed–I did as I was told. This was a waste of time and serger thread and electricity, y’all. I should have just sewn the side and center back seams on my serger to start with, although I did use my sewing machine for the shoulders after serging the allowances separately so they would lay as flat as possible. Luckily, I realized the wastefulness of those instructions before I got to the hem; I turned that raw edge under 1/4″, and then turned up the remaining 1/2″ and pressed again. Much better!
I also should have been more critical of the order of events, but ultimately found those aspects of the instructions much less annoying than the finishing BS noted above!
For all my complaining there, I am a proper Named fangirl–I love their work, their design and drafting sensibility, and pretty much everything about them (especially now that their PDFs come layered). So if the worst thing I can say about their patterns is that I don’t like some of the instructions, I’m still a very happy bear! ❤
And now, for some outtakes!
Artful (Read: Blurry) backside

What Tom gets when he says, “Say Cheese!!!”
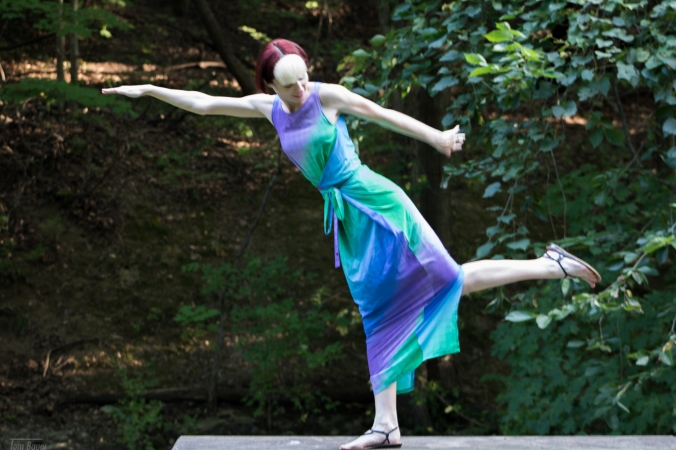
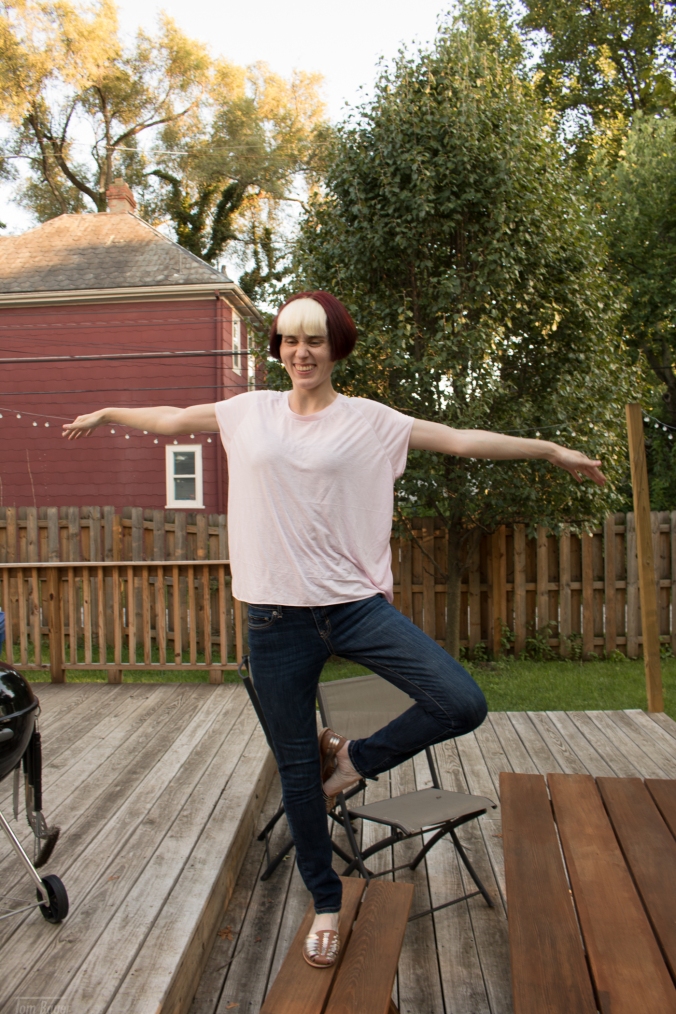
Table acrobatics?

Tangled.
My favorite pic, tbh…
The colors!!!!!
So that’s my Kielodoscope dress! Eye-searing, yes, but I like it. And it’s done just in time for cooler weather that isn’t sleeveless-dress friendly, LOL.
What have you been sewing? Do you ever buy fabric without a plan?