Hello again, friends! This post has been in Draft mode since February!!!! First it was because I was working my way through ALL THE LANDERS, and then they got pushed aside for other projects; then there were photos to get (not so easy in the winter when your heart is set on outdoor pictures!), and then the post grew to over 2500 words because I am a technical maniac and I kept trying to edit it down and failing.  I try to give you details when I make adjustments or run into something that I think is noteworthy, but I also know that most people don’t like reading that many words in a blog post. 😦 So bear with me, this is a long post despite my best efforts!
As I said, today I’m sharing some pants–the US English version, not the UK English version, so you’re welcome. 😉 I started this post during construction of the first pair, and finally have photos of all 4 pairs–the final pair of shorts took me ages to get photos of! No idea why, but I lacked motivation.
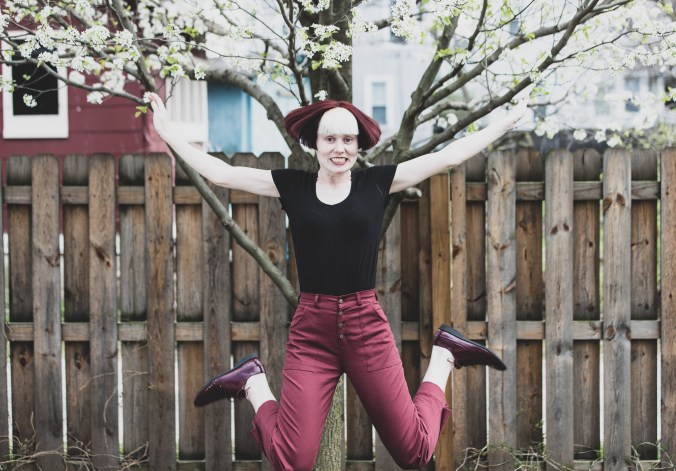
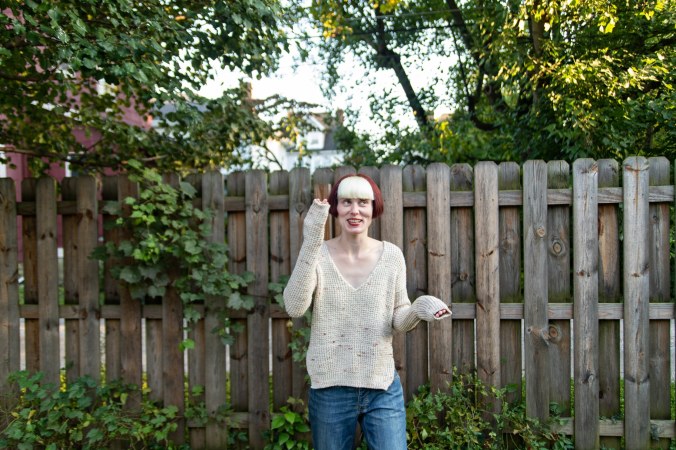
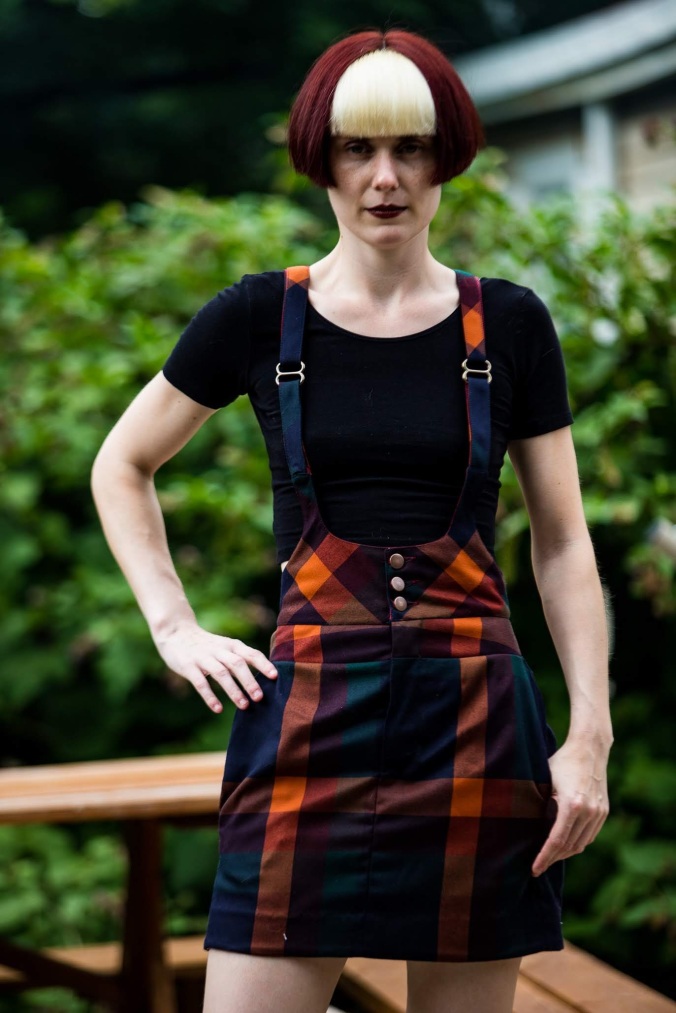
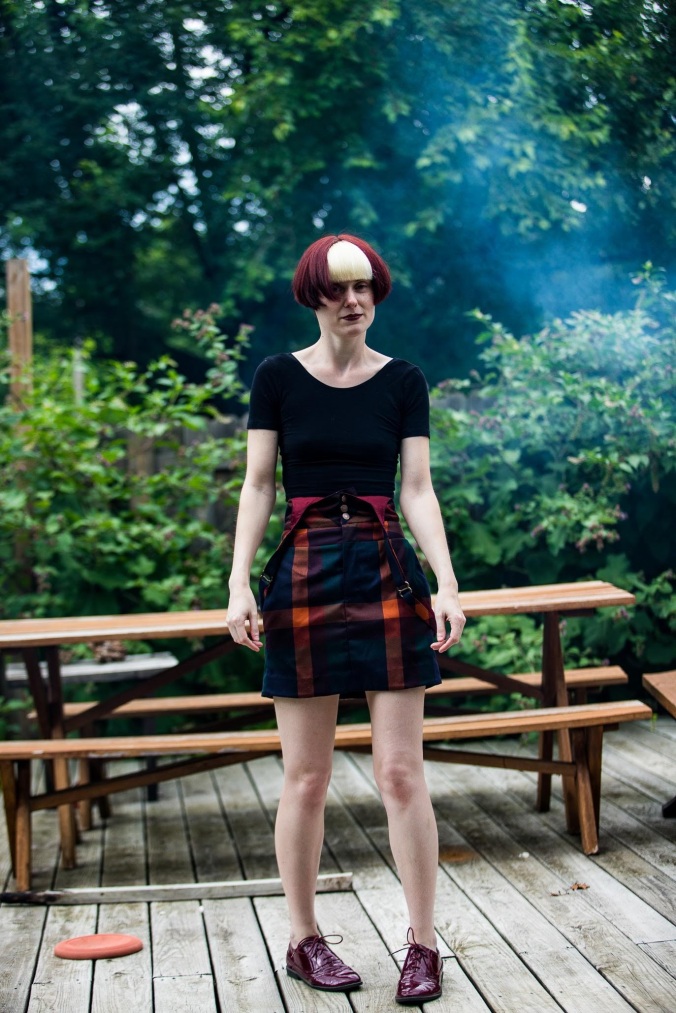
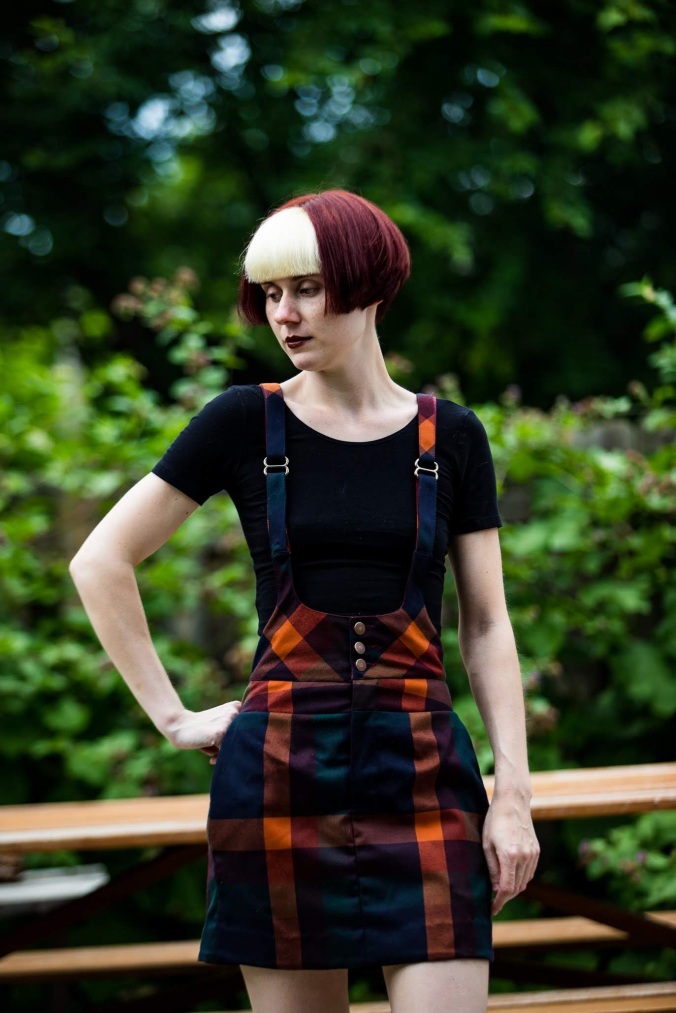
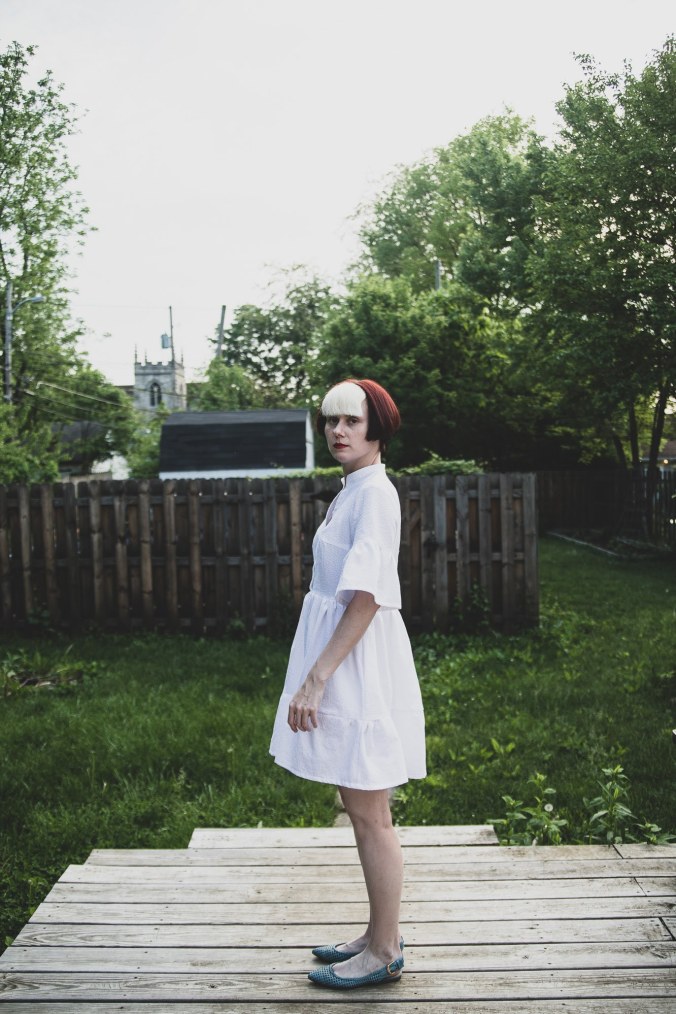
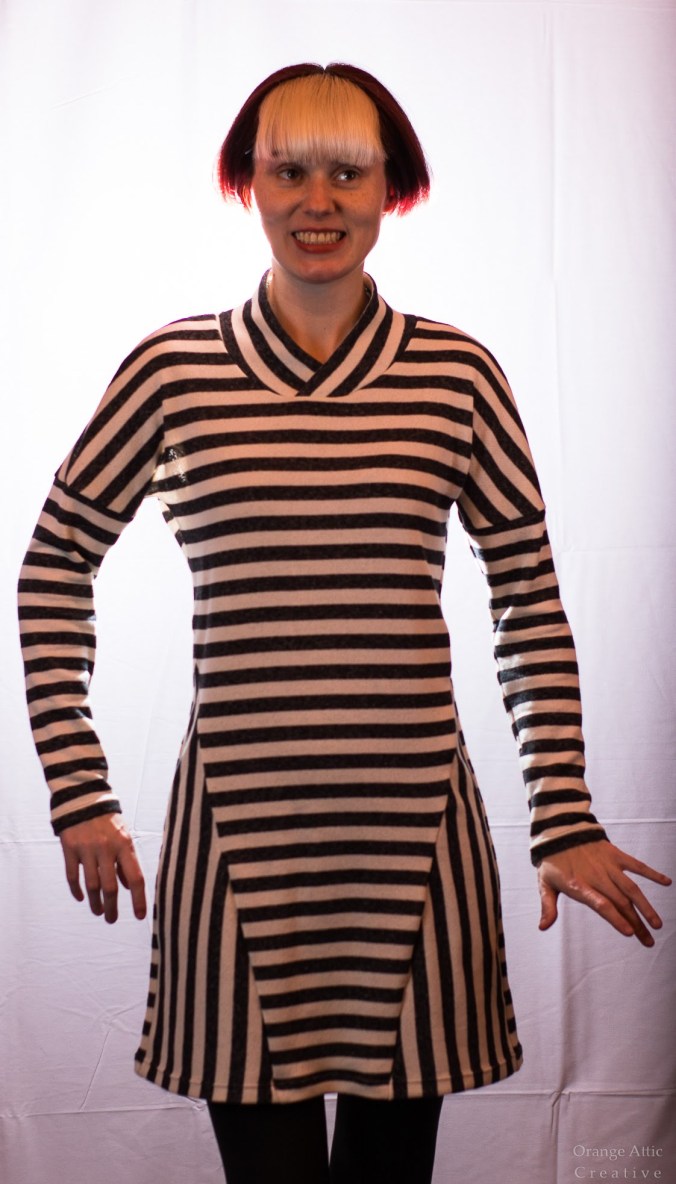
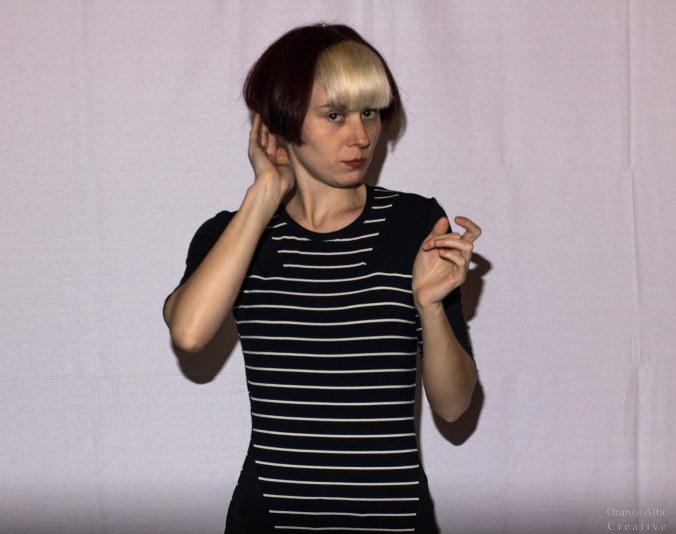
So without further ado, here I am, jumping on the Lander bandwagon in rather spectacular fashion:
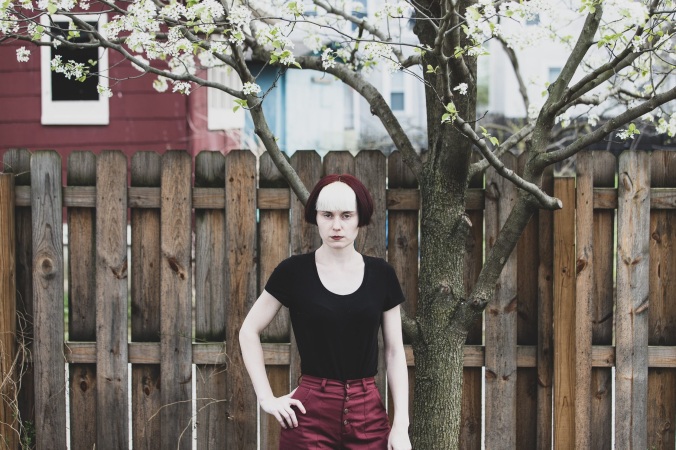
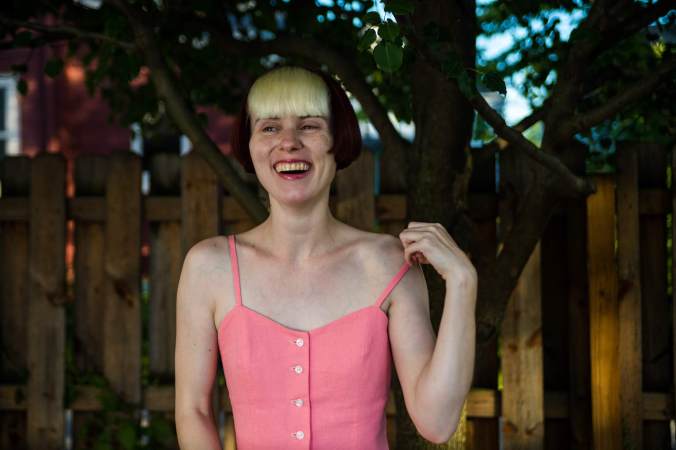
Resting Bitch Face (Feel free to white-balance your monitors on my bangs and/or skin, LOL!)
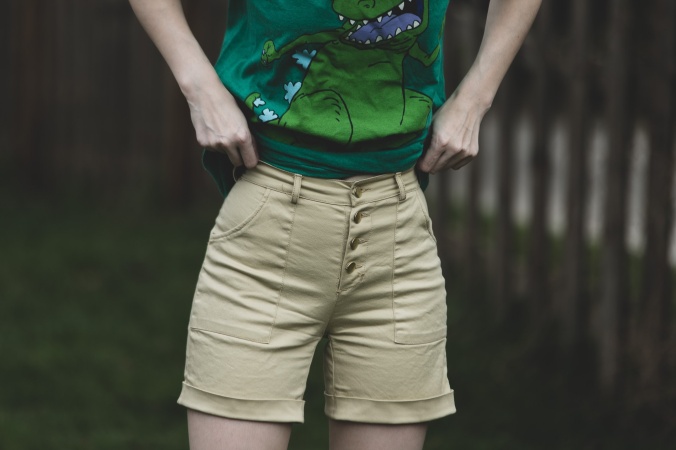
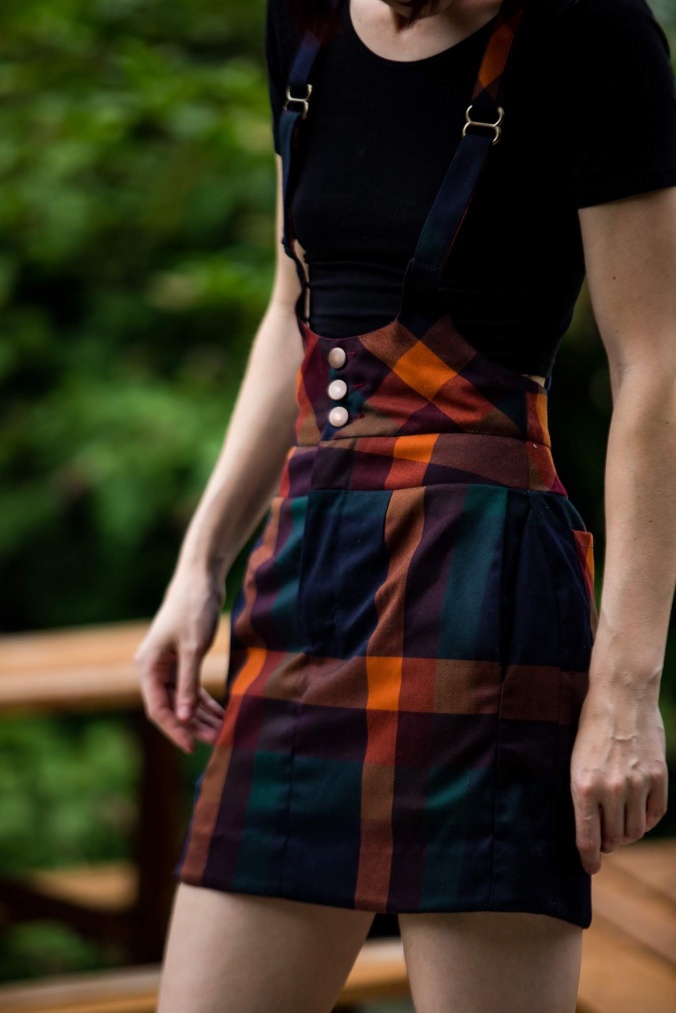
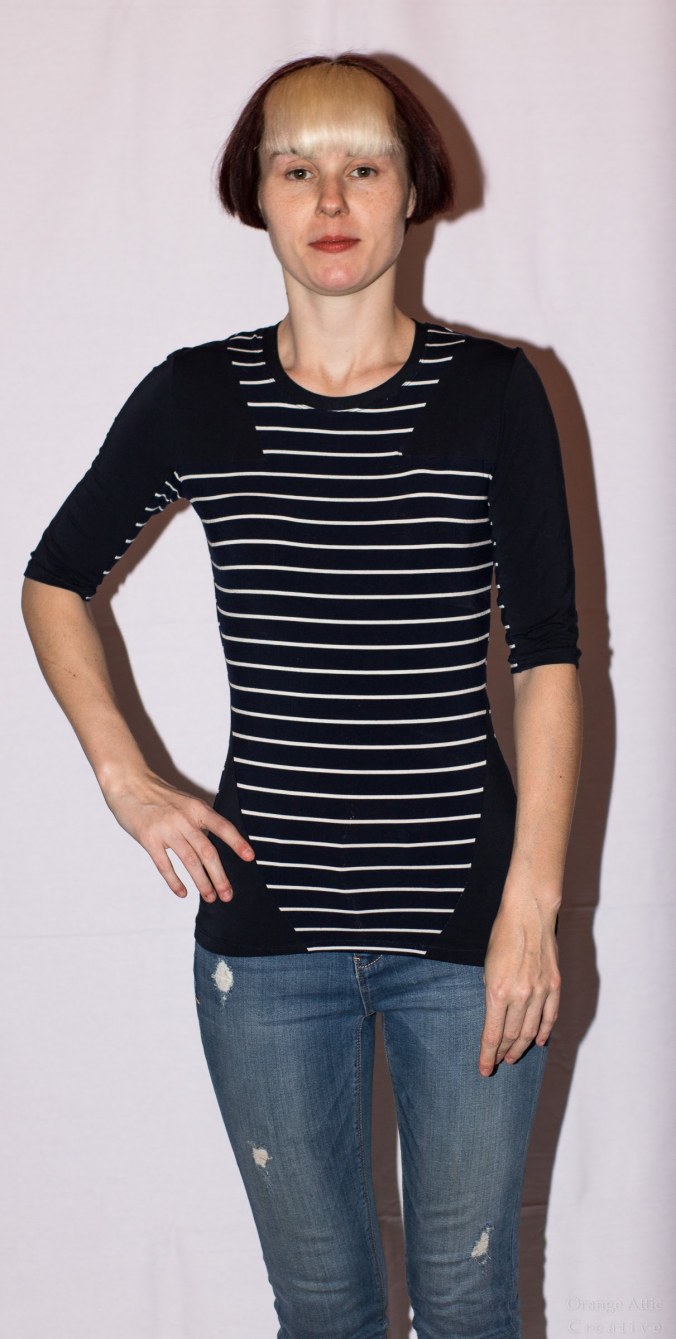
Crotch
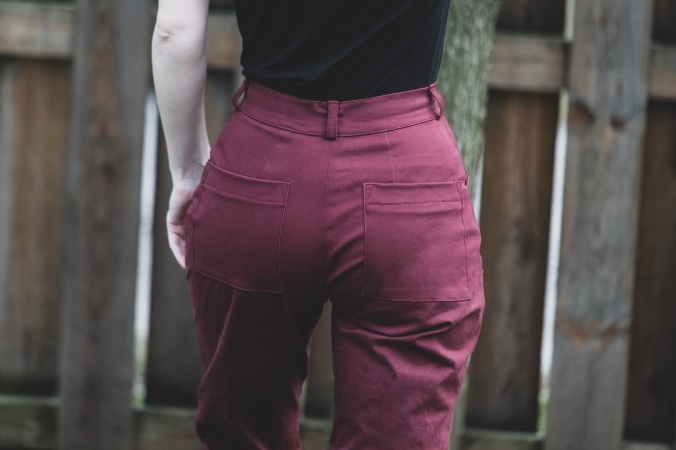
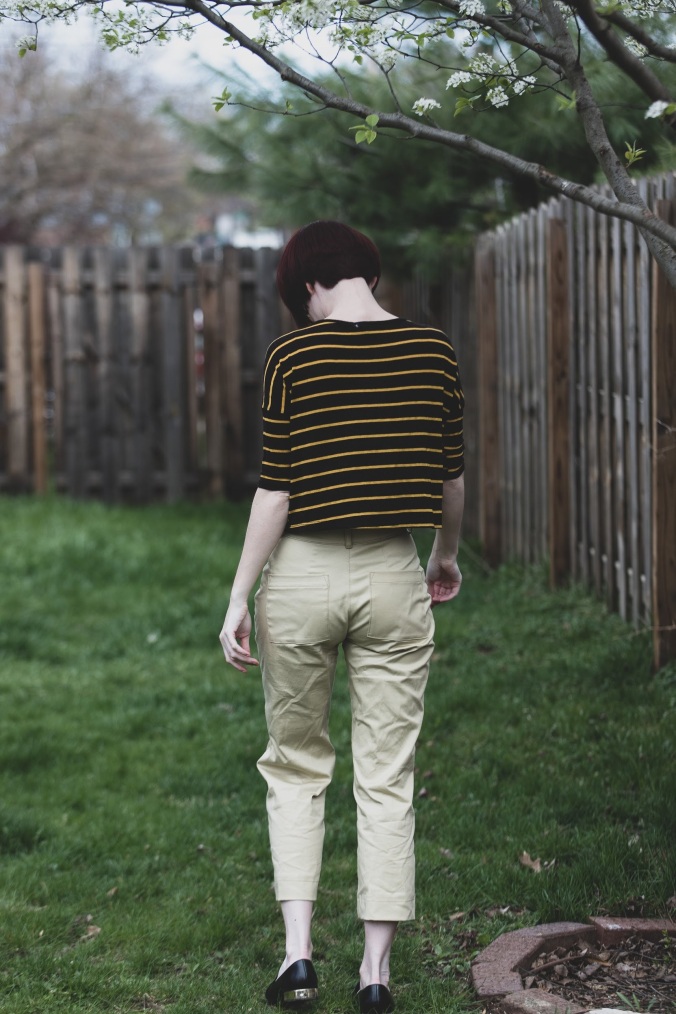
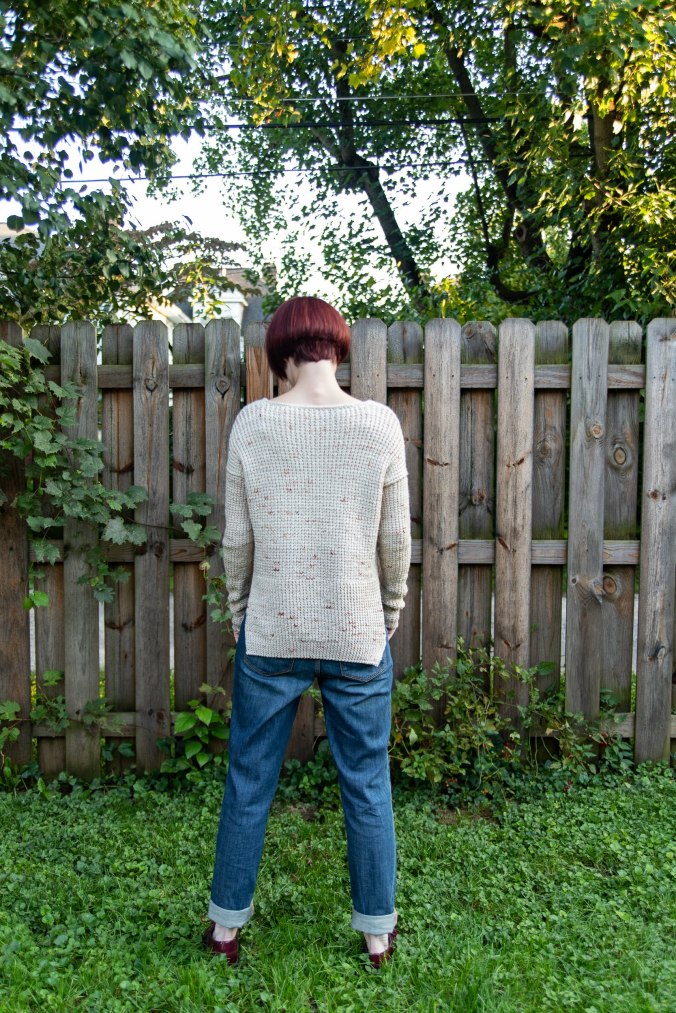
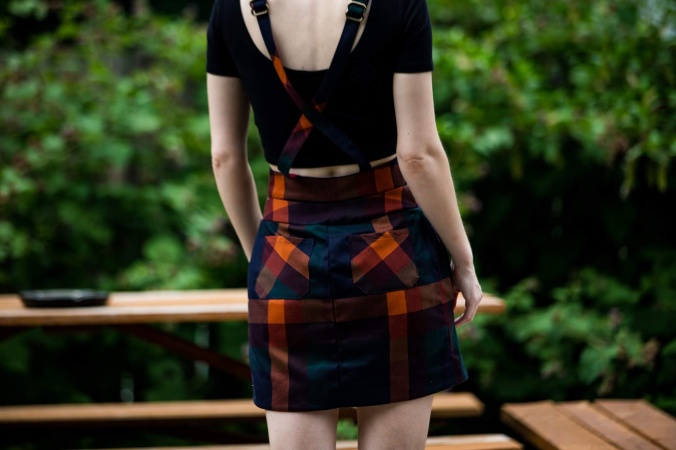
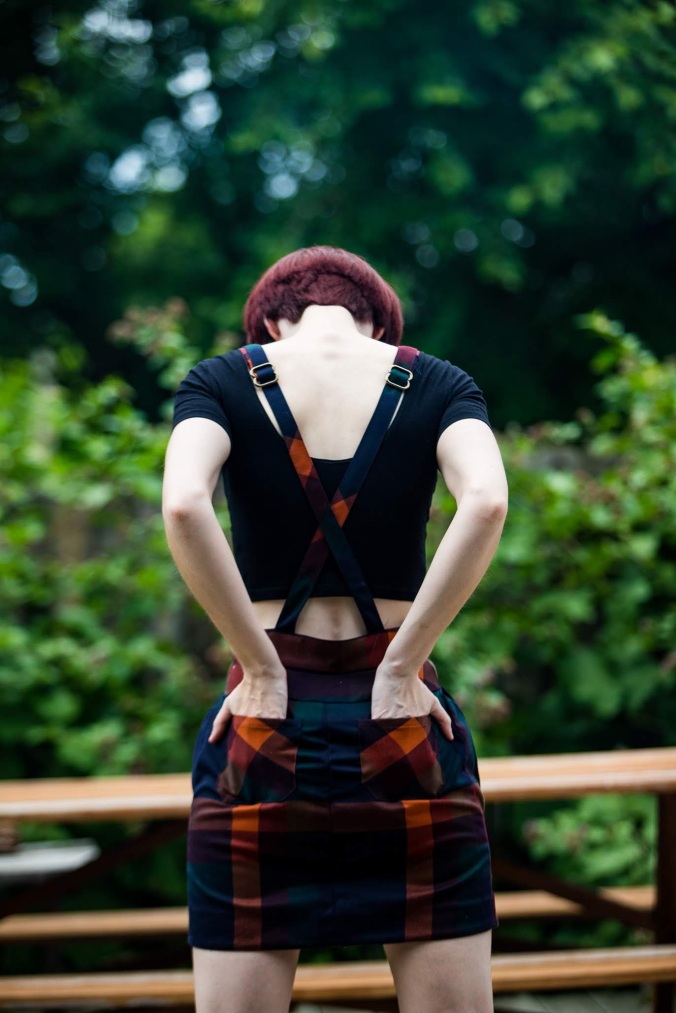
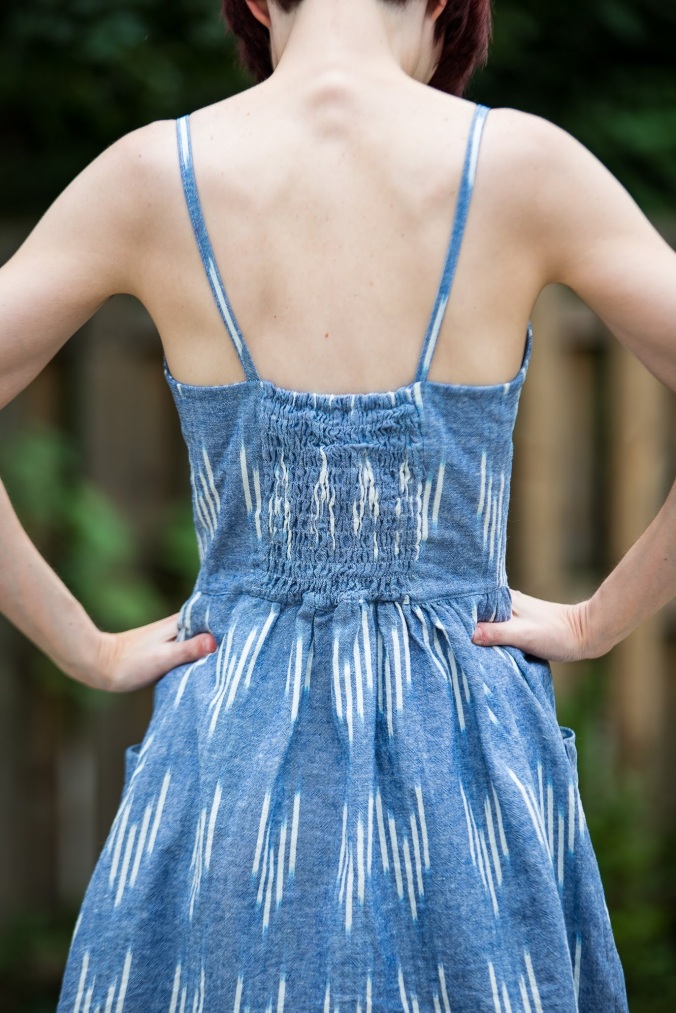
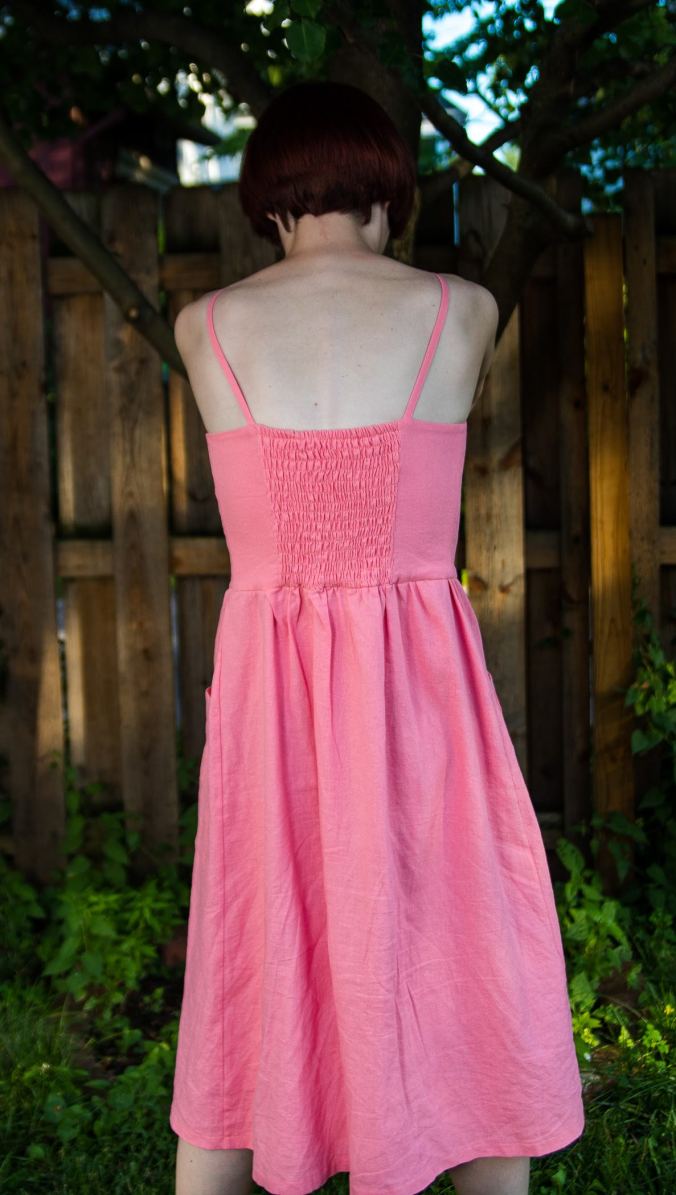
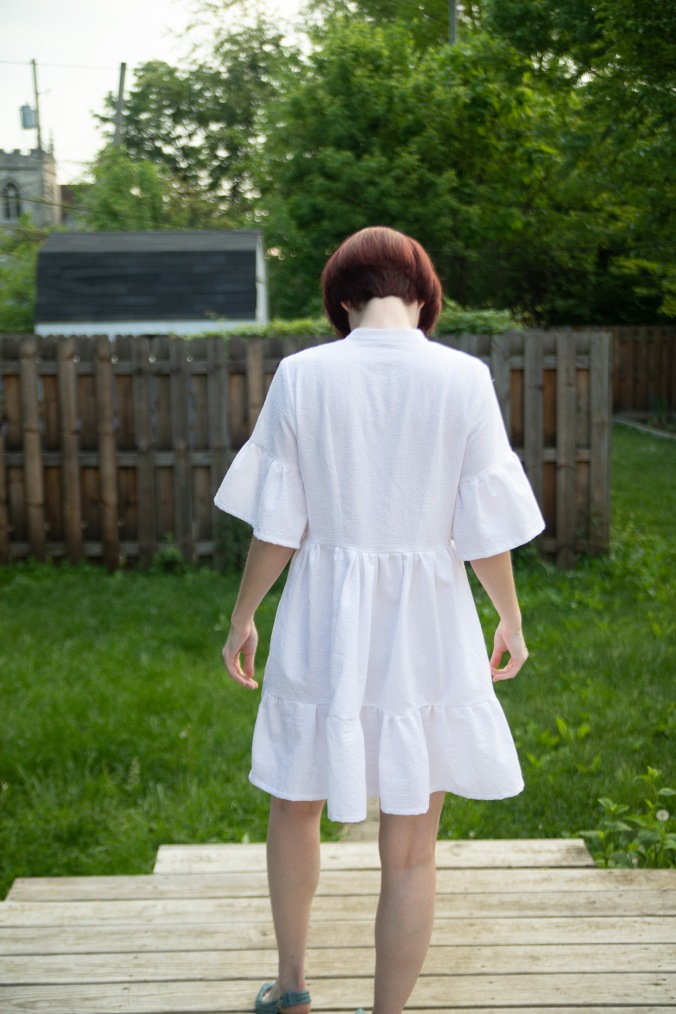
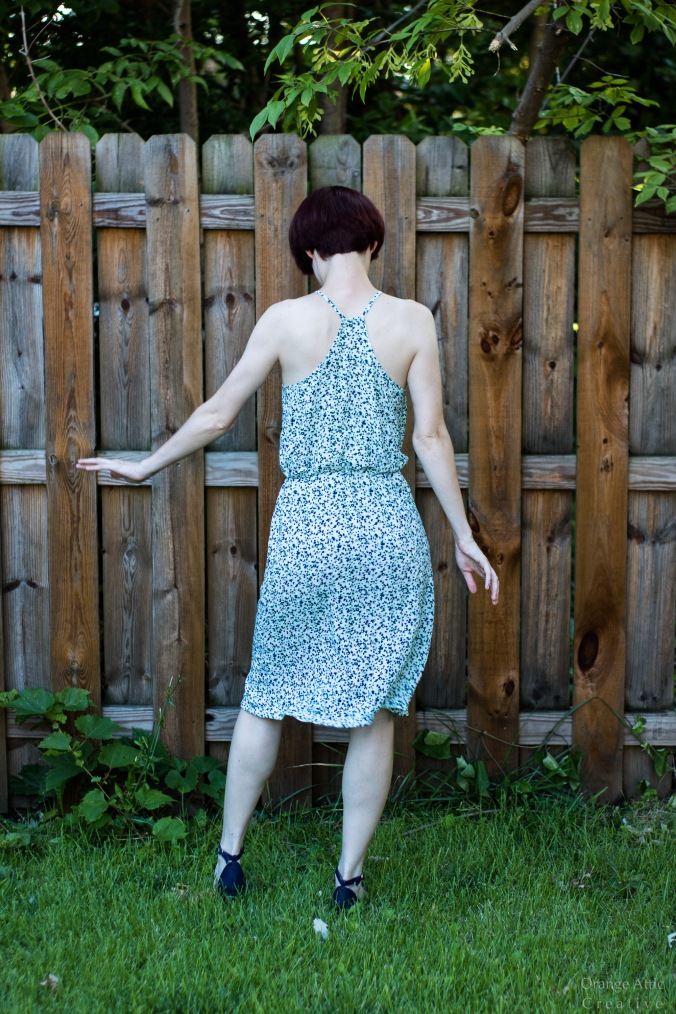
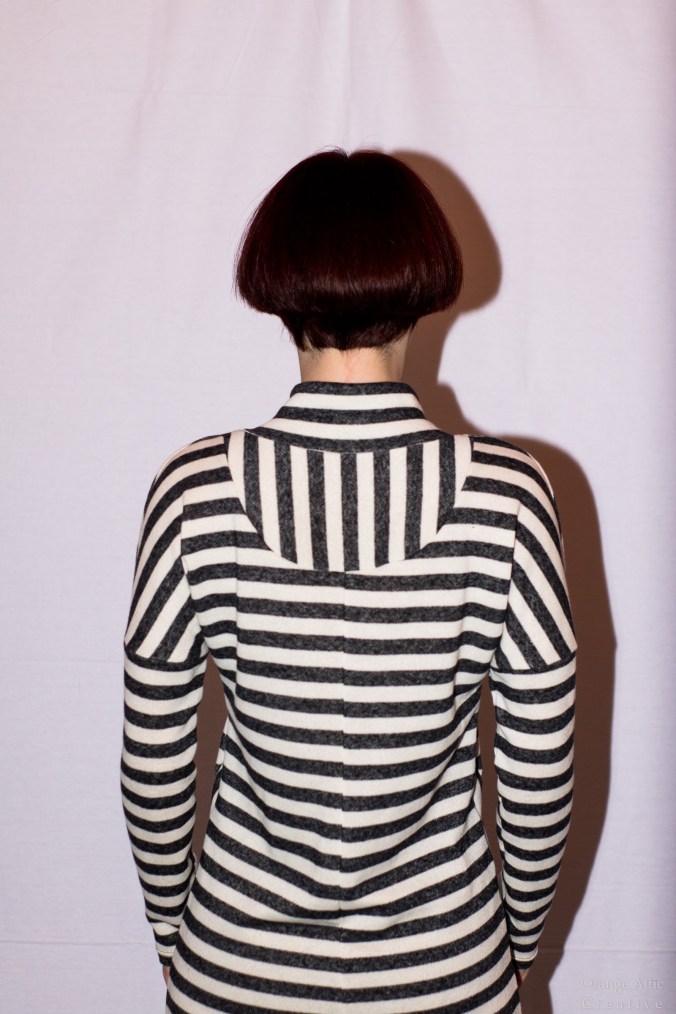
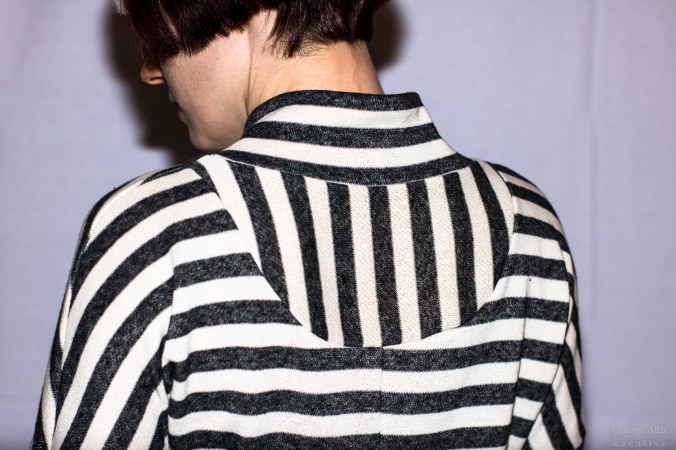
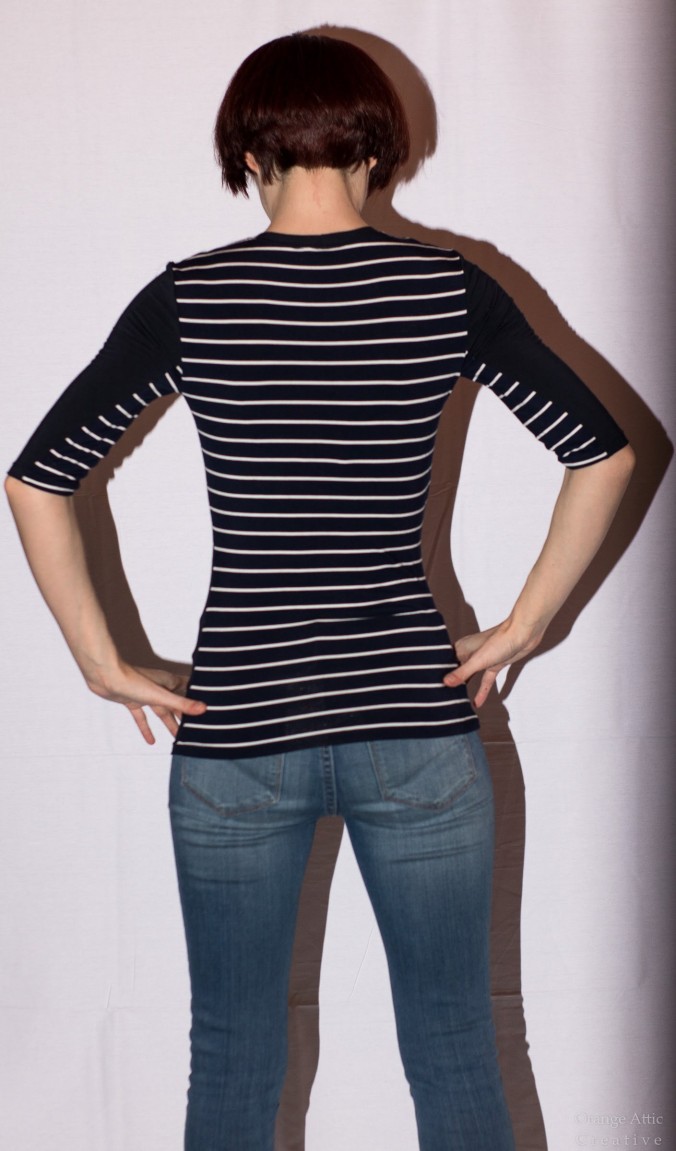
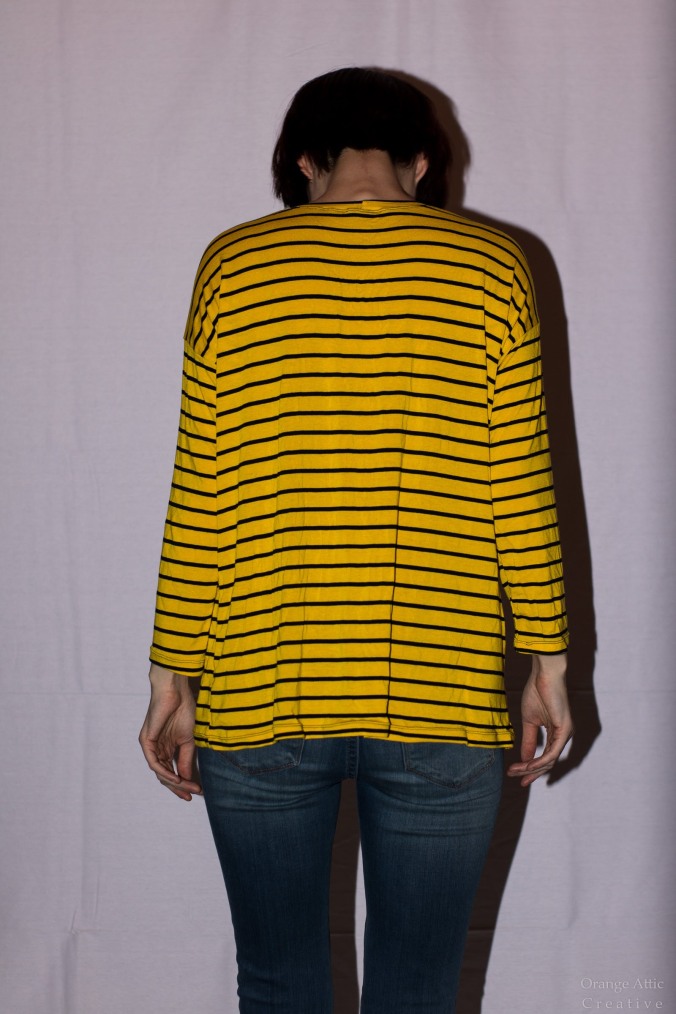
Back view
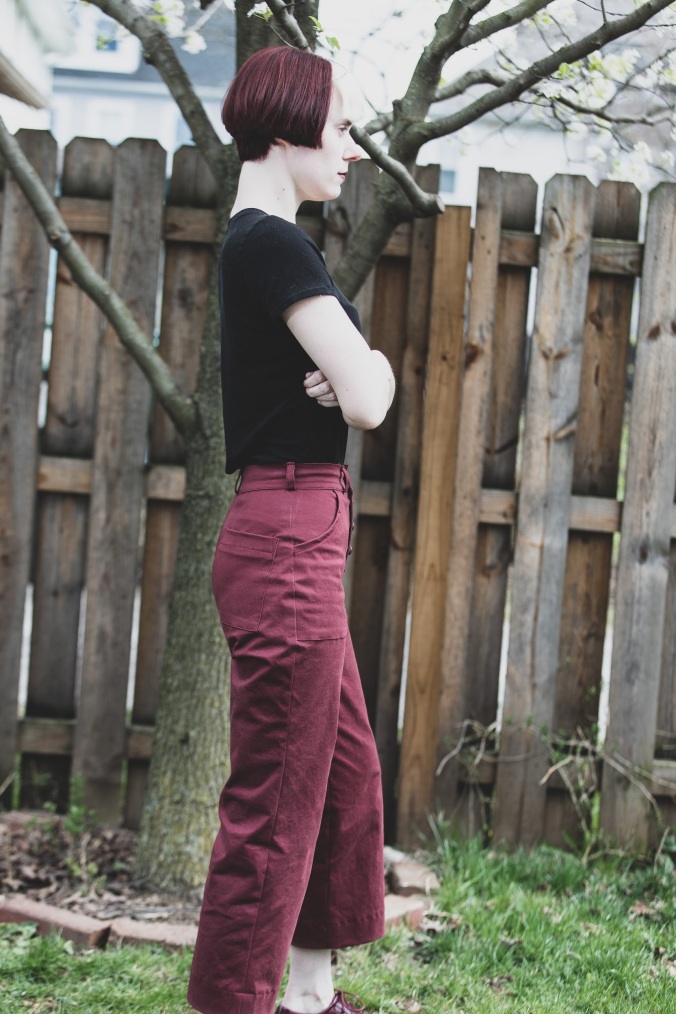
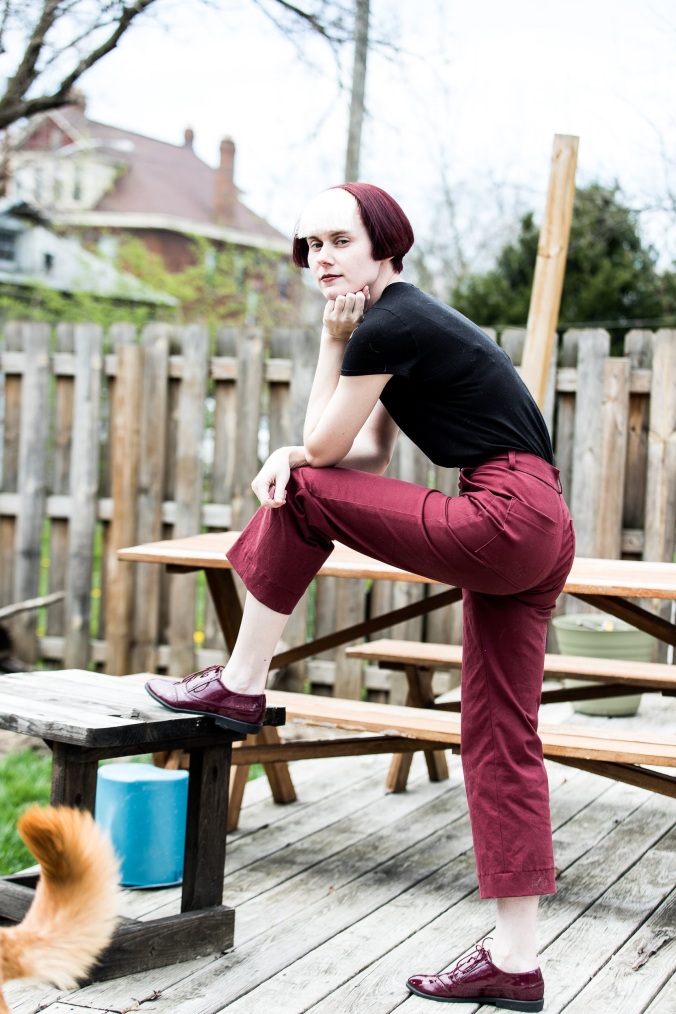
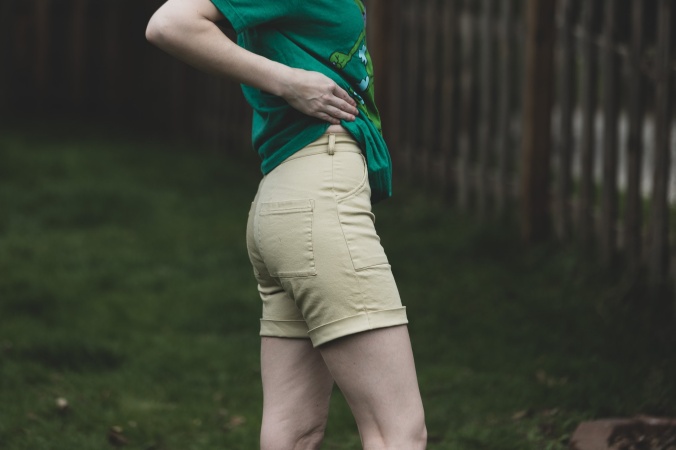
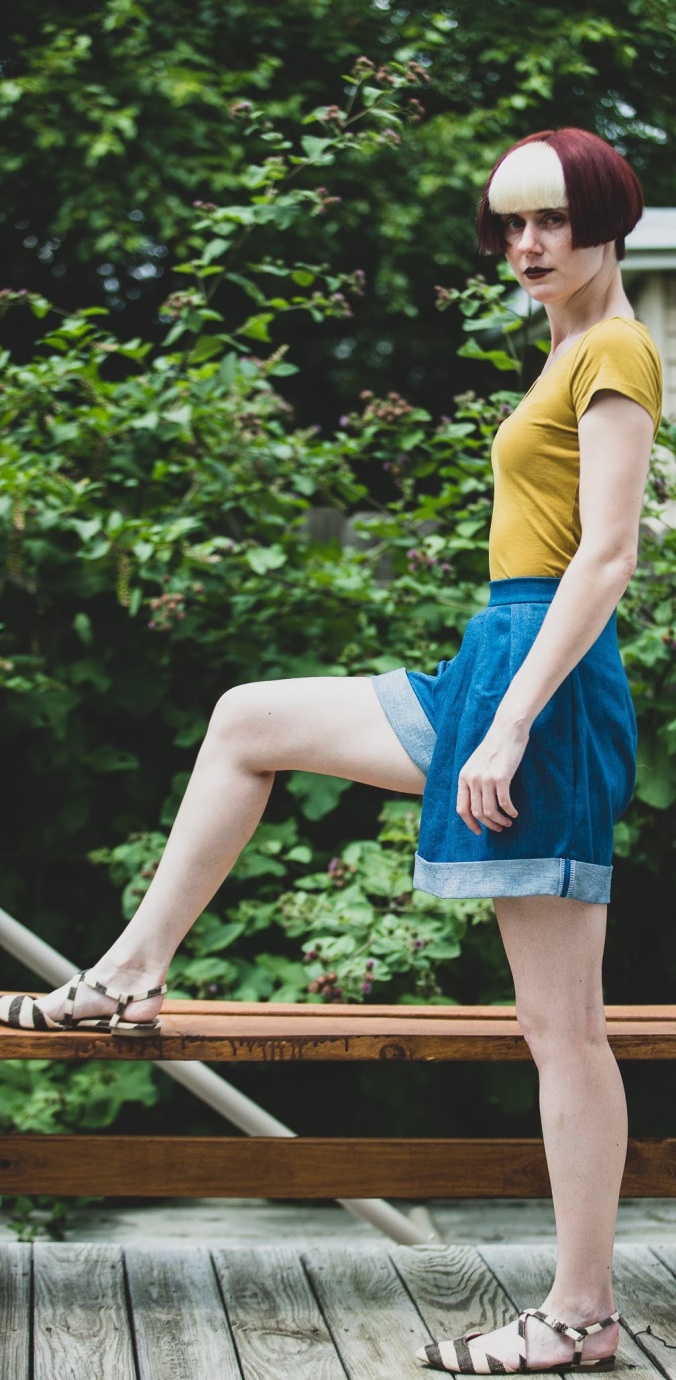
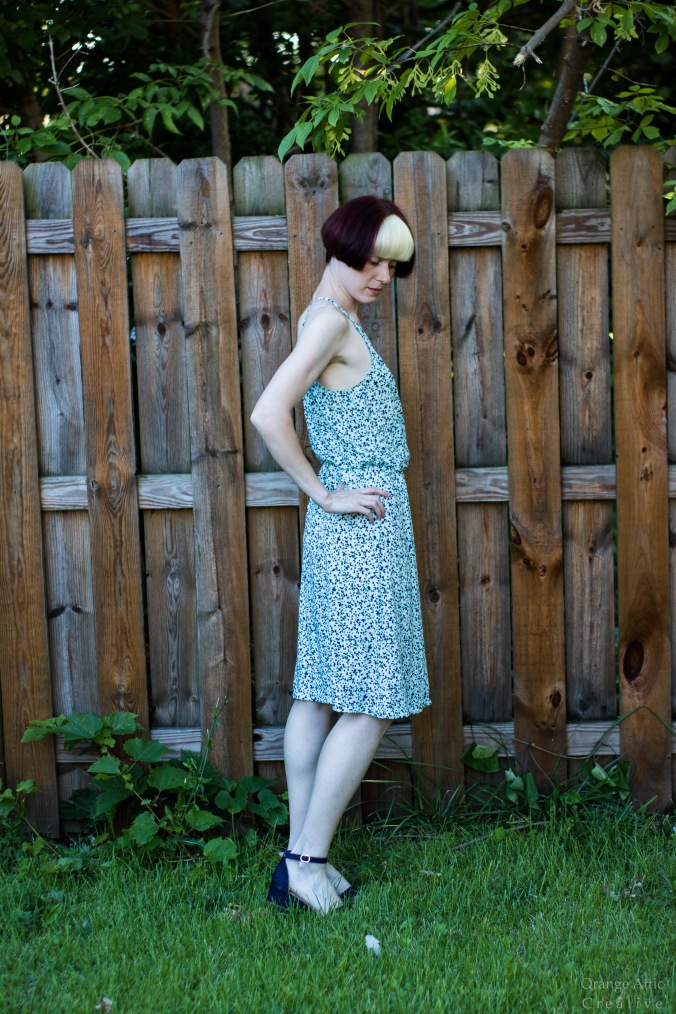
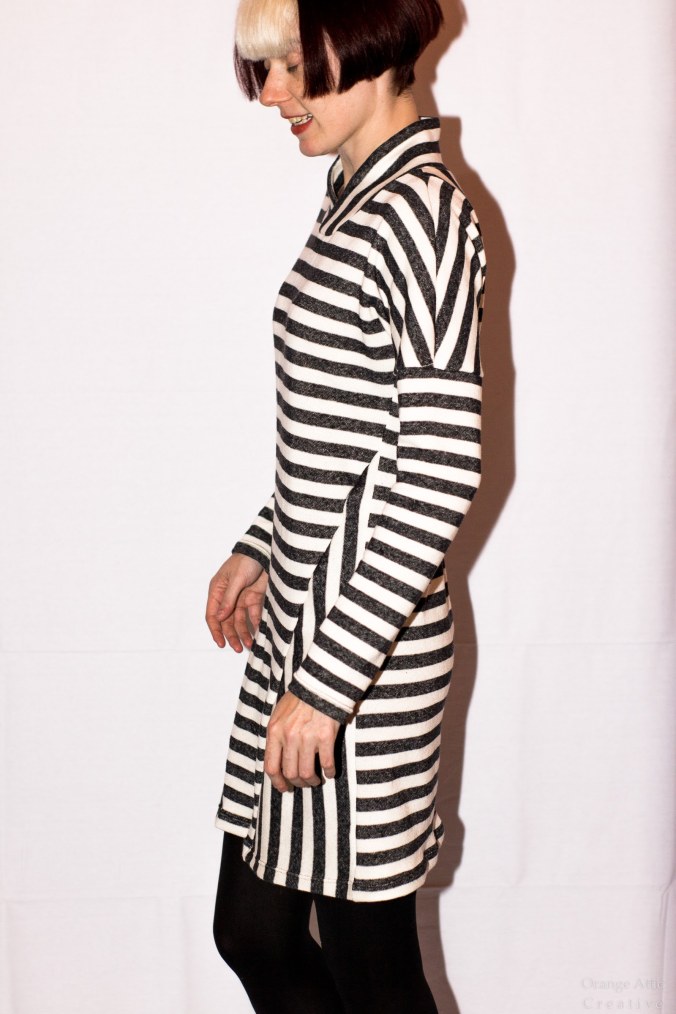
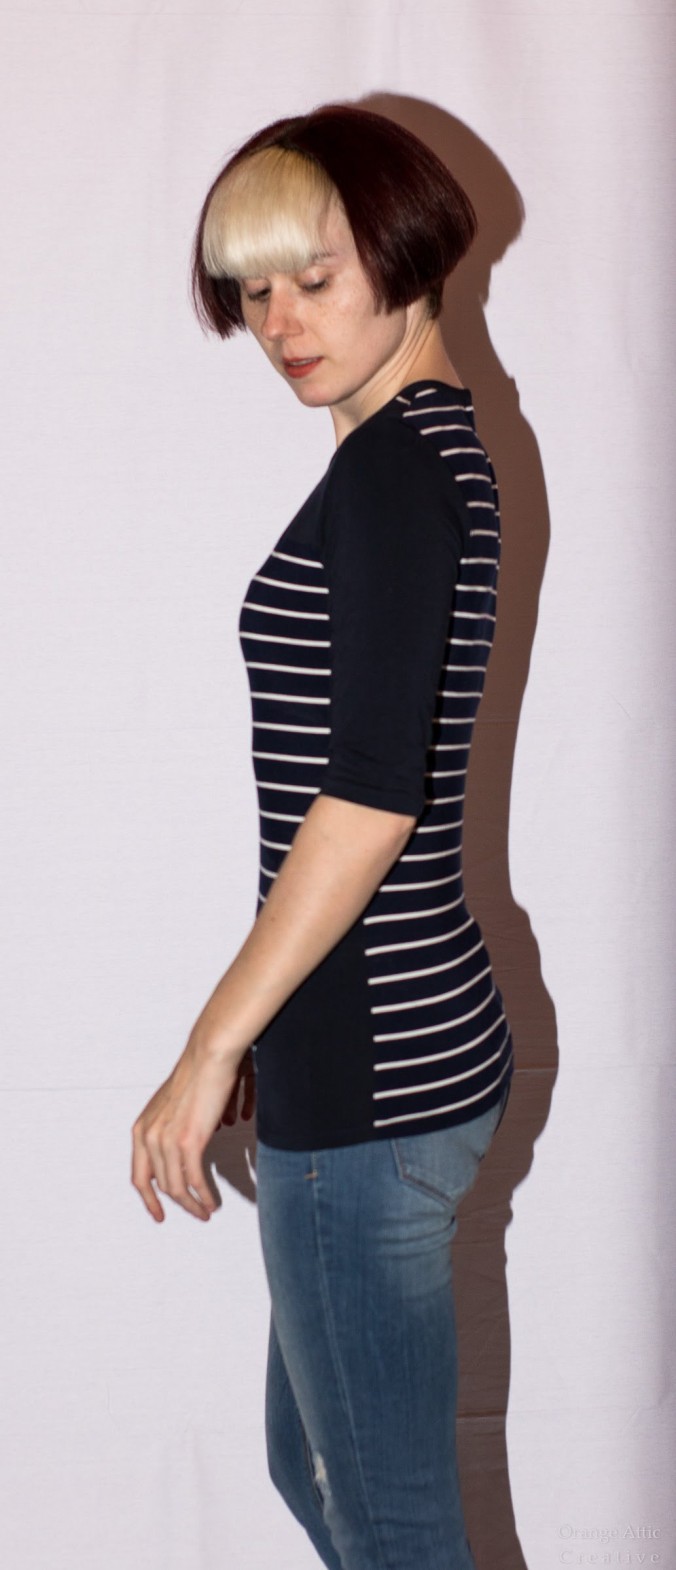
Side
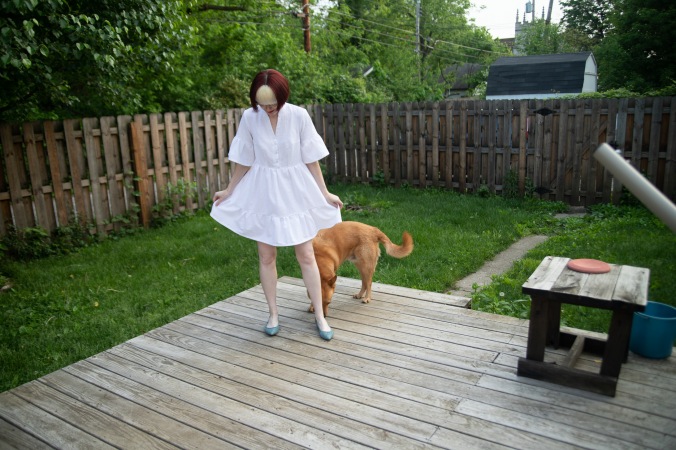
Trying to look casual

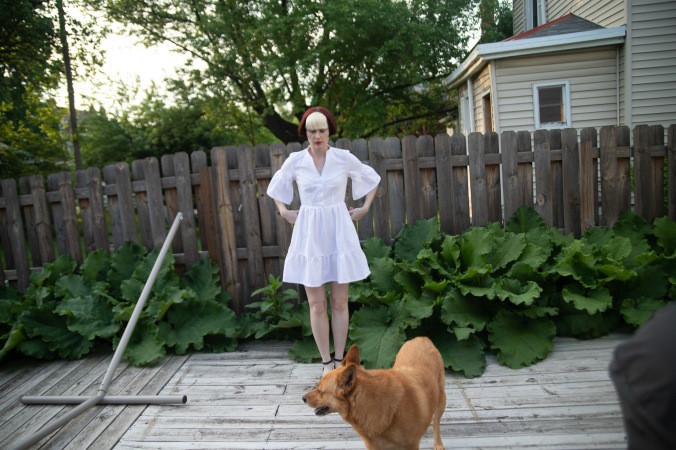
Surly
Rear view, complete with slight wedgie…
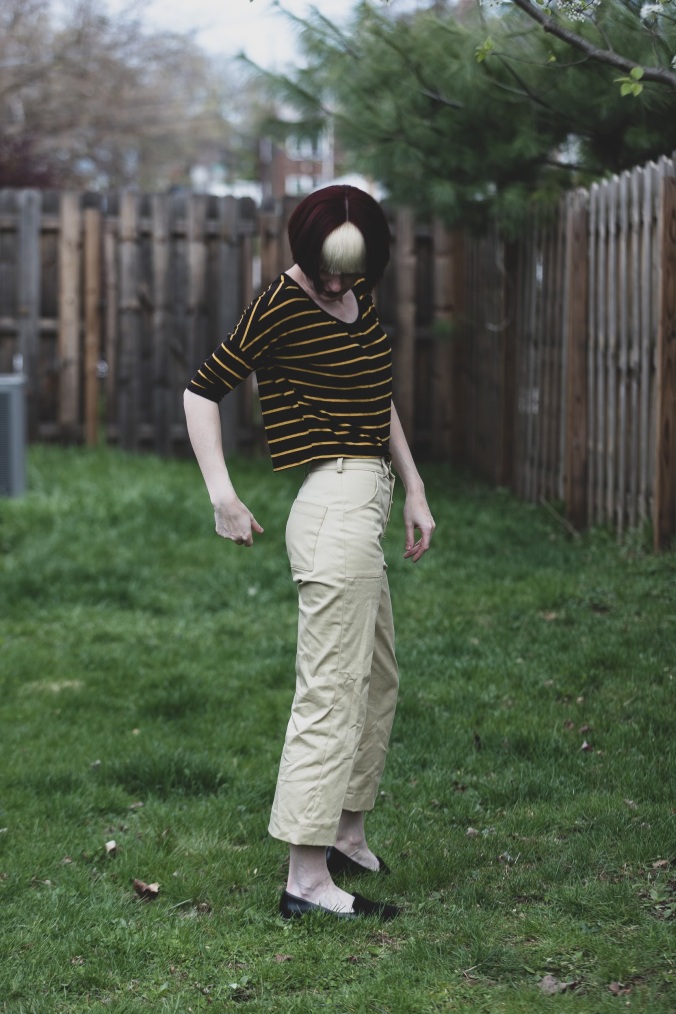
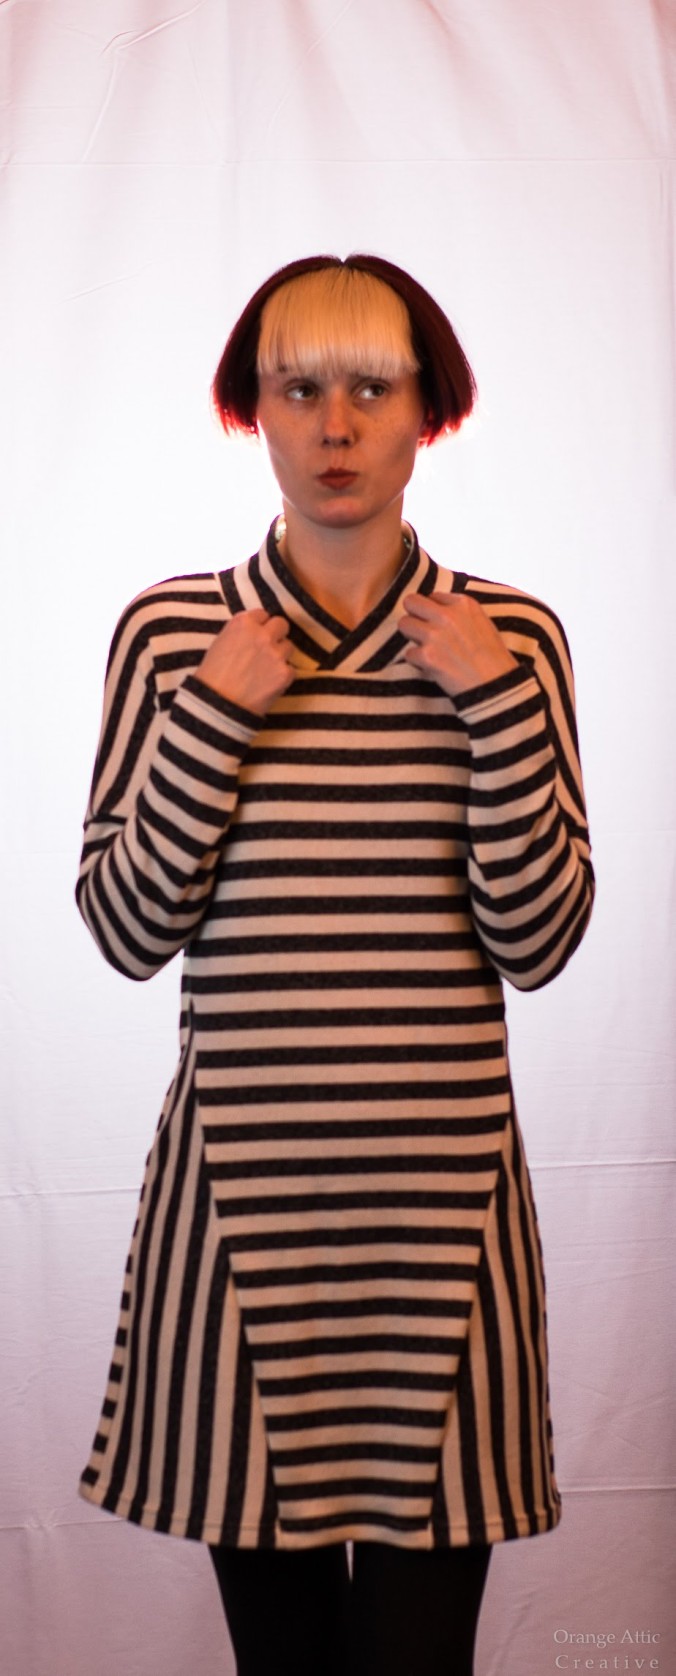
Checking my wrinkled self out…
Moody
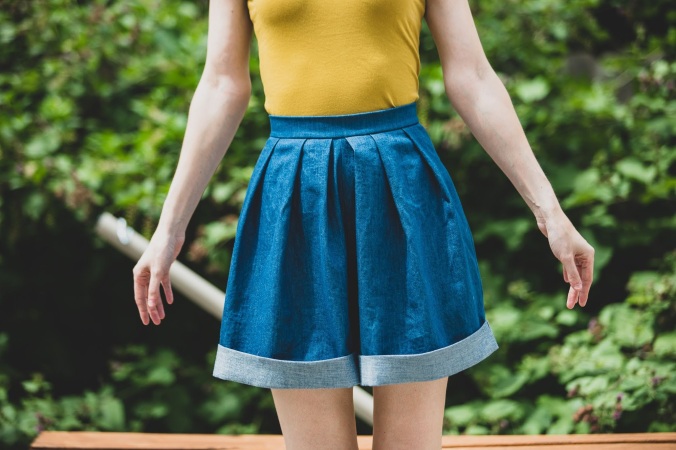
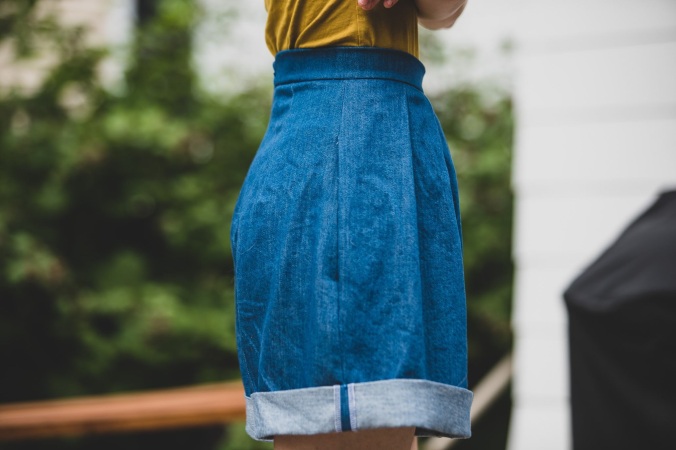
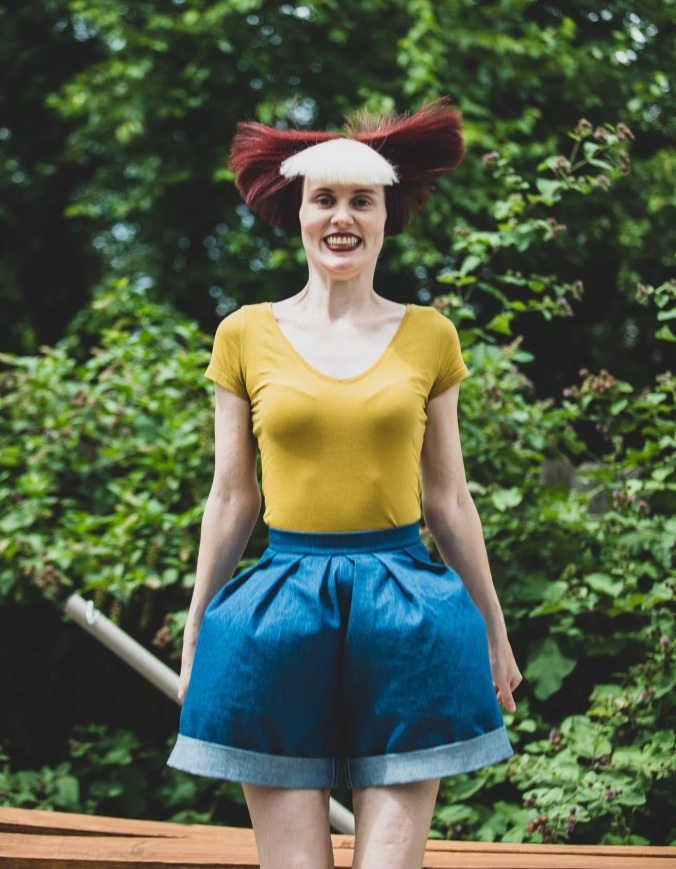
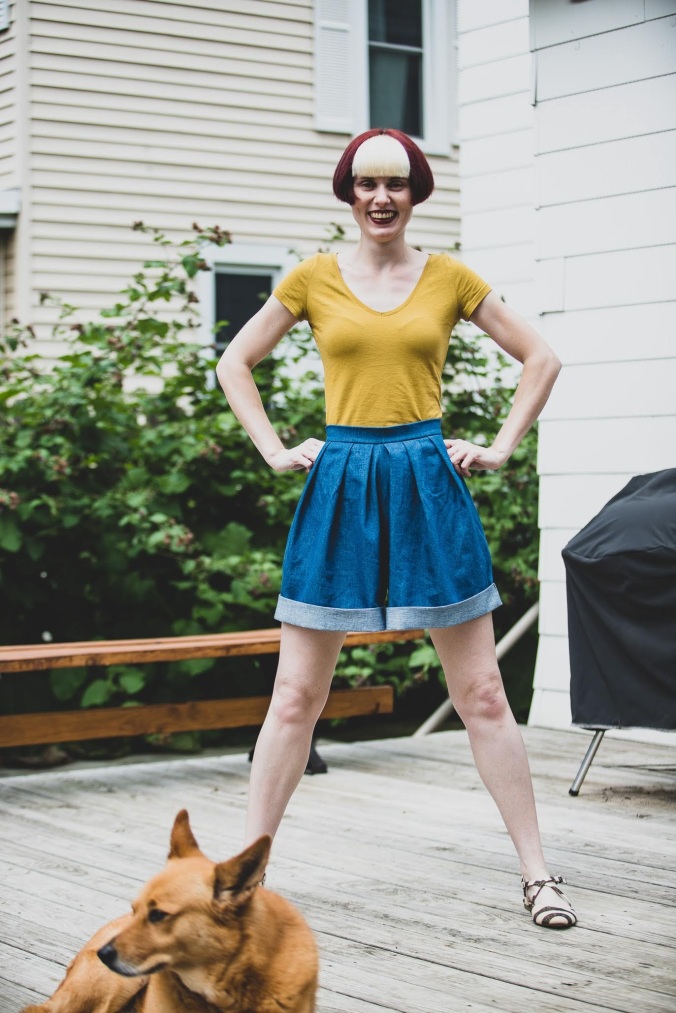
Shorts!

Tight shorts…
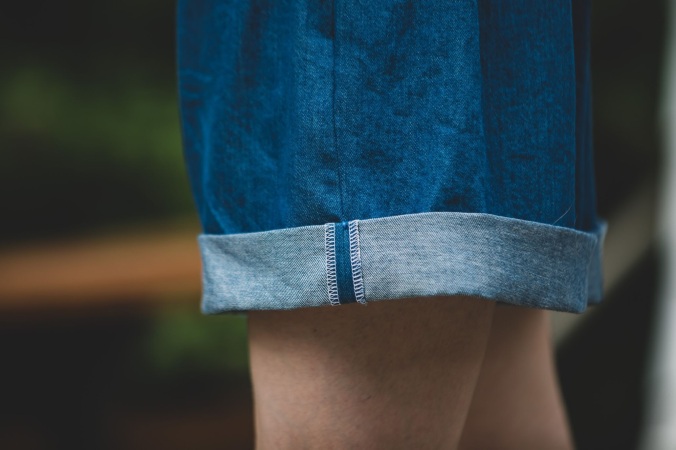
Cuffs!
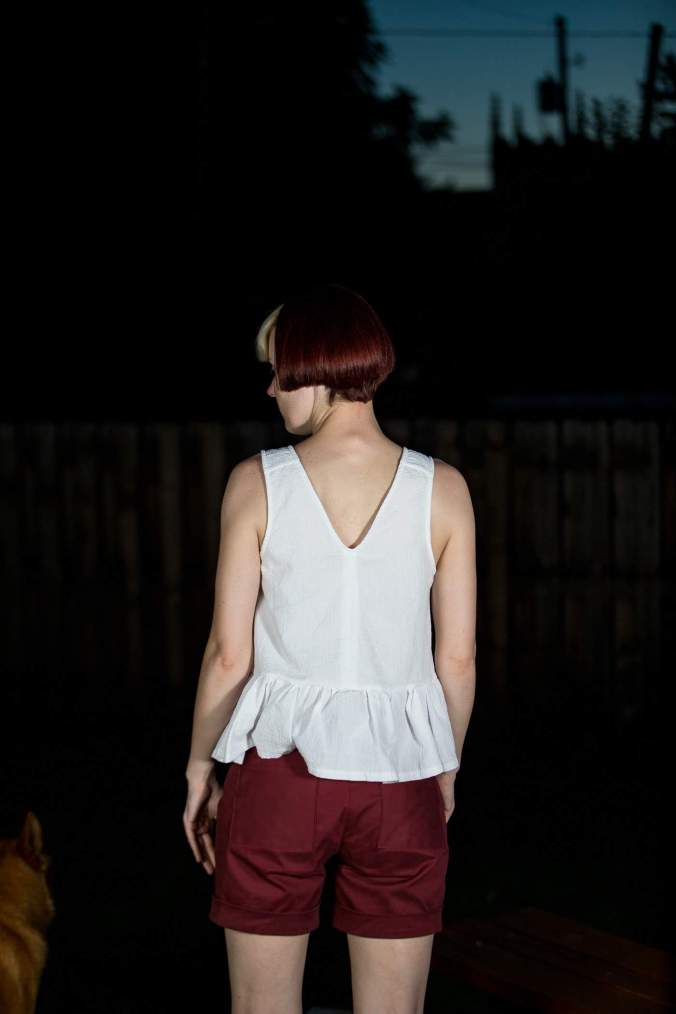
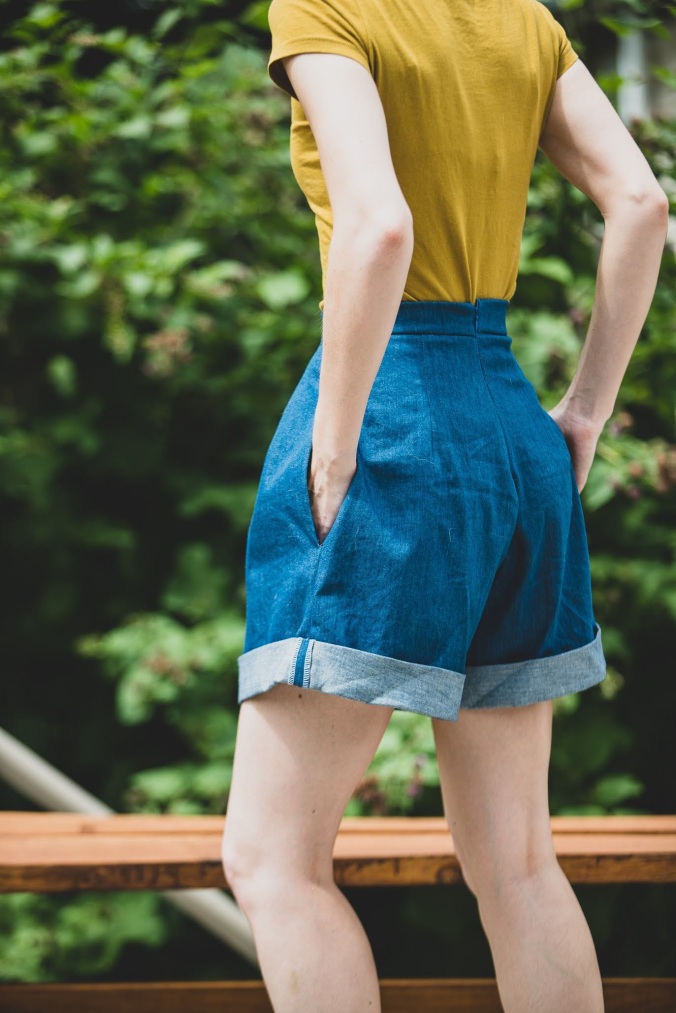
Back view, minus the vacuum-sealed look…
Hooray for #sewingleftovers
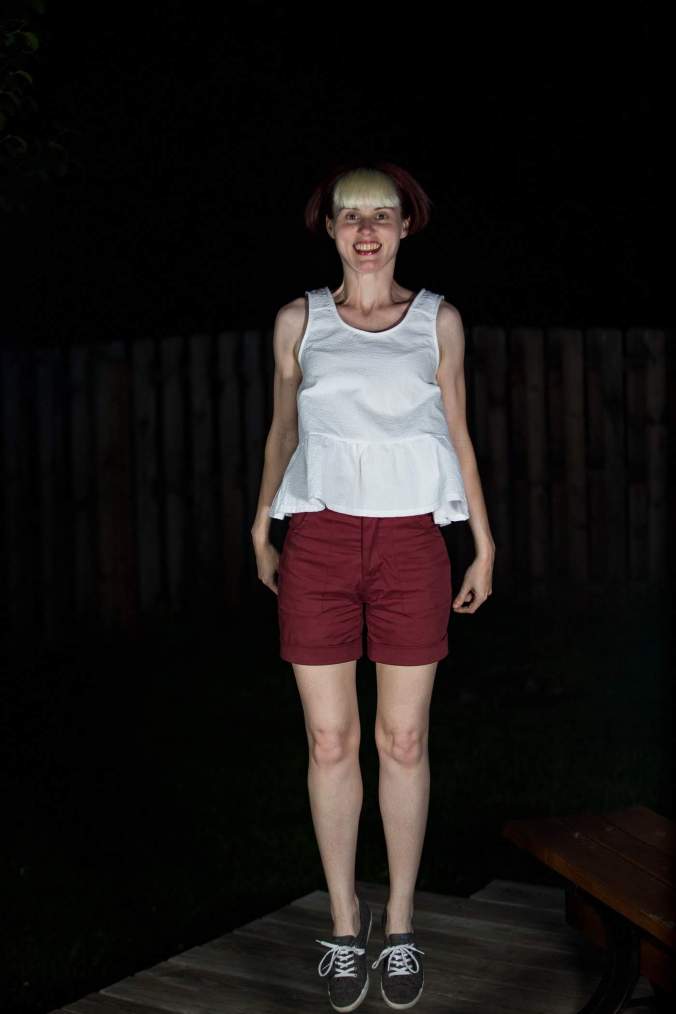
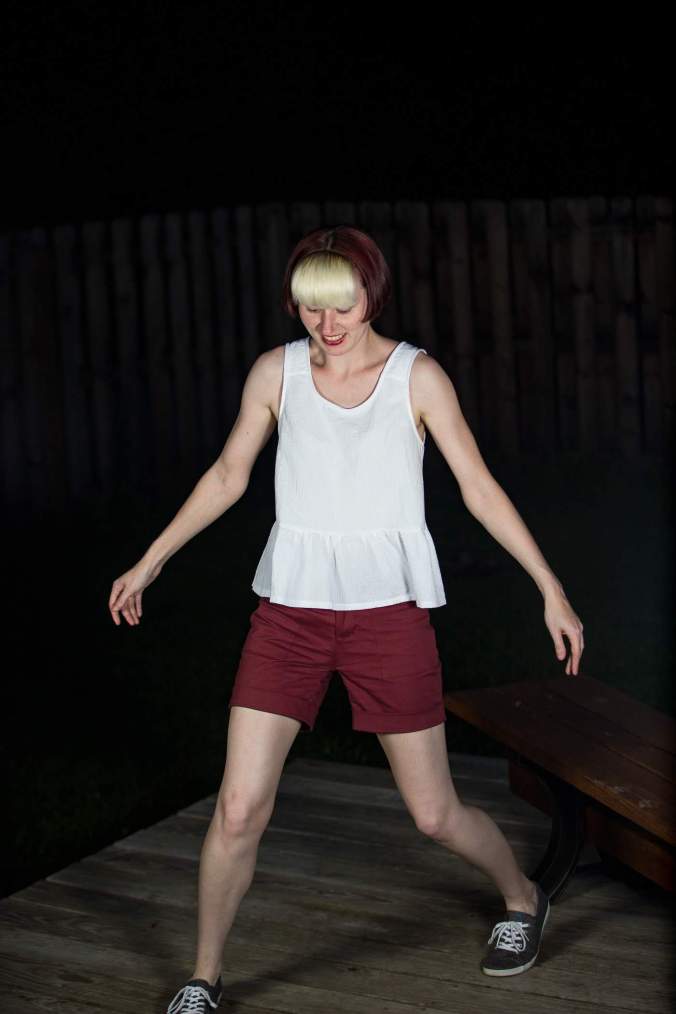
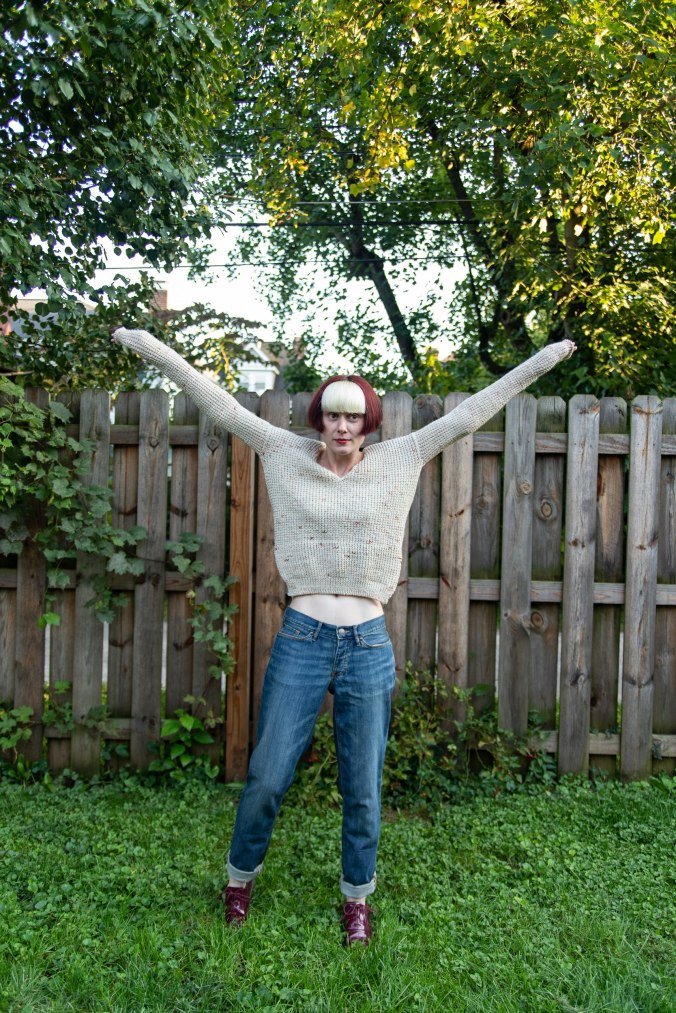
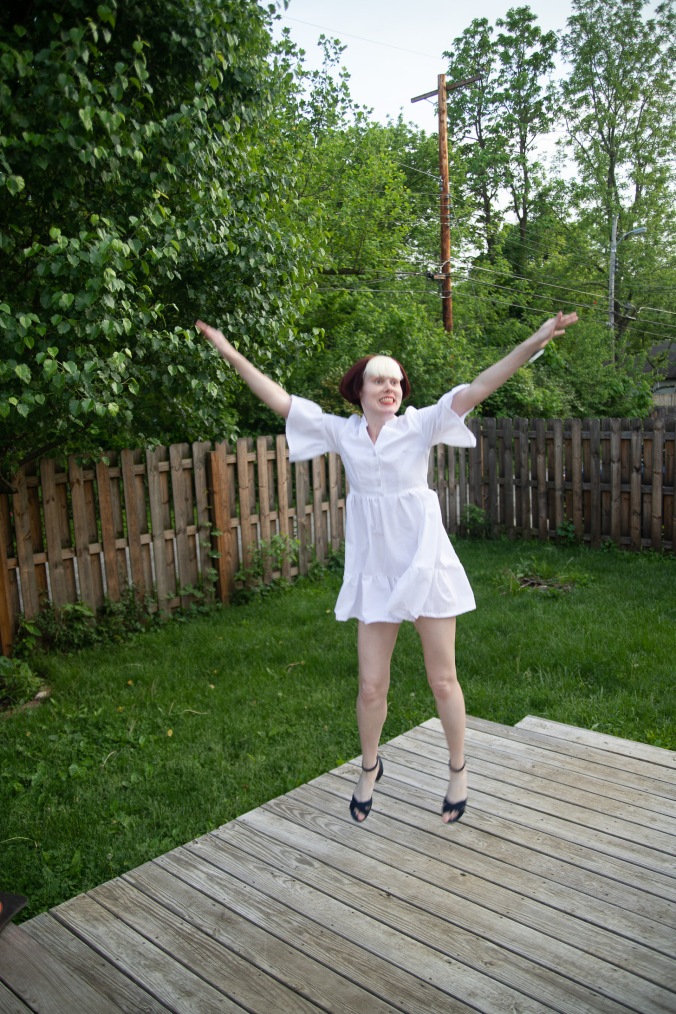
Jump!
Okay, so 2 pairs are shorts. But…
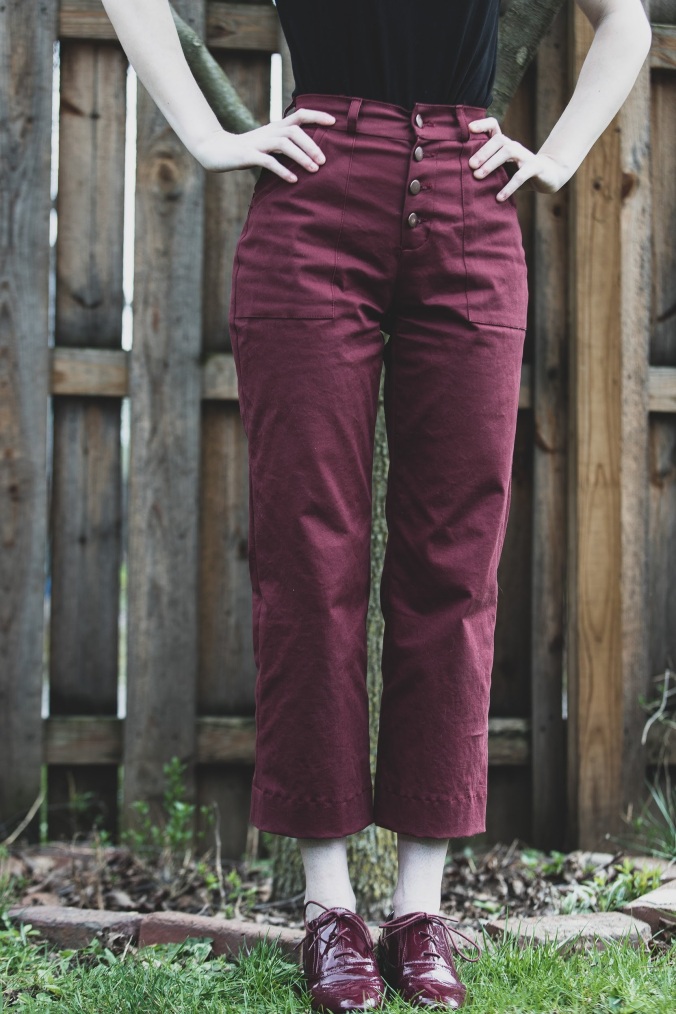
LANDER PANTS!!! You guys, I love them. I am mentally planning more pairs already!
As someone who plans to wear skinny jeans forever despite their “no longer cool” status and a general skepticism of OPPPs (Other People’s Pants Patterns), I admit that I was instantly all about the design of the Lander pattern. It struck me as a good balance between a 70’s style and modern trends. The shape of the legs isn’t too wide, either–I cannot handle WIDE pants. Obviously I made and wear my TPC6 trousers, but those have a very unique style and shape; they were definitely an exception to my rule(s)!
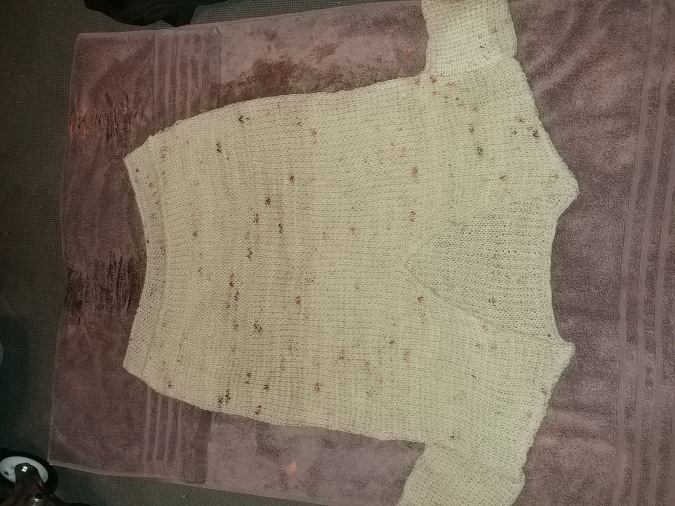
I cheated a bit with these Landers: I made them all out of stretch twill. Originally, the plan was to make View B of the Lander pattern in the wine color–it’s not my go-to shade of red or purple, but I thought it would make nice trousers. I only ended up with this many Landers because I thought it was a good idea to test the crotch adjustments I made by making a pair of shorts out of the colorway I liked the least–the tan. And then it kind of snowballed into, “Hmm, that went well, and tan trousers would be pretty wearable…” and “While I’m here, I might as well make the wine pair too, since that was the entire point…” and finally “Fuck it, I have so much extra fabric left that I kinda have to make wine shorts too…” shit-show of sewing the same thing 4 times in a row. But at least I made use of my leftovers, eh?
Fitting Notes
As I mentioned, fit adjustments were most definitely made. Pants can be daunting to fit, partly because it’s labor-intensive to work out how your crotch is shaped in 2 dimensions. Luckily for me, I have a pants block made from my RTW skinny jeans (I am very, very lucky that many RTW jeans are capable of fitting my body well) that I can use for a comparison against any fitted crotchal region. 😉 (I didn’t do that against my TPC6 trousers because the crotch is not fitted against my body.)
Here is your periodic reminder that I am not a drafting expert by any stretch; I use my block because it is easier than fussing with someone else’s draft, and typically I am content to just work from that block without getting too analytical about a given crotch draft unless something is really, really appalling and obvious. Perhaps someone out there will feel that I am doing a disservice by just getting on with things that way, but at the end of the day I am only an expert on my own body and how I like clothes to fit it. I won’t waste my time analyzing something that I’m not even really using, if that makes sense. YMMV, of course.
ANYWAYYYYYY…
Most of my changes were made to the back pieces, which I expected. I started from a size 0 because it was the closest to my measurements. I forgot to get a photo of the back leg piece before I cut it up to match my block, but suffice it to say that there was a serious difference in shape!
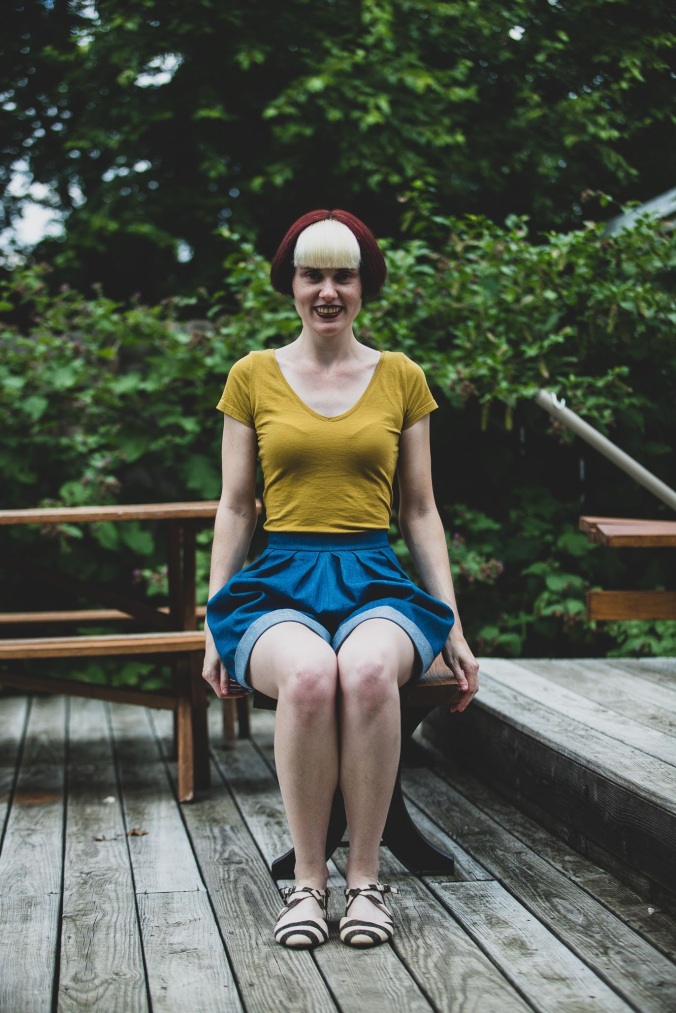
The tan shorts were my guinea pigs; I took a big ol’ wedge out of the center back, and shaved a little bit off the front crotch as well. They fit GREAT until I had to wash them the first time (long story; the short version is they got dirty when I put the buttons in) and are now really snug. They also shrank vertically, so I spend a lot of time pulling them out of my labial region. 😦 The upside? I put the other 2 colorways of this fabric through a second wash and dry cycle before cutting things out!
See? Tight. They’ve since relaxed a bit more and are fit for polite society…
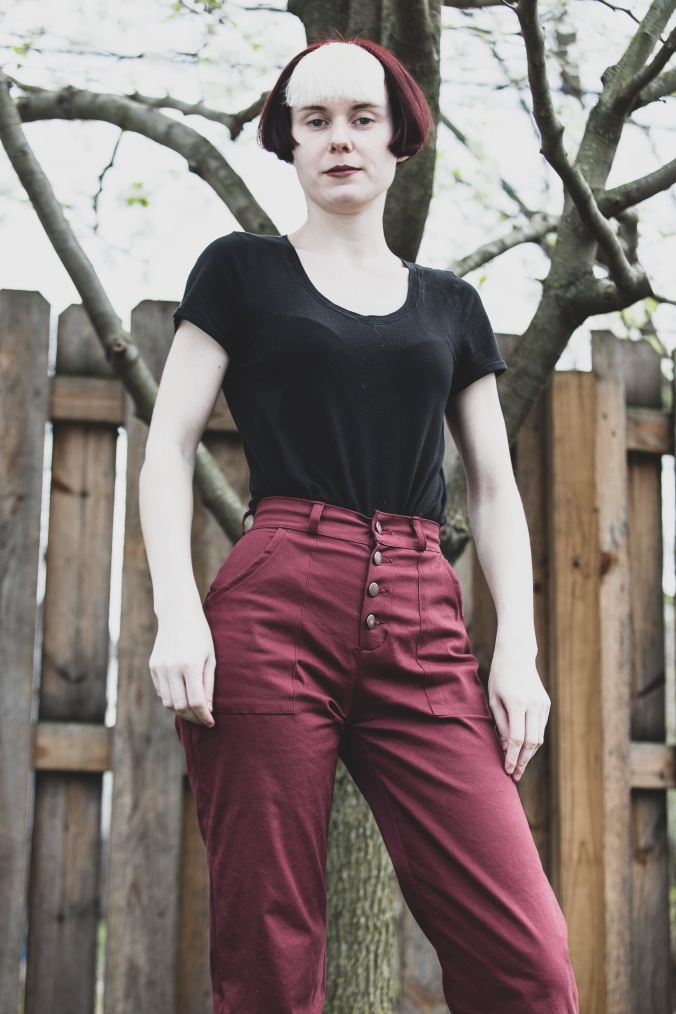
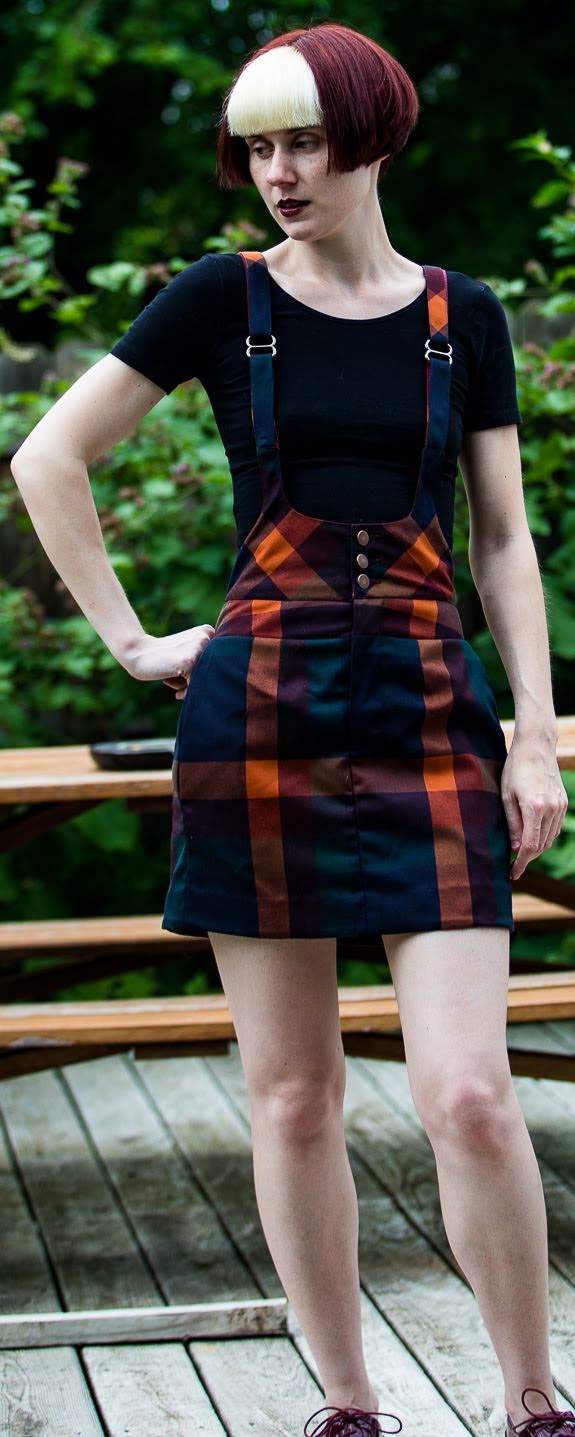
I made a few adjustments to the first pair of pants versus these shorts, mainly for insurance purposes. The tan pants are looser in the waist and hips than I was originally aiming for (what can I say? I like stuff tight…), but I thought they looked pretty good–if slightly frumpy–so I left them alone. The wine pants are…tight. I definitely over-corrected after being slightly disappointed with the tan pair, LOL. Having very different waist and hip measurements makes pants a challenge when you like stuff tight and hate belts. There is a lot of wiggling required to pull up that wine pair of pants but I make it work!!
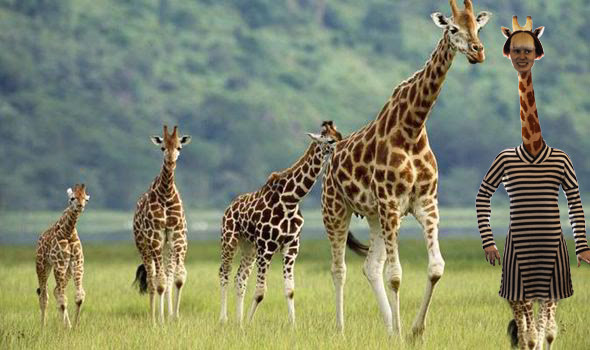
A note on the rise and length: I am about 5′ 8.5″ and the Landers–and all True Bias patterns–are drafted for a height of 5’5″. Height and proportions are not the same thing, and I know that my extra height is mostly concentrated in my torso (and my giraffe neck). When I used to buy clothing, I never needed “Long” sized pants–just the “Regular” length. With all that in mind, I didn’t make any changes for length to the rise or crotch depth of the Landers (again, THANK YOU, PANTS BLOCK!), though I did take a smaller hem than indicated based on my personal length preference. Knowing how your body’s vertical proportions are distributed is vitally important in getting a good fit, and you can’t assume a pattern is proportioned like you are just because the draft height matches your own. (Case in point: I always need to lengthen bodices/tops, even on Named patterns, whose base height is nearly identical to my own.)
Finally, I want to reiterate what’s up with the wrinkles along the front crotch/pelvic area, particularly on the wine pants. My front thighs (and, to a lesser extent, hip bones) stick out further than my lower abdomen and pubic bone, which results in an excess of fabric over the center of my pubic/uterine region that manifests itself in these lines. This is a typical thing for me with snug-fitting pants, as you can see in the difference between the two pairs of pants in this post. (It’s also way worse-looking in photos than in real life, since most photos capture all kinds of shadows because I’m just standing there.) I have the same lines on RTW and self-made skinny jeans too–it’s not exclusive to the Landers.
The side-view photos show my thighs projecting forward.
Wrinkles
They do not look this bad IRL, I promise!
.jpg")
Checking myself out…
.jpg")
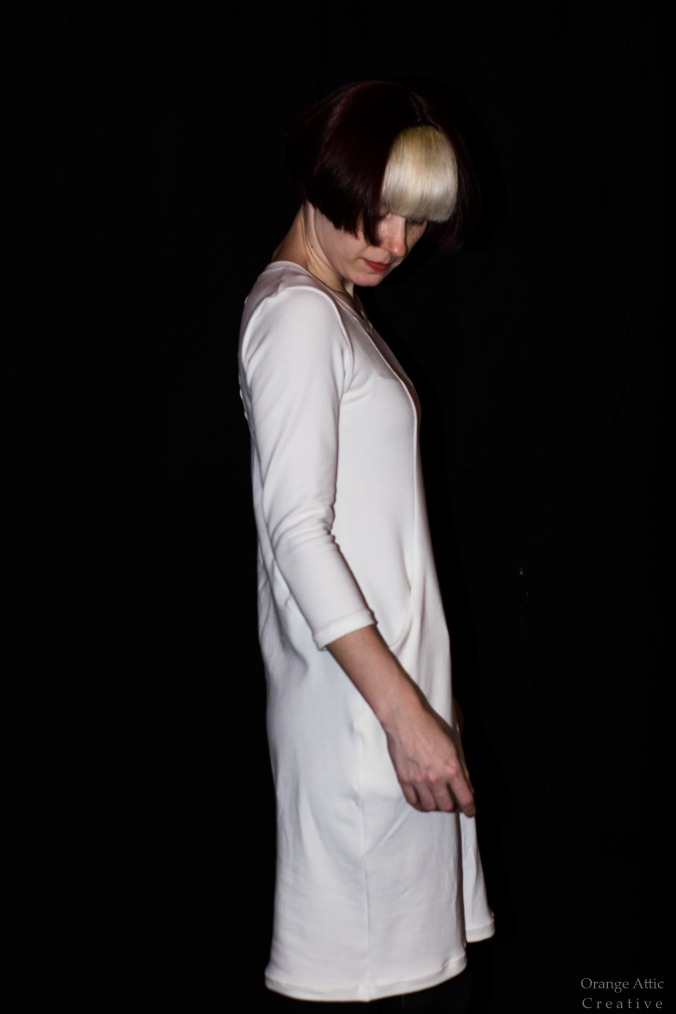
Side
There are adjustments you can make to address this, if you are so inclined; personally, I find this not to be worth my time so long as the crotch fit is comfortable and the pants are wearable. I’m pointing it out (again) because I don’t want anyone to think I don’t know they’re there!
Other Adjustments
Aside from the fit, I did make some other changes to my Landers. I added 1.5″ to the hem of the shorts legs; I also drafted* cuffs for the shorts. The cuffs were sewn on 1/2″ above the raw edges of the shorts legs to get the length I wanted. (So that’s a net gain of 1″ in length, plus whatever the original hem allowance for the shorts was.)
*Seriously, it hardly qualifies as drafting: it’s a damn rectangle.
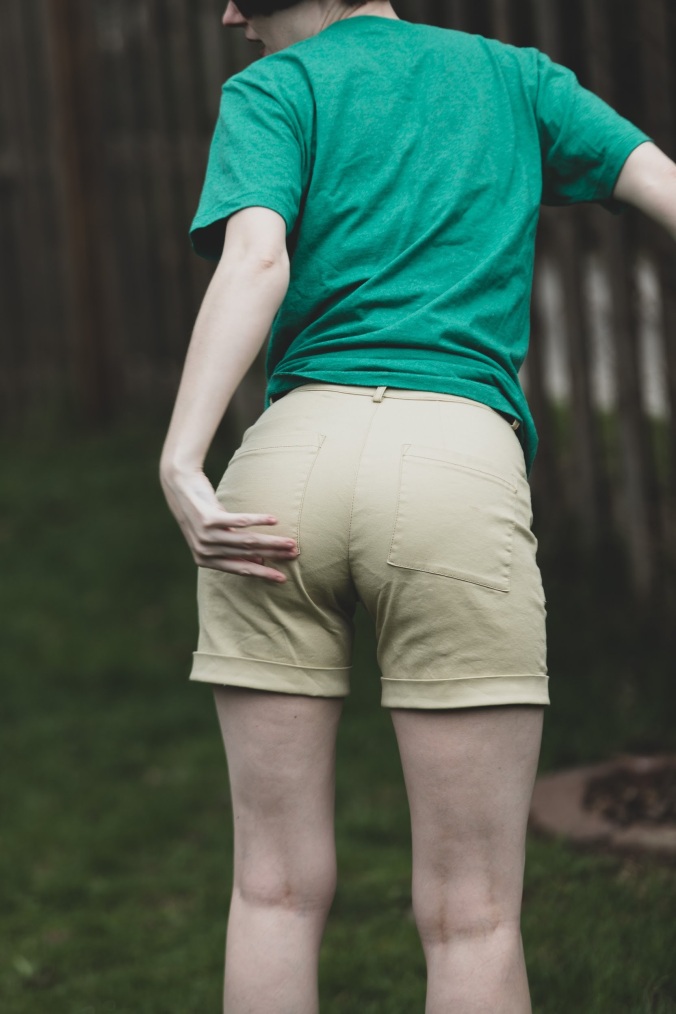
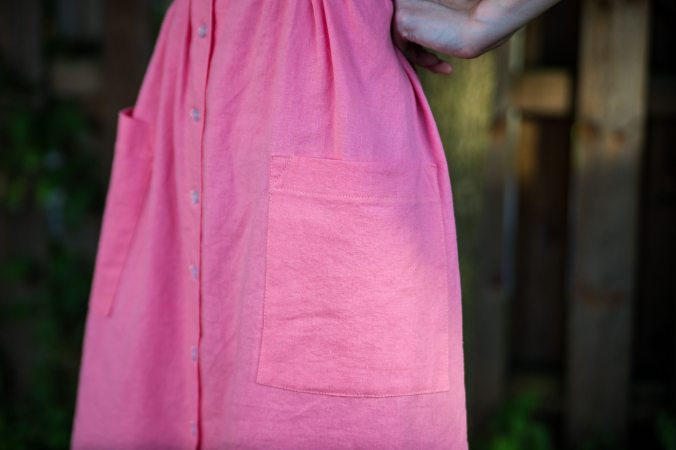
This isn’t necessarily a fit adjustment either, but let’s talk about the back pockets for a minute. Unusually, the back pockets are graded in groups–there are 3 sizes you can cut. I cut the pocket commensurate with my pattern size, and I knew going in that they were designed to be oversized as a styling element. What I didn’t know was how the pocket size would work with the size of my ass…by which I mean it didn’t. At all. Behold:
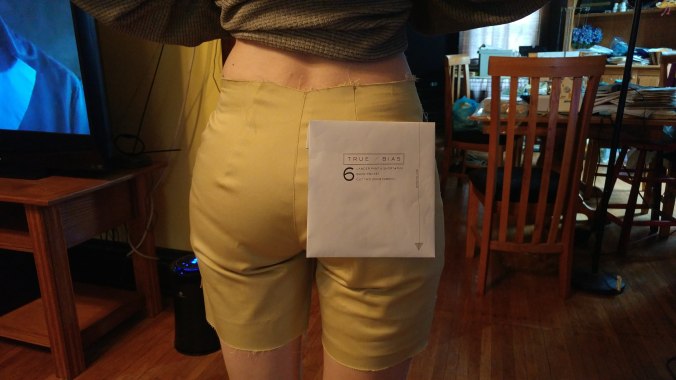
Pocket: 1, Butt: 0 (Also: note how nice these shorts were before I accidentally shrank them!)
My entire ass cheek is obscured by the pocket!! (And yes, that’s with the seam allowances folded back.) Not a good look, IMO. Using lightweight cardboard, I made a template for a new size. I took about 1″ off the height and width of the pockets; they’re still slightly taller than they are wide, just like the originals, but now they don’t cover up my whole butt. (Just most of it. Sad, “butt” true. 😉 #buttpuns) Placement was tricky, as the pattern marking for the top inner corner got removed from the back shorts leg piece by my crotch curve adjustment! I got my back trouser leg pieces out and measured the original distances from the center seam (since I hadn’t cut the changes into the paper yet). Then I checked a pair of my homebrew jeans and decided that the Lander placement was close enough to work, so I slapped them on there and sewed them down. I think the size is good, but wish I’d moved them in about 3/8″ more on the pants.
Construction Notes
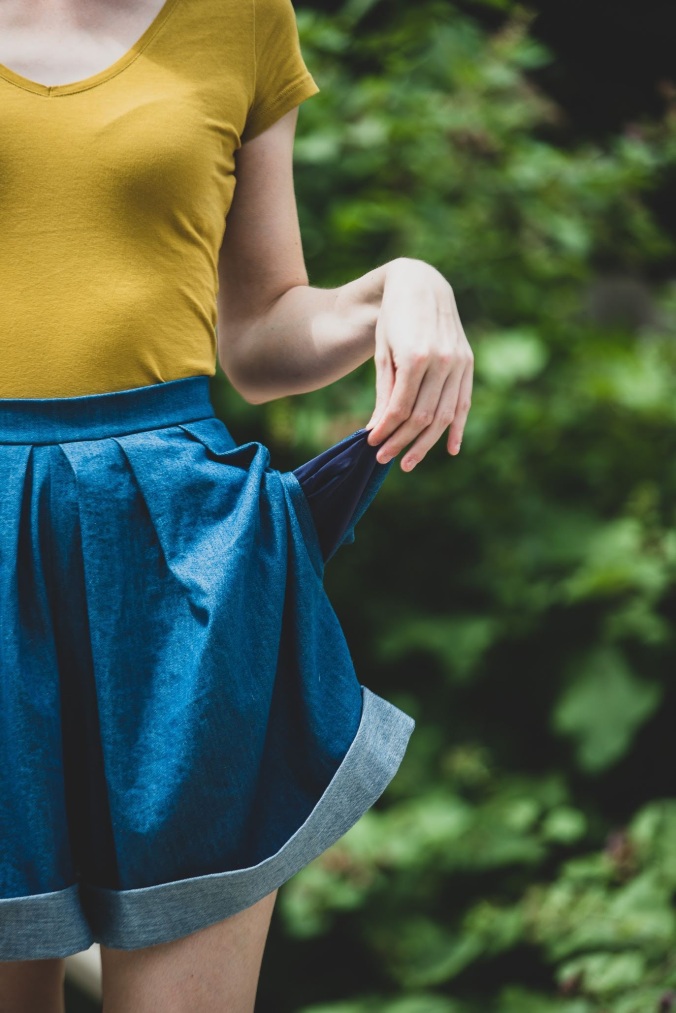
I didn’t really follow the directions when making these. (What a shock!) I didn’t line the front pockets–it just felt unnecessary, especially for a pair of casual pants. I made bias strips out of my twill and used them to bind the top pocket edges, topstitching from the outside to seal the binding.
The front fly is left until nearly the end of the construction order in the directions; I opted to do mine how I do my jeans, which is in the earlier phases of construction. I used my own method combined with the one from the directions.
I did try a new waistband construction method for all these Landers, courtesy of Amber @soisewedthis. Basically, you sew the facing side down first, and then when you topstitch from the right side there’s no worry about sealing the inside. IT IS AWESOME. Thank you Amber!! (I am still working on the front lower corners though–they don’t turn out so great for me.)
True Bias includes a pattern piece for making all the belt carriers, but I just made my own like I would for jeans. (I like a finished width of about 3/8″, personally.) My topstitching thread is Gutermann Mara 30, which is the same as the stupid tiny spools you can buy at Jo-Ann but which comes in much bigger spools (and in more colors) for less money on Wawak. 😉 (NAYY)
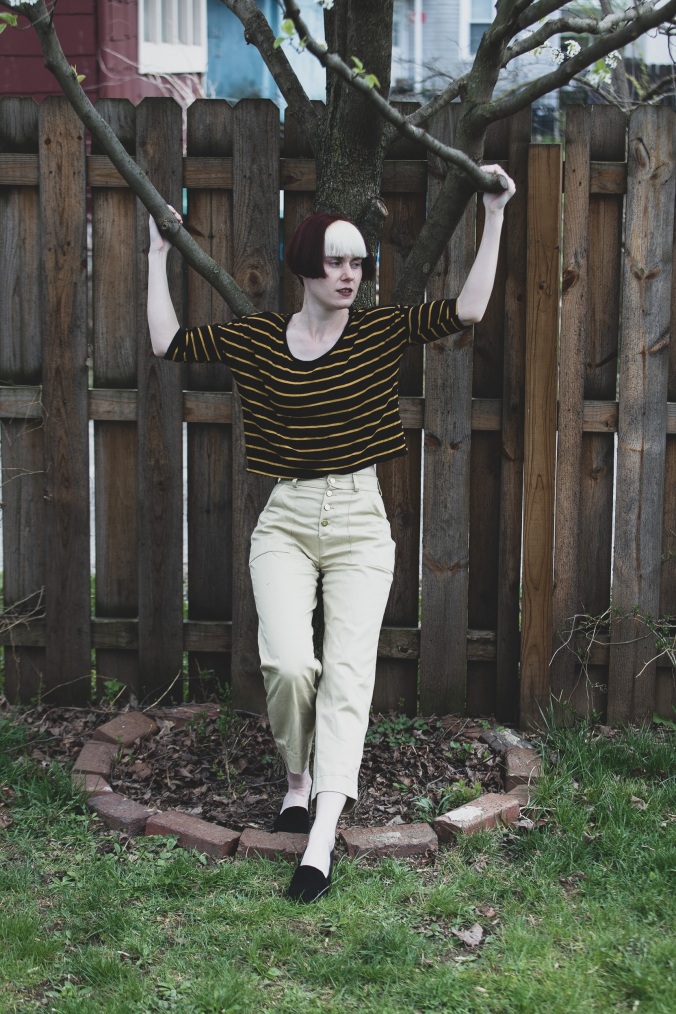
The pants are both View B, the cropped version. (Full length wide-leg pants are right out for me.) As previously noted, I did not make any height or rise adjustments to this pattern (again, my block is my savior), and I took a 2″ hem instead of a 3″ as instructed. I simply picked a length I was happy with, as cropped trousers are something I find to be tricky when it comes to finding the most flattering* hem length. But looking at the product photos from True Bias, I think mine are basically the same as the sample for View B.
*As I perceive it on my own body–YMMV
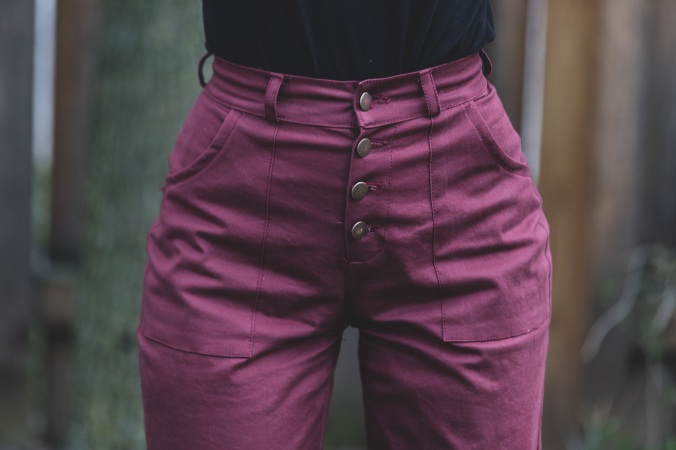
I used jeans buttons for the 3 button fly pairs because I like the look, and don’t own any other buttons that I’d want up the front of my pants. 😉 Shout-out to all my Instagram friends who helped me pick which color to use for the wine pants: you guys are the best! 😀
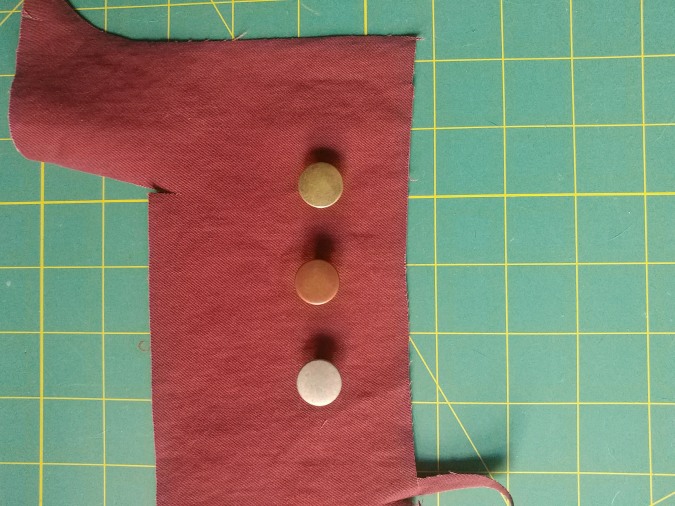
Copper won, but gold wasn’t far behind!
Conclusion
Making these shorts and pants was a little bit of an adventure, but it was worth it! I love them all. It’s fun having a new shape in my pants wardrobe. I’d love a denim blue pair as well! As for the shorts, it’s great to have nice-looking pairs that double as office-appropriate on Fridays. 😀
And now, in the great “Mads” House tradition, here are outtakes and .gifs!

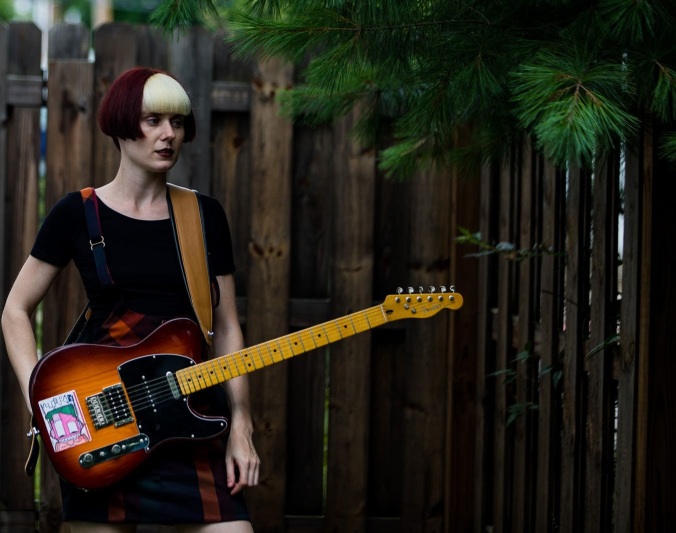
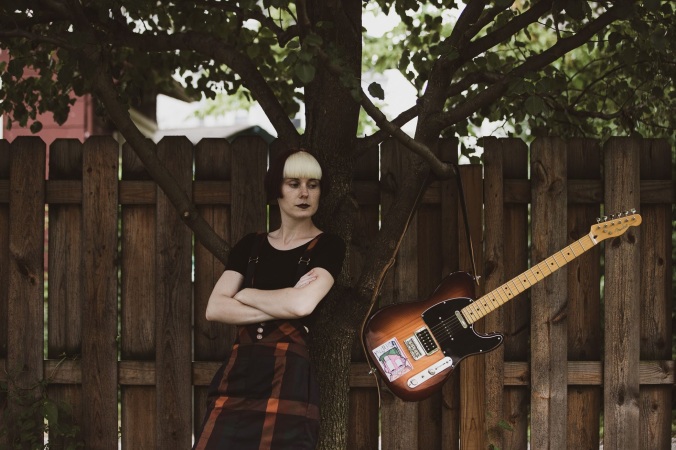
Testing a new photography toy

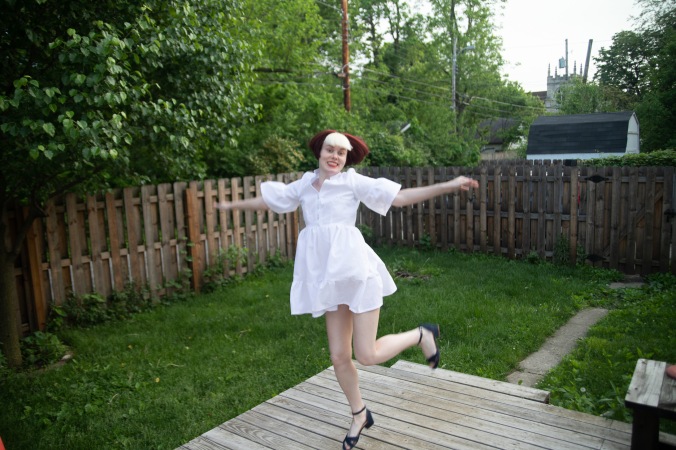
Coquette
Leap!

Had a little bonfire going, too!
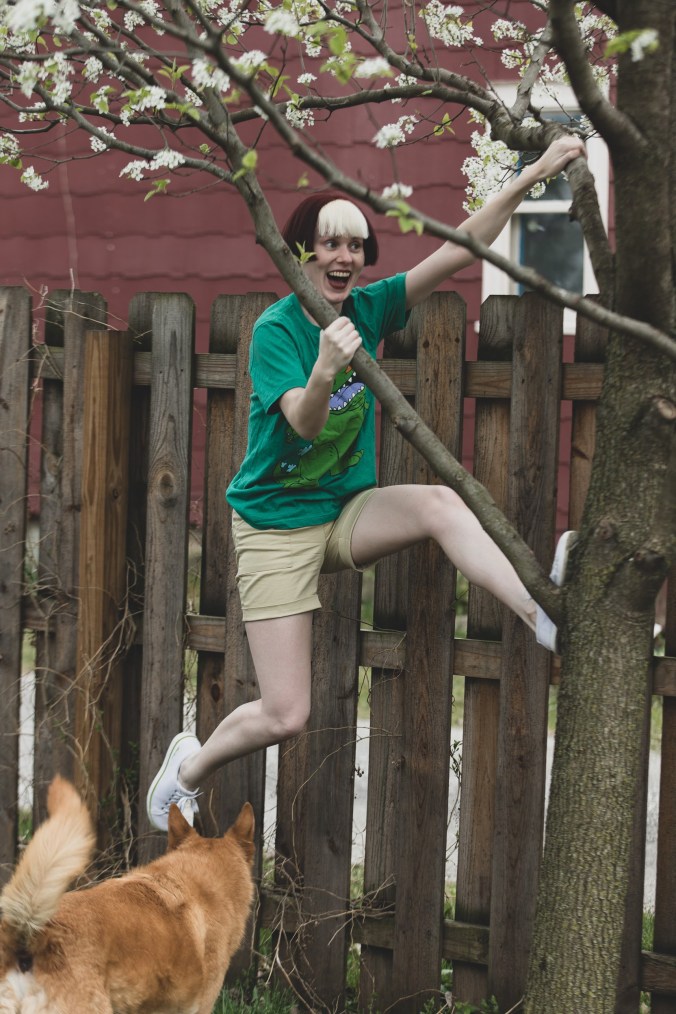
Literally the closest I can get to climbing a tree…
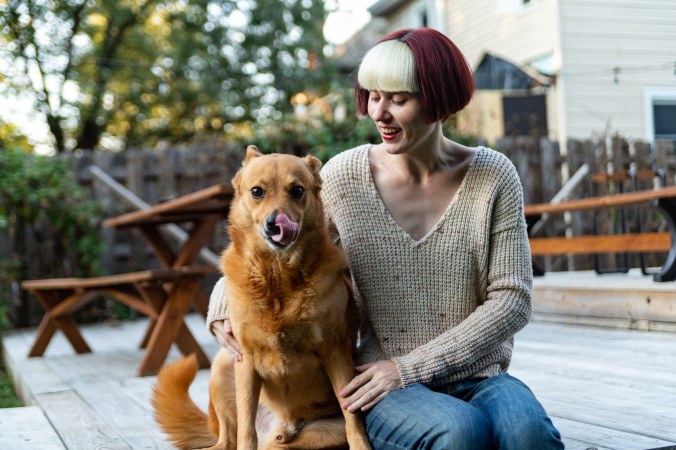
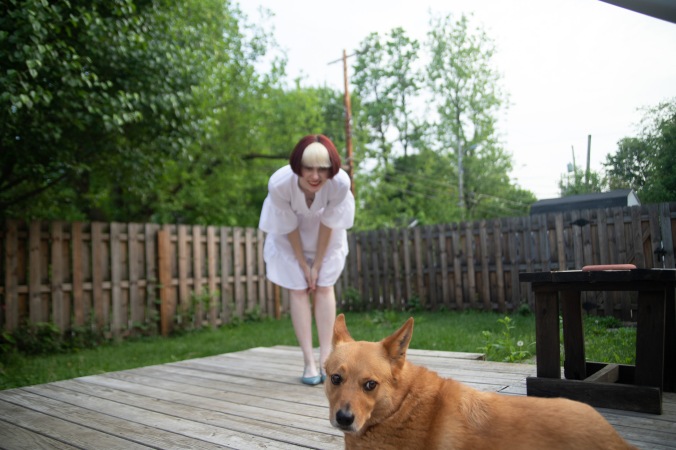
Gotcha!!
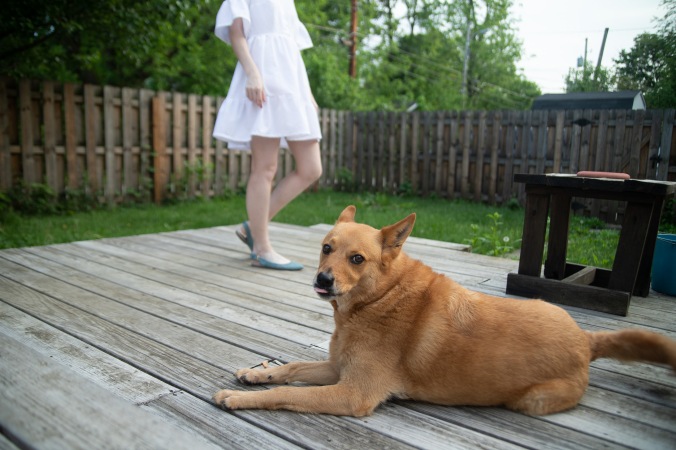
Roughhousing
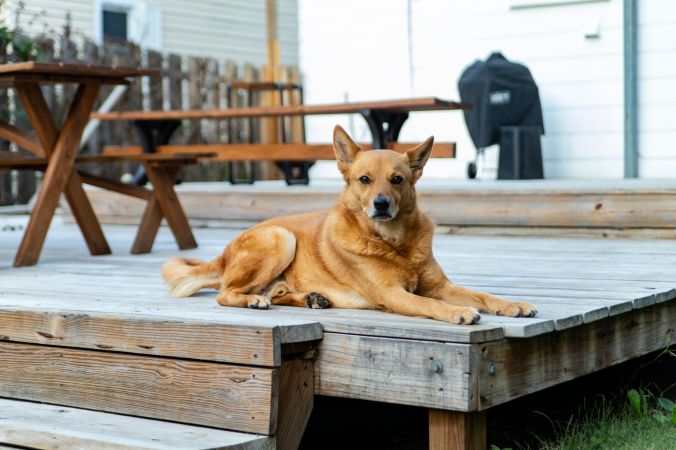
Doggo!
Had to do a #landerpantsdance for you

Jumping, now in .gif!
Seriously, I aim to be the queen of .gifs in the sewing blogging world. 😉
Now that I’m caught up with long-finished stuff, I will be sharing proper summer sewing next!


.jpg")
.jpg")


")
")


")
.jpg")
.jpg")
")
.jpg")


")
")
")
")
")
")

")
")
")

")
")
")
")
")
")

")
")
")