Hi again!
As promised, I have two recent projects to share today: a Style Arc Blaire shirt and a dress made from McCall’s 6886! I’ve made both patterns before so there isn’t much new to say, but I’ll share them anyway. Plus we got some pretty ridiculous photos of the McCall’s dress, so stay tuned for those!
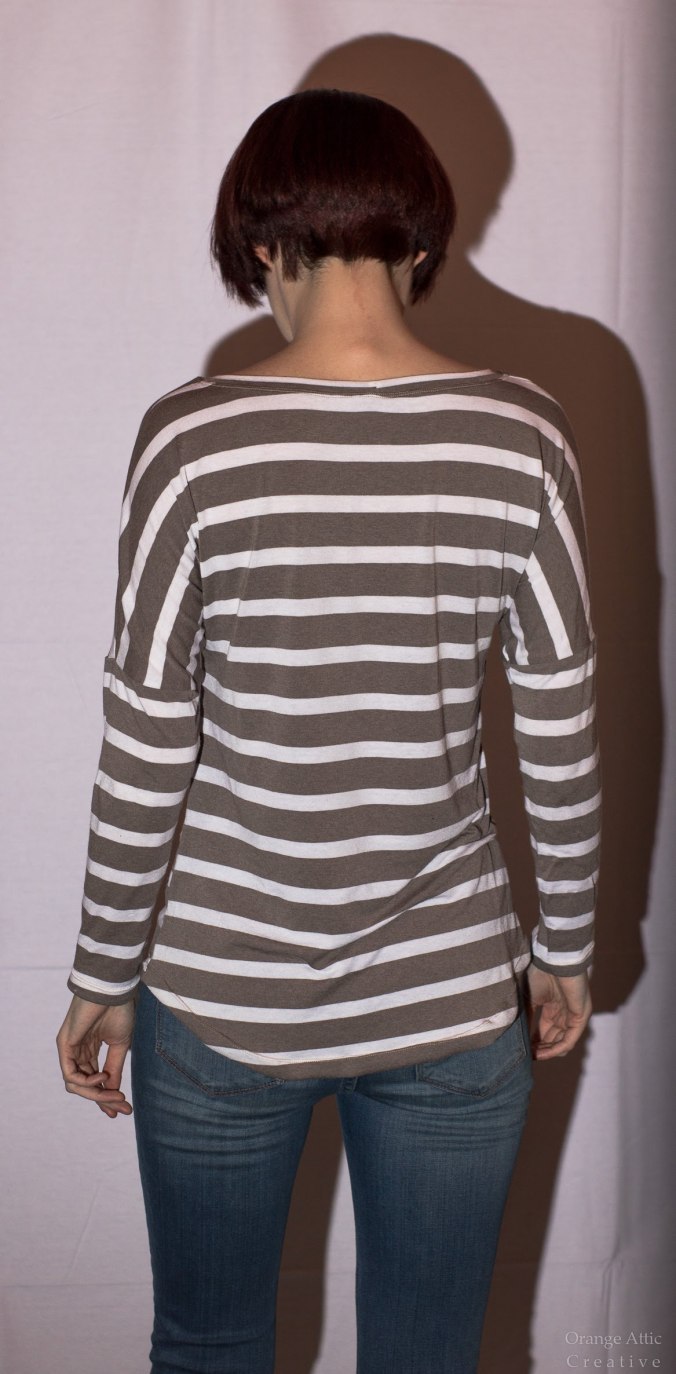
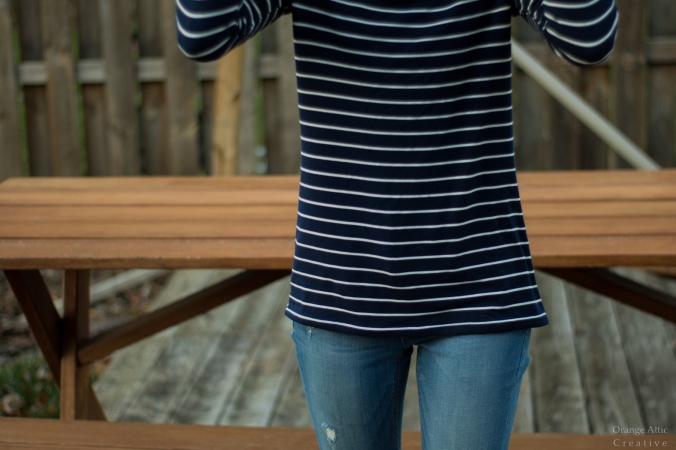
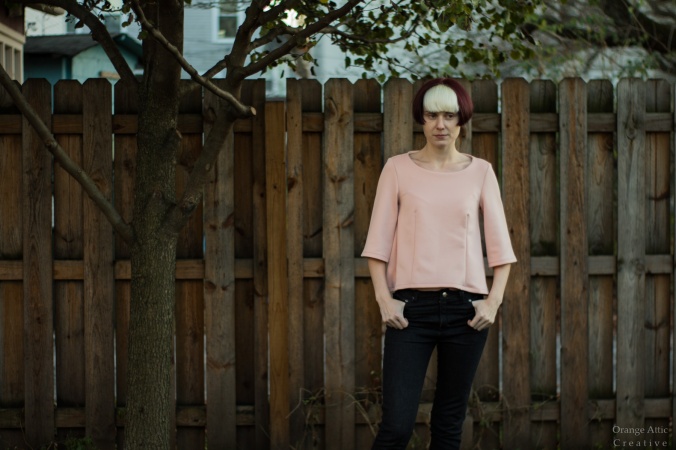
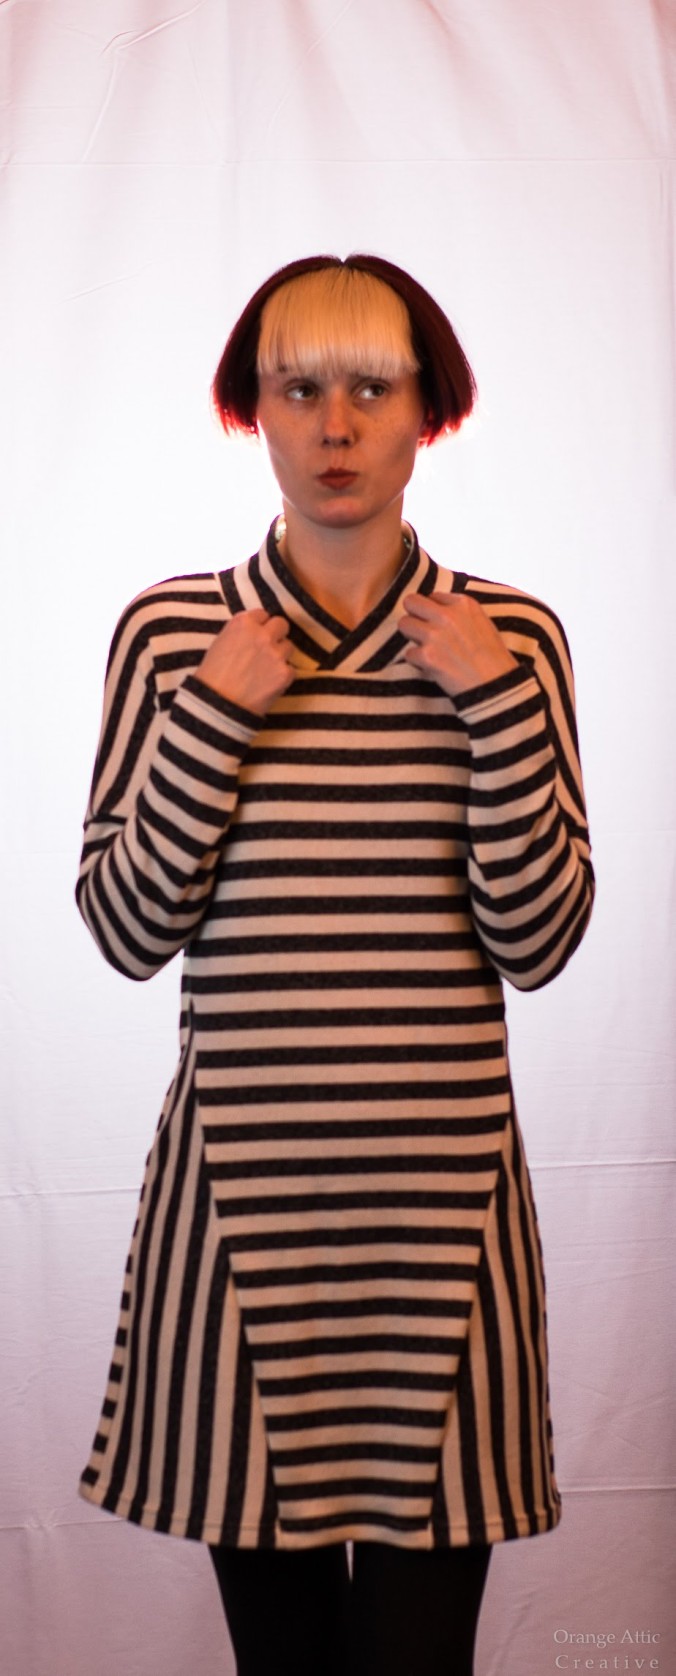
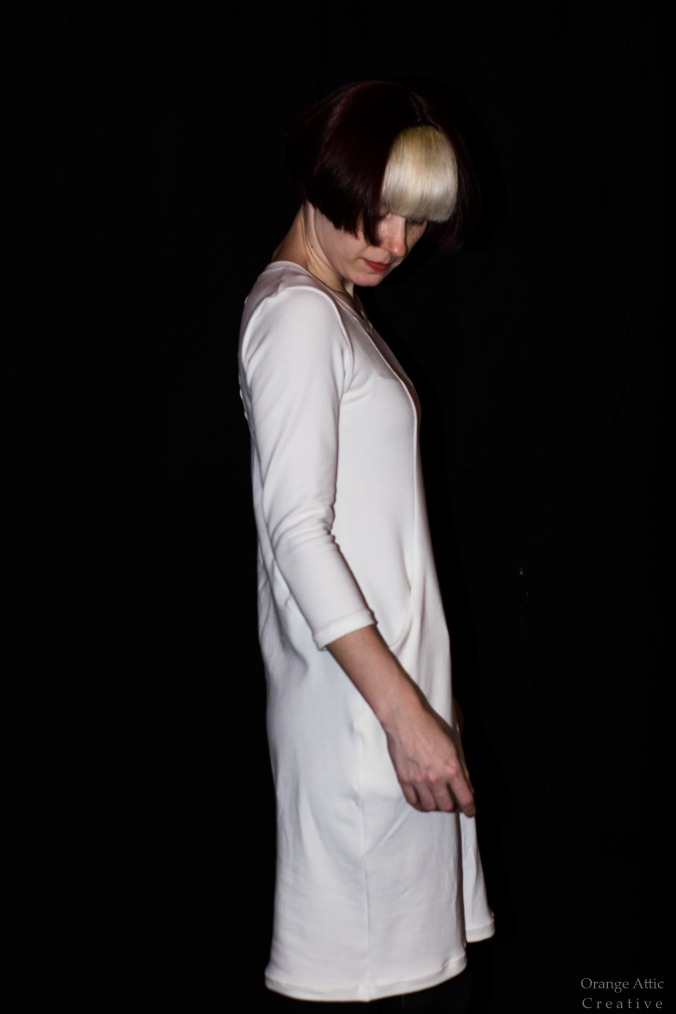
First up is my new Blaire:

Yep, it’s a shirt

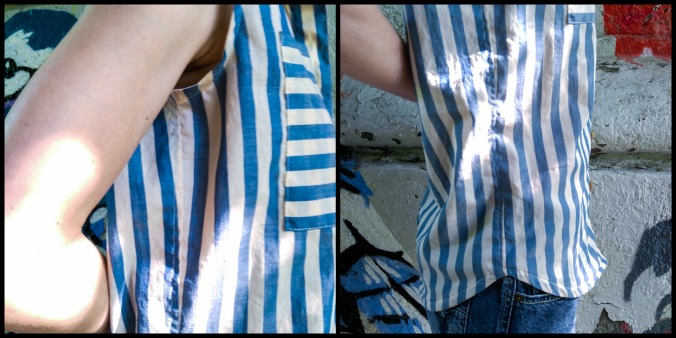
Closer view of the front

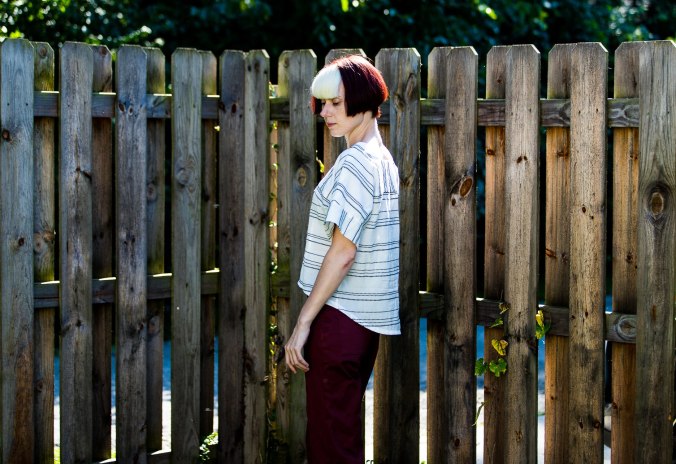
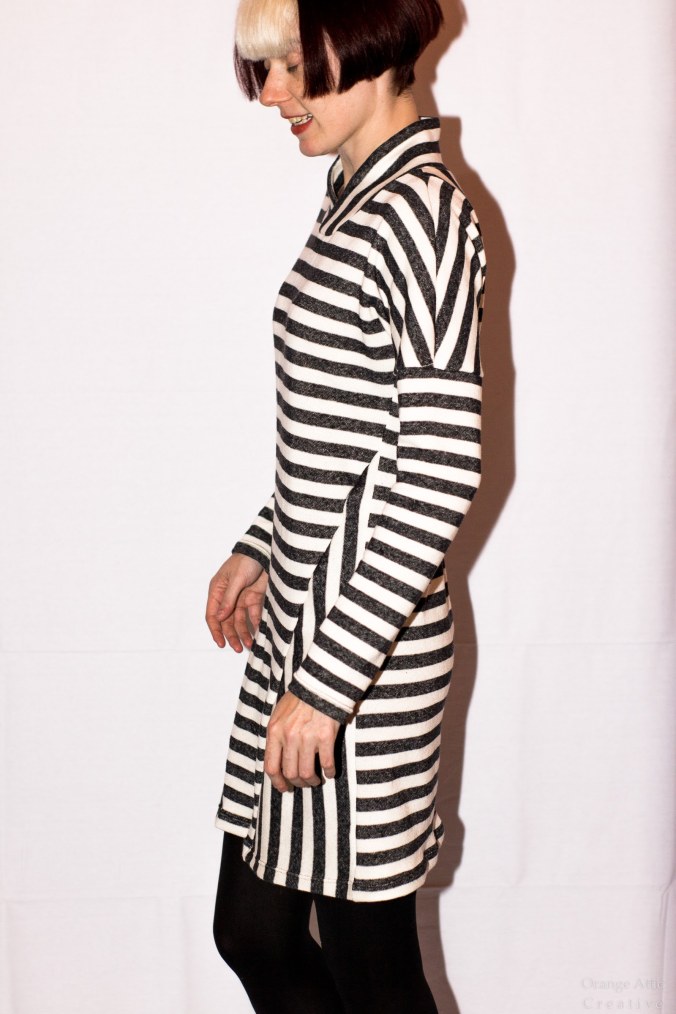
Side, with flaps!
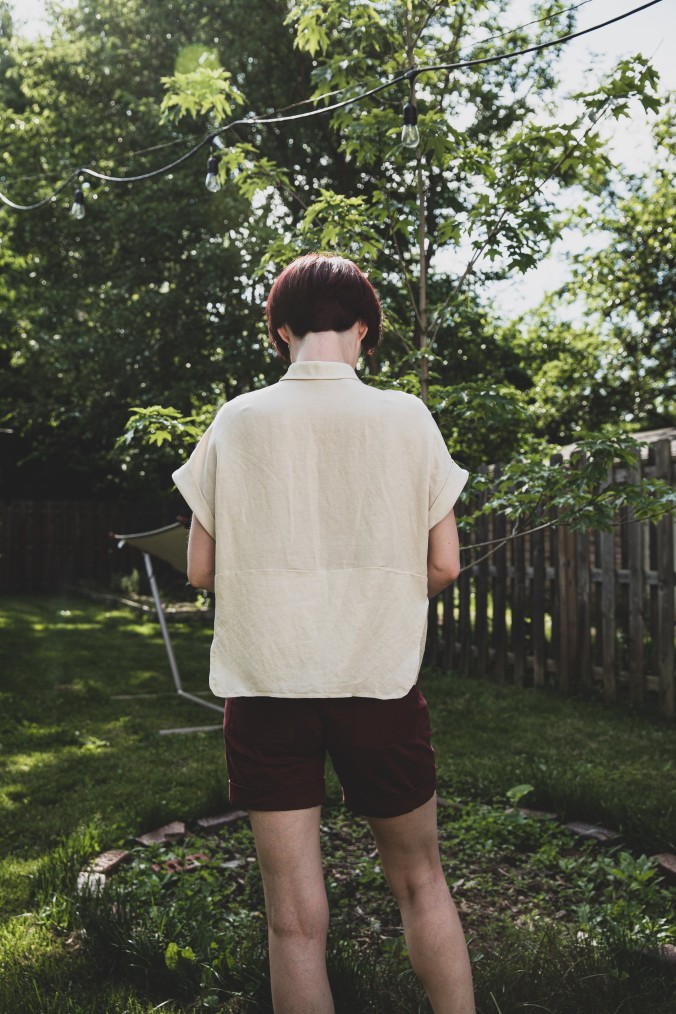
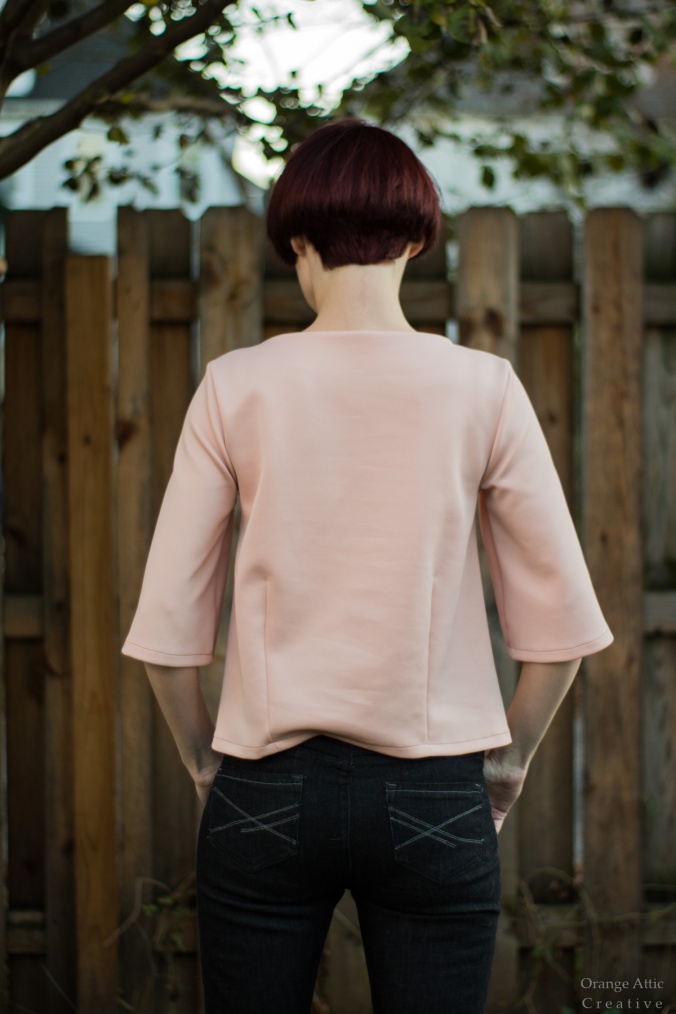
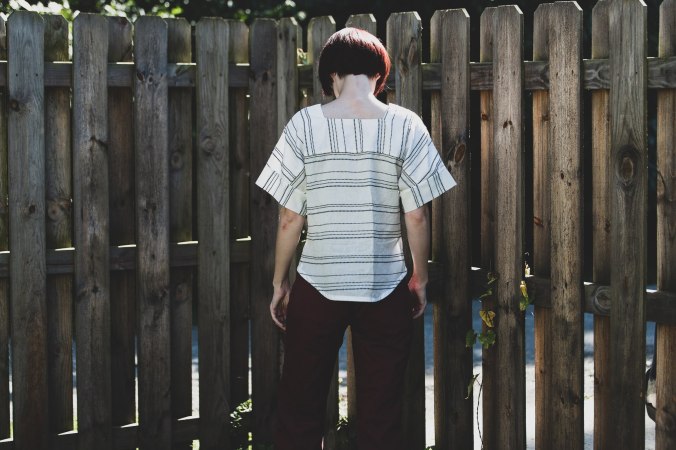
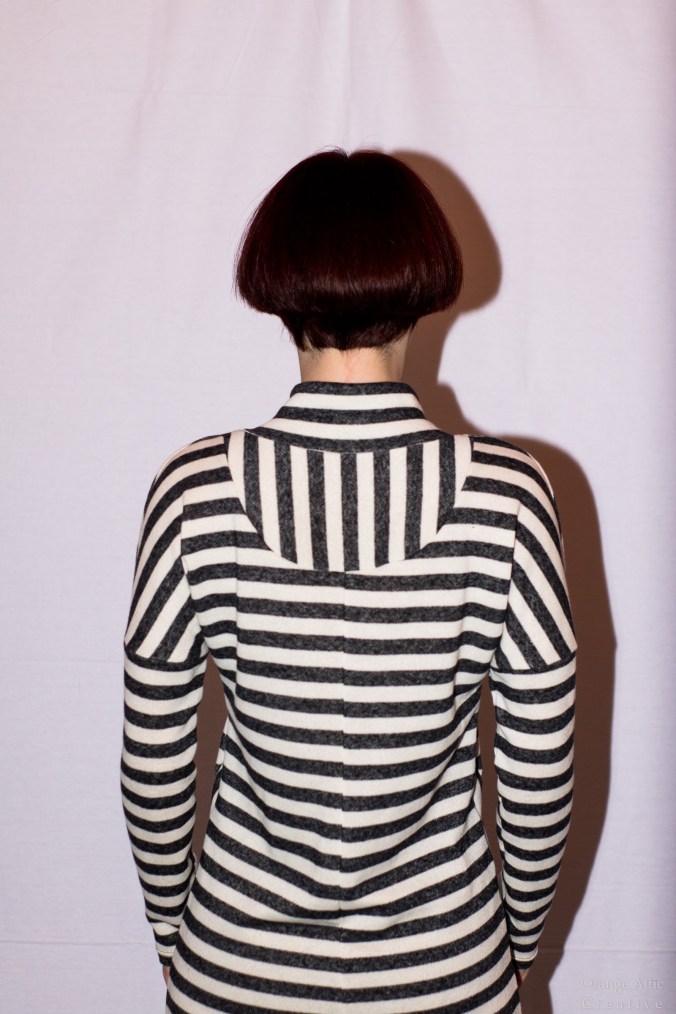
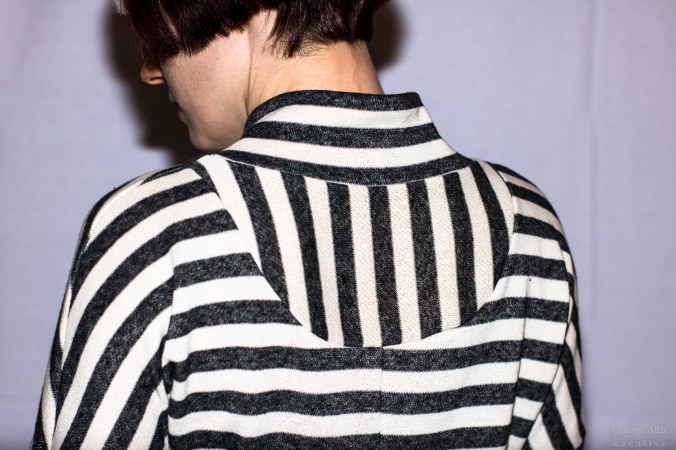
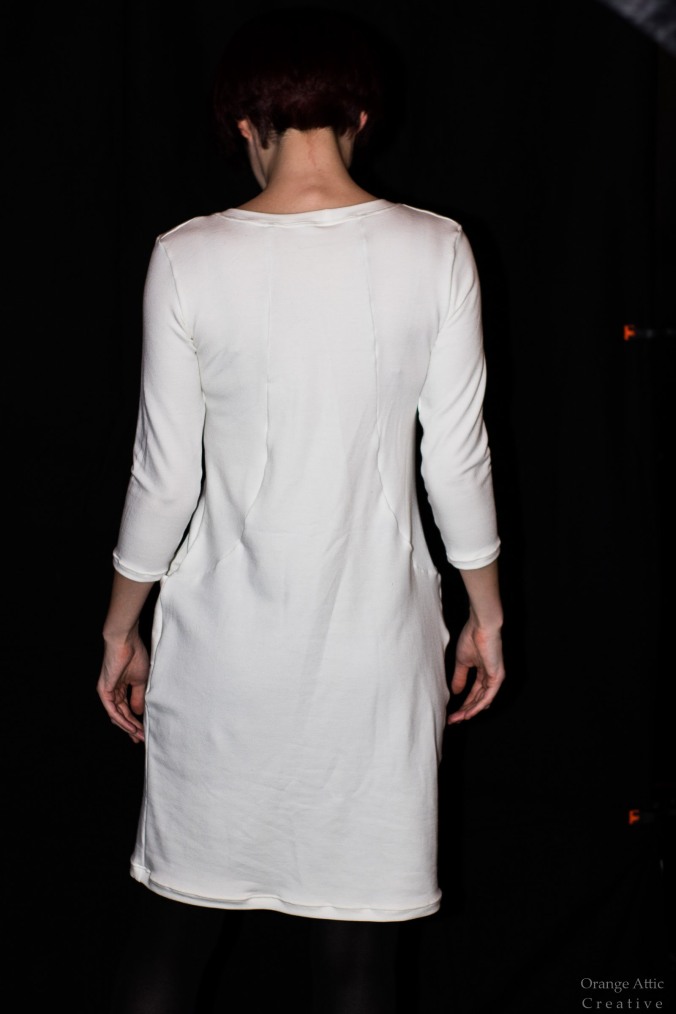
Back
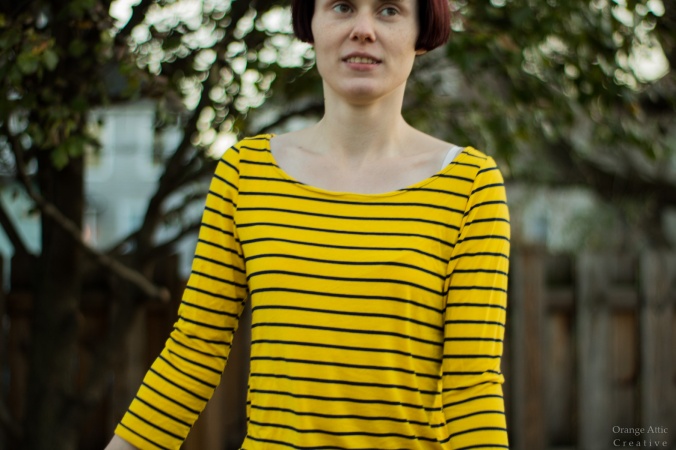
I really must have a chat with my photographer about his favorite editing preset, as it does nothing for my scary-visible circulatory system! 😀 😀
As I said, there isn’t much new to say about this shirt that I didn’t say the first time around. I followed the same order of construction and everything! This fabric is cool though: it’s a cupro/linen/tencel blend from Blackbird. (I’d link directly to it, but her stock is always changing and I know eventually this will sell out forever and break my link! As of this post going live, she still has this fabric in multiple colors.) Originally I wanted a white Blaire but settled for ecru because there was no white, but this fabric seemed neat. It’s not really visible in photos, but the fabric has a sheen to one side; I used that one as my right side, because of course I did. 😉 It feels much heavier than I expected, but is still light and has a very fluid drape. No regrets whatsoever! This stuff feels great against the skin. I have just enough left over to use as a bodice lining for an upcoming dress, so yay! The buttons are shell ones from Wawak; it was tough choosing between the 2 different off-white shell buttons I have and my coconut ones. ![]() (I’m only kind of kidding…I spent way too many minutes agonizing about it. #getalife)
(I’m only kind of kidding…I spent way too many minutes agonizing about it. #getalife)

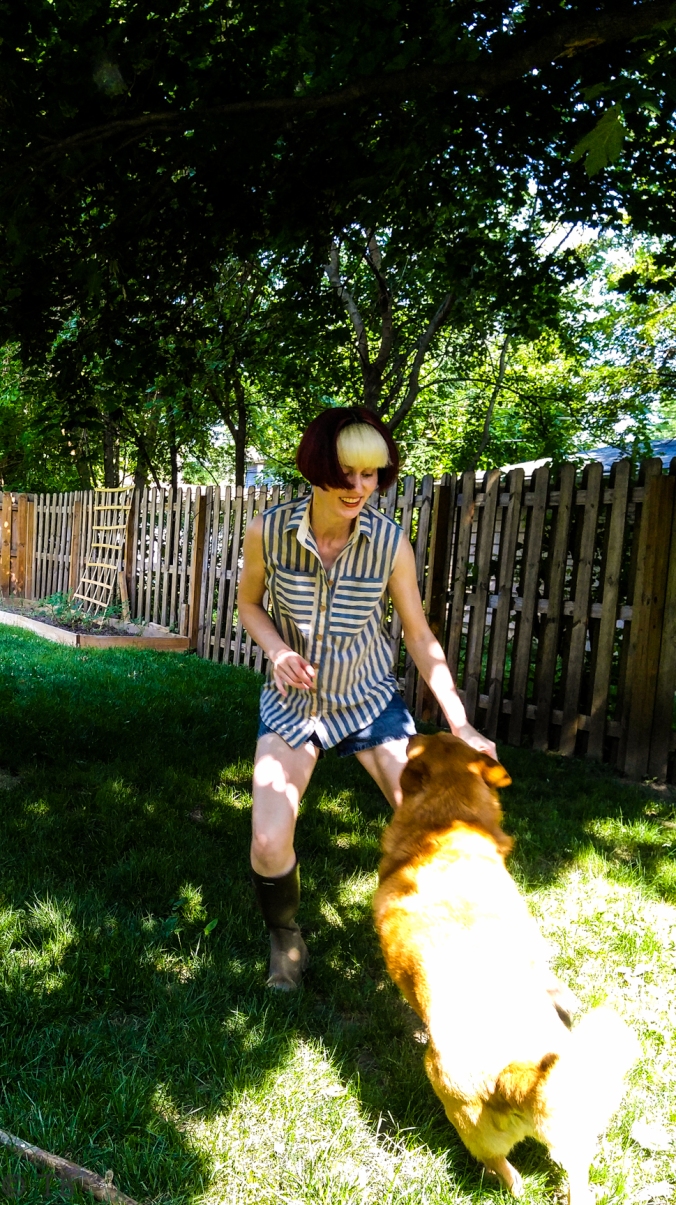
“Mom, this is boring. I’m bored.”
Couldn’t leave you all without a cutie cameo, could I? 😉
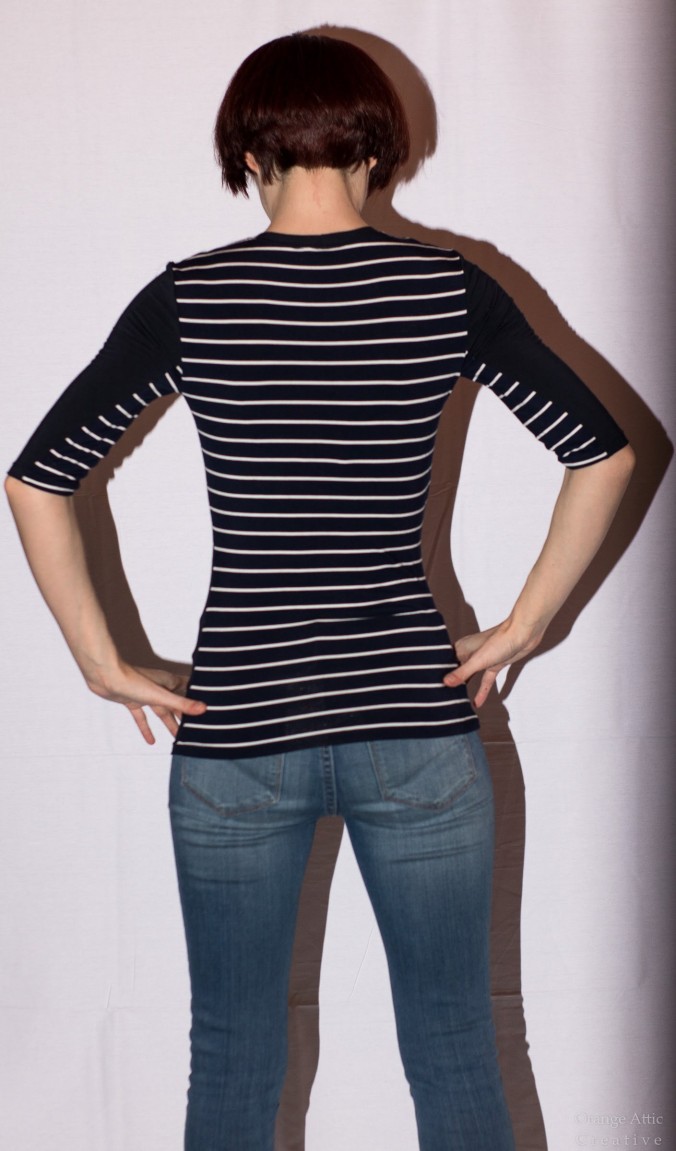
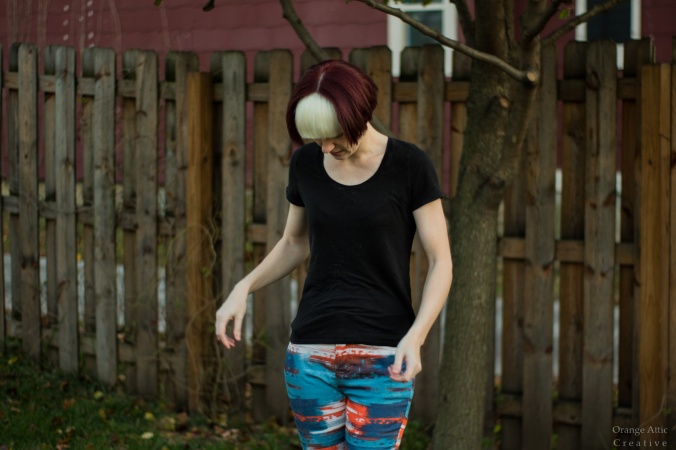
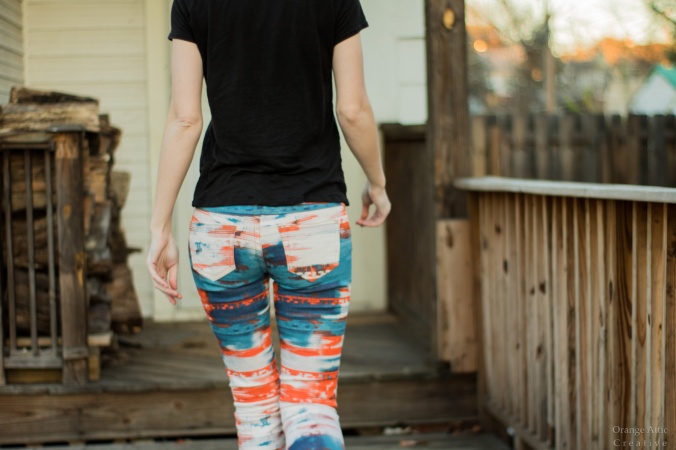
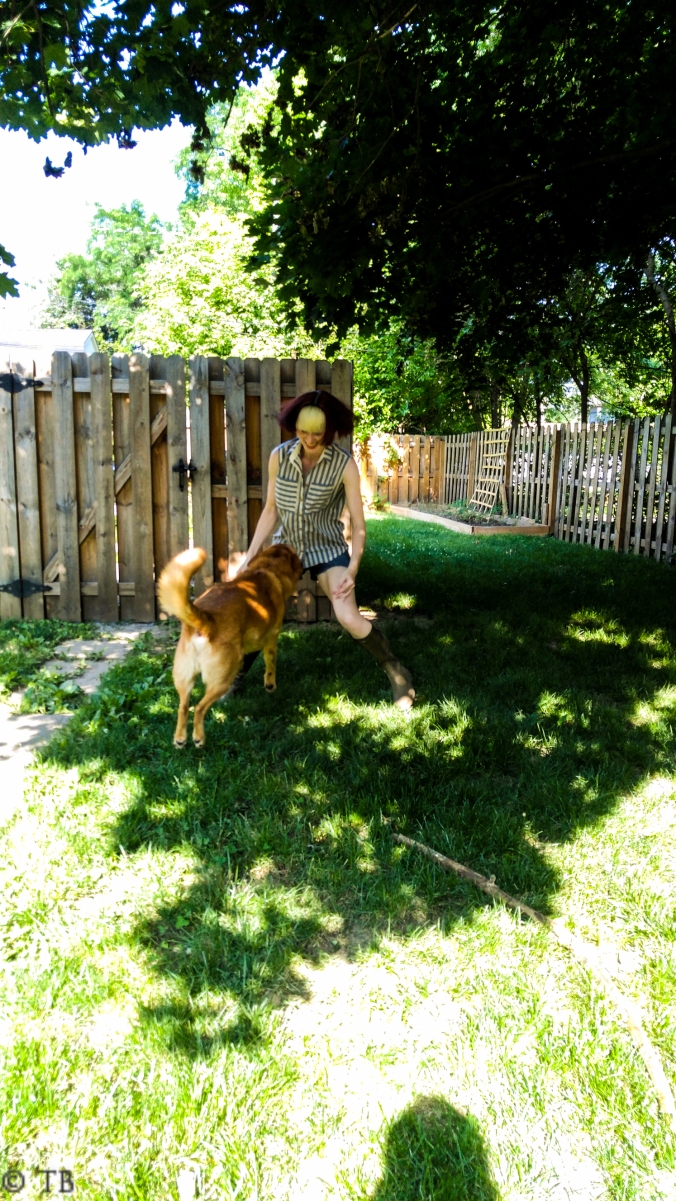
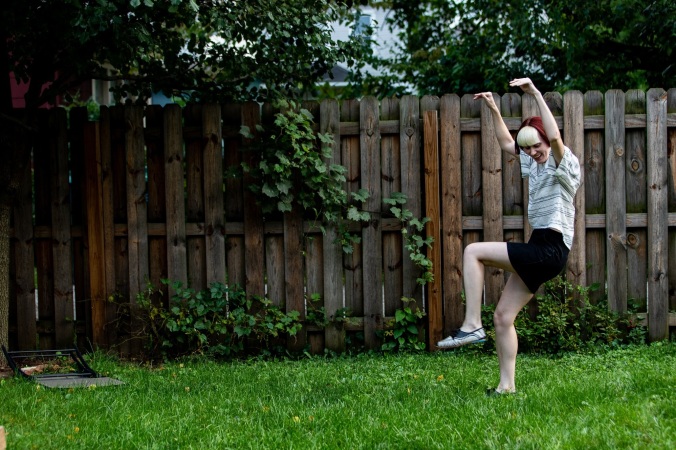
Now for something much cooler than a flappy off-white shirt: this dress!

Stripes!
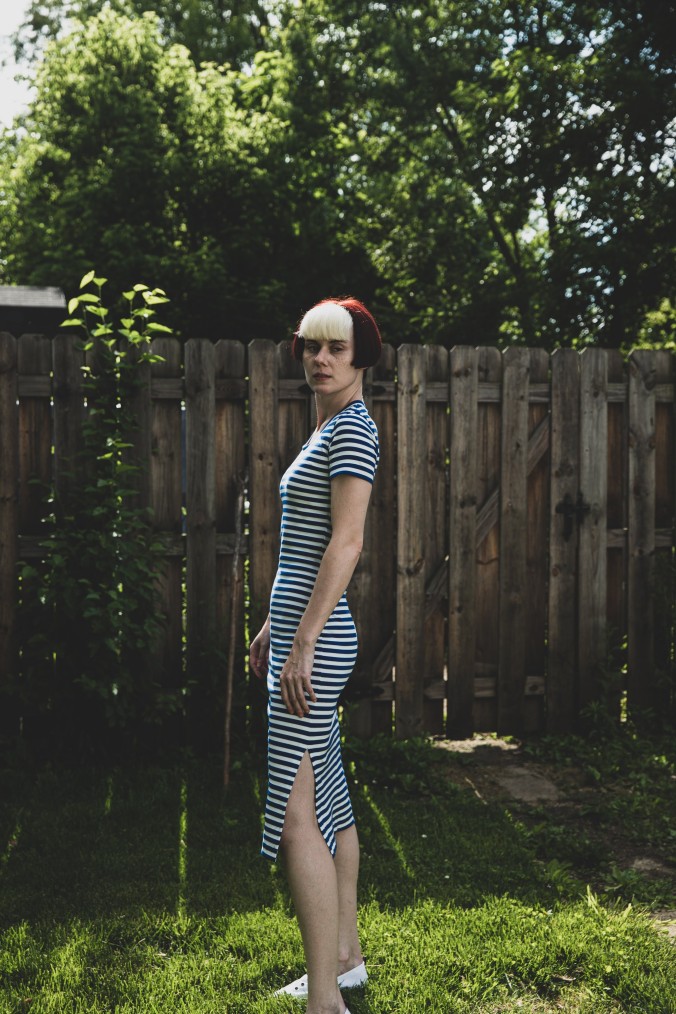
Side slits!

Tight fit!

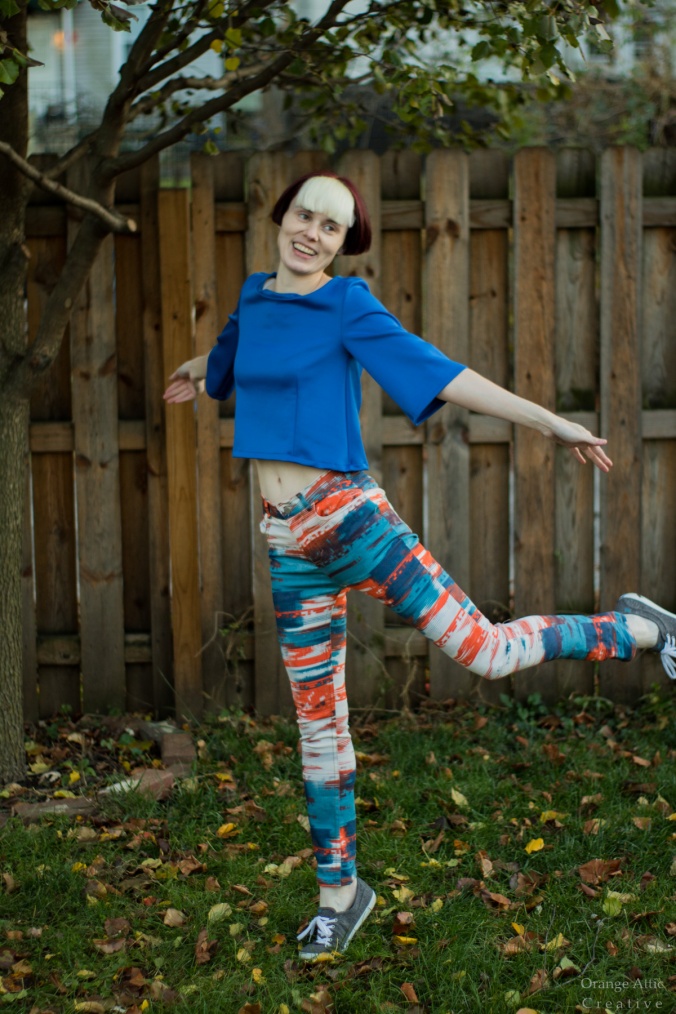
Ridiculous pose!
All those captions are basically “‘Mads’ Bingo!” aren’t they? 😉
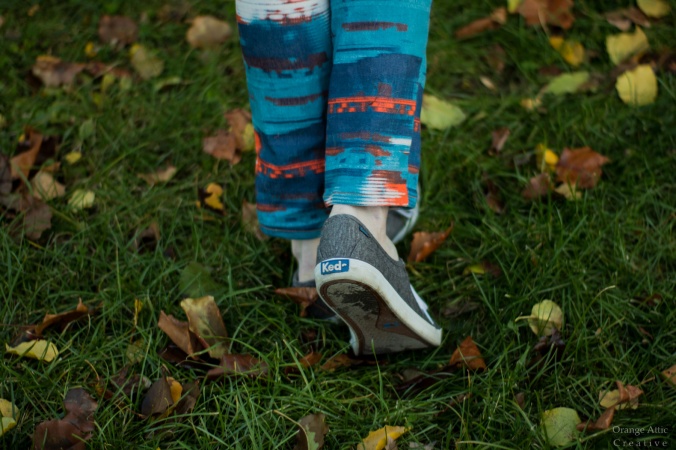
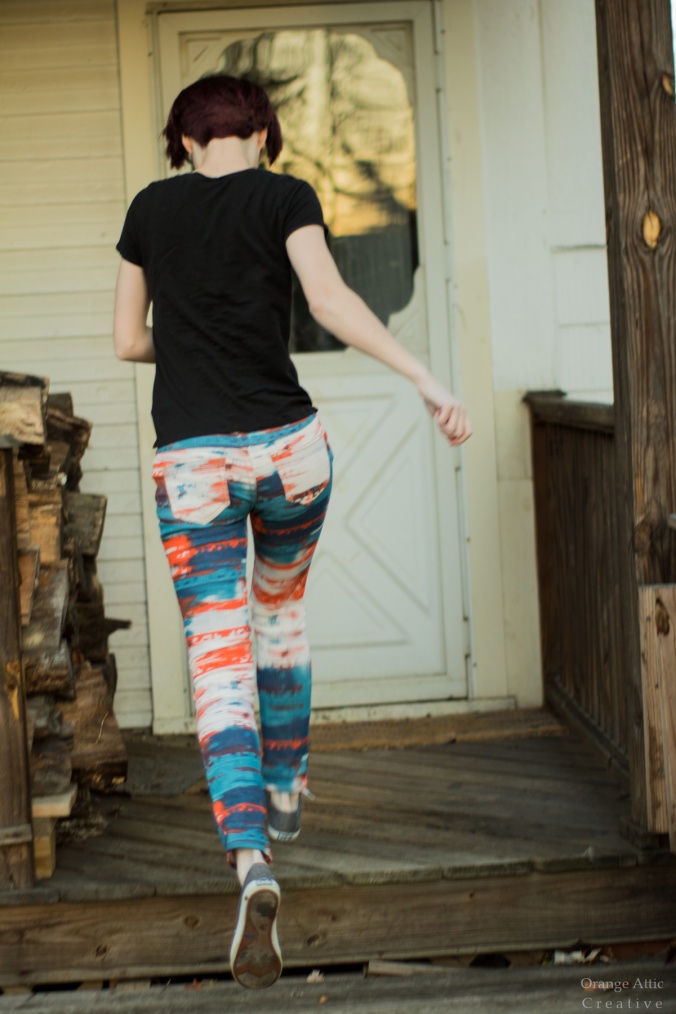
This dress came to life because of the ponte knit fabric. Several months back, I was the lucky winner of an Instagram giveaway by Gorgeous Fabrics–I KNOW!!!!!!! I was very excited because the prize was 3 yards of an amazing bright red lace. However, I felt kind of guilty just taking free fabric, you know? Especially a nice fabric like double-scalloped lace! (And no, it wasn’t for a partnership or sponsored post–Ann was doing a few giveaways to clear stock and I happened to win one of them.) So I headed over to the site and poked around, as one does. >=D Ann has great taste and I’ve bought amazing things from her since I first learned to sew, so I knew I’d find something. My eye was immediately drawn to this fabric, as it’s the perfect stripe width AND bright shade of cobalt blue. I had to have it! (I also got an animal print ITY with a cool border fade effect. That will be fun to use!) Immediately I thought of a dress like this one: midi length, short sleeves, snug fit, side splits, worn with white sneakers. I couldn’t really be much happier with the result! (And I definitely bought these sneakers just because of this dress. And yes, they’re Sperrys–don’t @ me.)

Pure class.
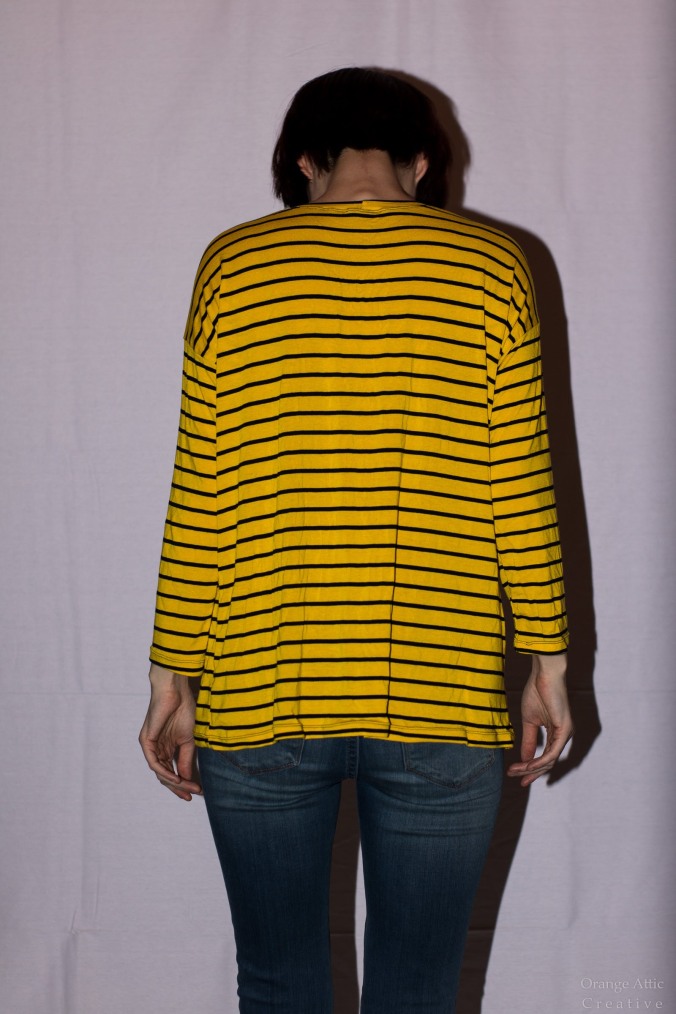
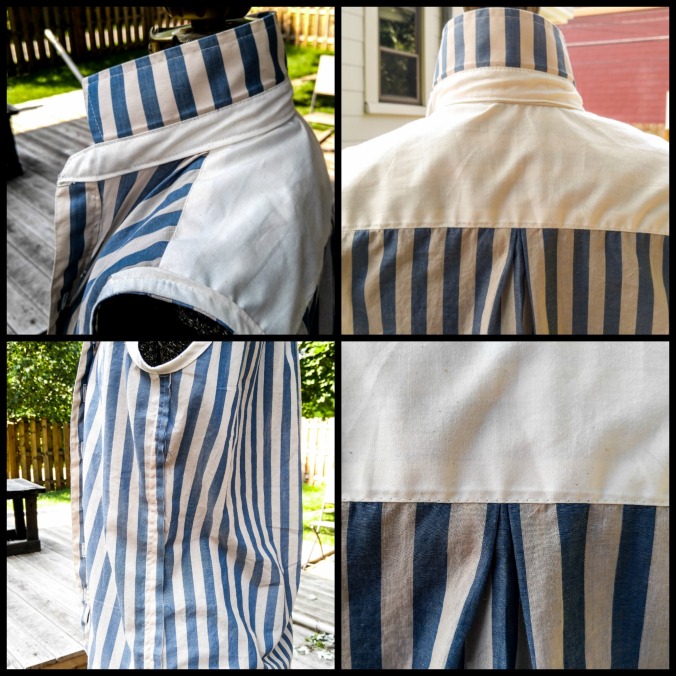
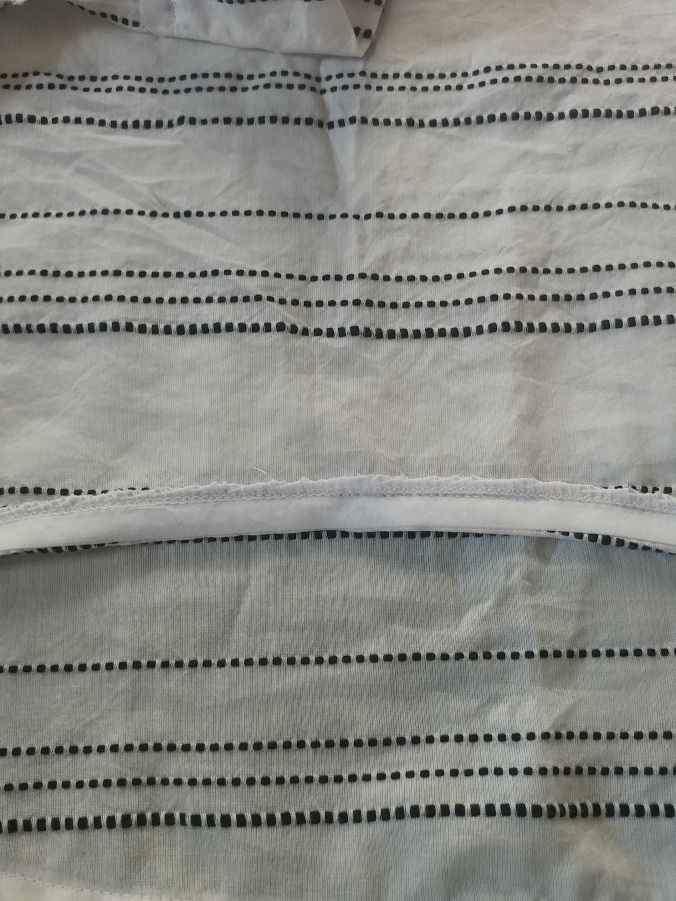
I’ve made M6886 a few other times, and it’s a great dress pattern. However, I learned early on that I really benefit from putting a CB seam in it: it’s a must to get the snug fit through the waist that I prefer. I didn’t 100% nail the stripe matching up the CB because I didn’t baste the seam first, but it’s sooo close. ![]() I did baste the side seams and the actual neckband–I wanted the stripes to be perfect and that’s a tricky prospect on a neckband.
I did baste the side seams and the actual neckband–I wanted the stripes to be perfect and that’s a tricky prospect on a neckband.

Neckband action


Sweet-ass side splits
I need to adjust the shoulder slope on this pattern–it’s really obvious to me now, lol.
This dress is also the first project that I’ve sewn on ALL THREE of my machines!!! (Oh yeah, by the way: I got a coverstitch last summer from a friend who had upgraded to a Babylock combo, and am now the proud owner of the legendary Janome Coverpro 1000CPX.) The CB seam was done on my sewing machine with a narrow zigzag, and the split openings were topstitched on it as well; I serged every other seam and the raw hem edges; finally, I sewed the bottom and sleeve hems and around the neckband with my coverstitch. Boom!!
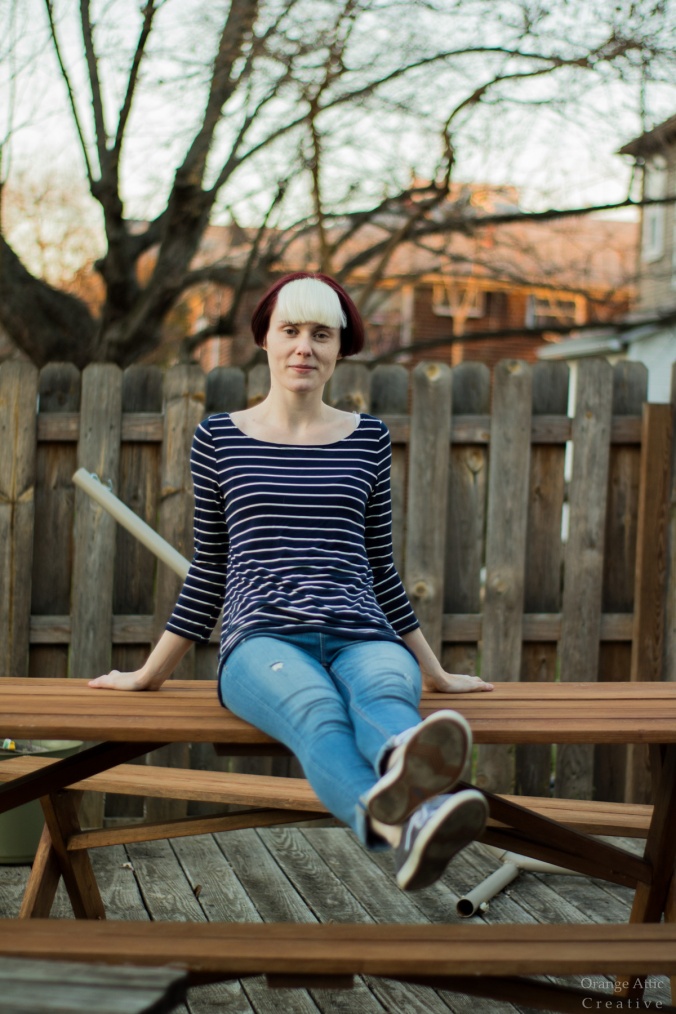
Okay, with the technical stuff out of the way, I have some hilarious (to me, anyway…) photos of this dress for you. The day we took photos, Tom had used his hammock to lounge out in the yard. I thought it would be cute with the nautical look of my dress if I got some hammock shots, but it turns out I am rubbish at hammocks! See for yourself:


So far, so good, right? Nope. Behold the immediate aftermath of the above photos:


This thing kept spitting me out like I was a piece of gristle in a steak, y’all.

For real, I look like I’m trying to elaborately hide behind the hammock.
Finally, after resorting to using my chin for leverage…


…I managed to stay on the hammock. Sort of. Less “lounging” than “clinging desperately and in a state of exhausted exasperation”…

I mean, come on.

A perfectly accurate face for my emotions.
In between Tom’s cackles at my ineptitude, he captured these photos (and more, if I’m being honest). You’re welcome.
Summer is what’s on my mind where sewing is concerned: I have plans for at least one sundress, and maybe some linen pants. (I know, soooo original…) I also need to replace one of my Reeta dresses 😦 😦 so that’s on the agenda also. What are you sewing now?


")
")
")
")
")
")